U235bang
468
4
2

Our washer drain hose was just routed to our utility sink and the oddly tiny drain clogged super easy. After 20 minutes or so of cleanup, I had another 20 minutes before I had to leave for work so this was somewhat a rush job, which is always good when doing plumbing in tight spaces.

I had 3d printed a strainer, but lint and hair would wrap around the strainer enough to clog the sink and it would overflow. The original install had the drain hose zip-tied to the side of the sink.

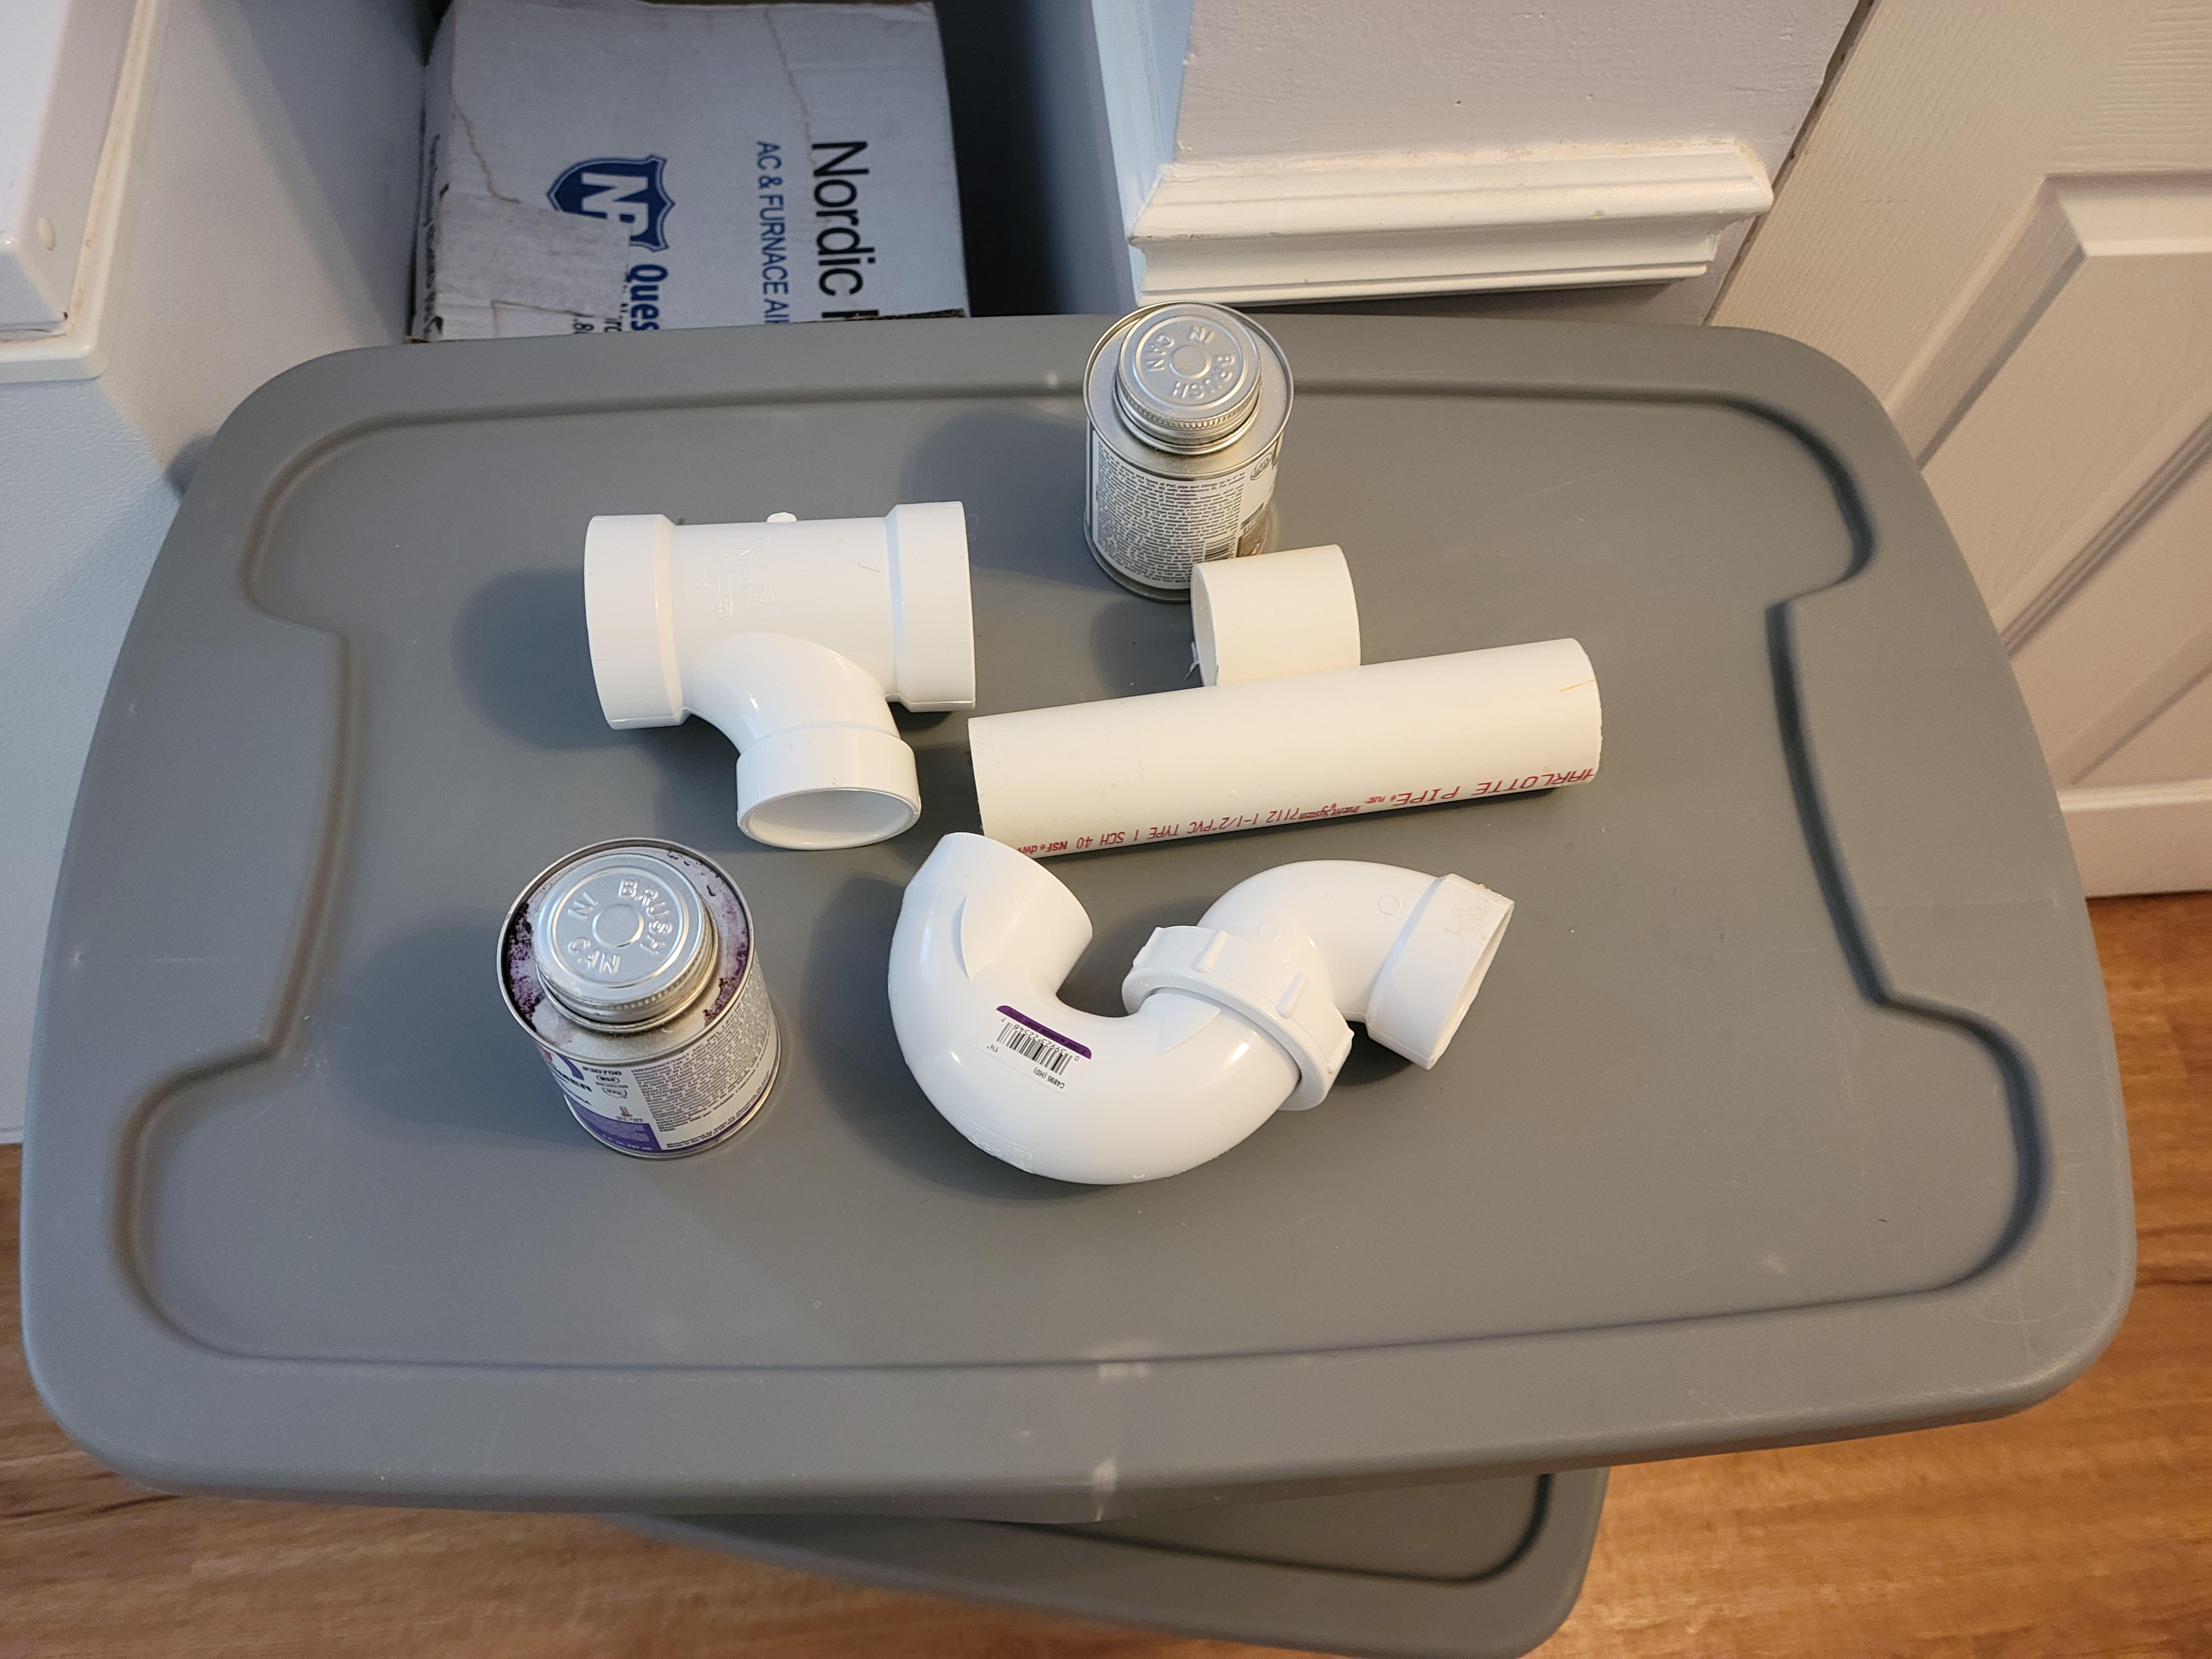
Parts I had on hand because I have planning to do this for a while, I just hadn't gotten around to it. Parts are a 2"x2"x1-1/2" schedule 40 pvc T, a 1-1/2" union trap, and a short and long section of 1-1/2" pvc pipe. This pvc pipe was cut on a miter saw in my garage because it's fast and I was in a hurry.

Glue up of the trap and y. Come to find out my wife is not particularly attached to the storage bin I used as a work bench which is good because I got purple primer and dripped pvc glue all over it. I didn't get any on the floor though.

I marked where I wanted to cut using the T fitting as a template. I wanted the T connection above the sink drain, and the top of the new drain standpipe above the edge of the sink. The sink drain is the T just below where I am cutting and the sink has it's own trap.

I made an initial plunge cut into the pipe like this. I didn't want to move the washing machine because I had a load of laundry I while I was doing this.

Guide cuts done. I could plunge cut most of the way through the pipe, but my plunge blades were not quite long enough to get all the way through.

Hard to see, but I snapped a cable saw into the cuts to finish them. I tried briefly to just use the cable saw, but it kept sliding around while I was trying to start the cut so I was using the plunge cut to guide the cable saw.

The bottom cut needed persuasion to get the cable into the cut.

Gap! The cut wasn't perfect but pvc doesn't really have to be and I wasn't going for style points.

This is what the inside of pipes can look like; nasty. The kitchen sink with garbage disposal and dishwasher are upstream of this pipe, so this is some grease and gross buildup that most likely has been gathering from 1991.

Glued in the T

Top view. The stuff in the end of the new pipe is just chips from the miter saw cut. When cutting pvc with a miter saw it builds up a lot of static.

Hose re-routed into a dedicated 1-1/2" drain line. The next day I leak checked everything and I had to tighten the trap union down just a little bit. I also load tested the drain line and it will drain the utility sink, washing machine, and kitchen sink with garbage disposal running simultaneously without overflowing.
unremarkableasterisk
Have you tested it with the washer training and water already flowing through the drain from upstairs? It may not be tall enough.
U235bang
Thanks for the suggestion, I load tested the drain line during leak checks and 12" seemes to be enough for the new drain height.