flornholio
1896
45
0

Got roped into fixing this Cal20 sailboat - took a minor hit to the side and the hull sort of exploded. Some exploratory surgery revealed the horror that lie underneath.
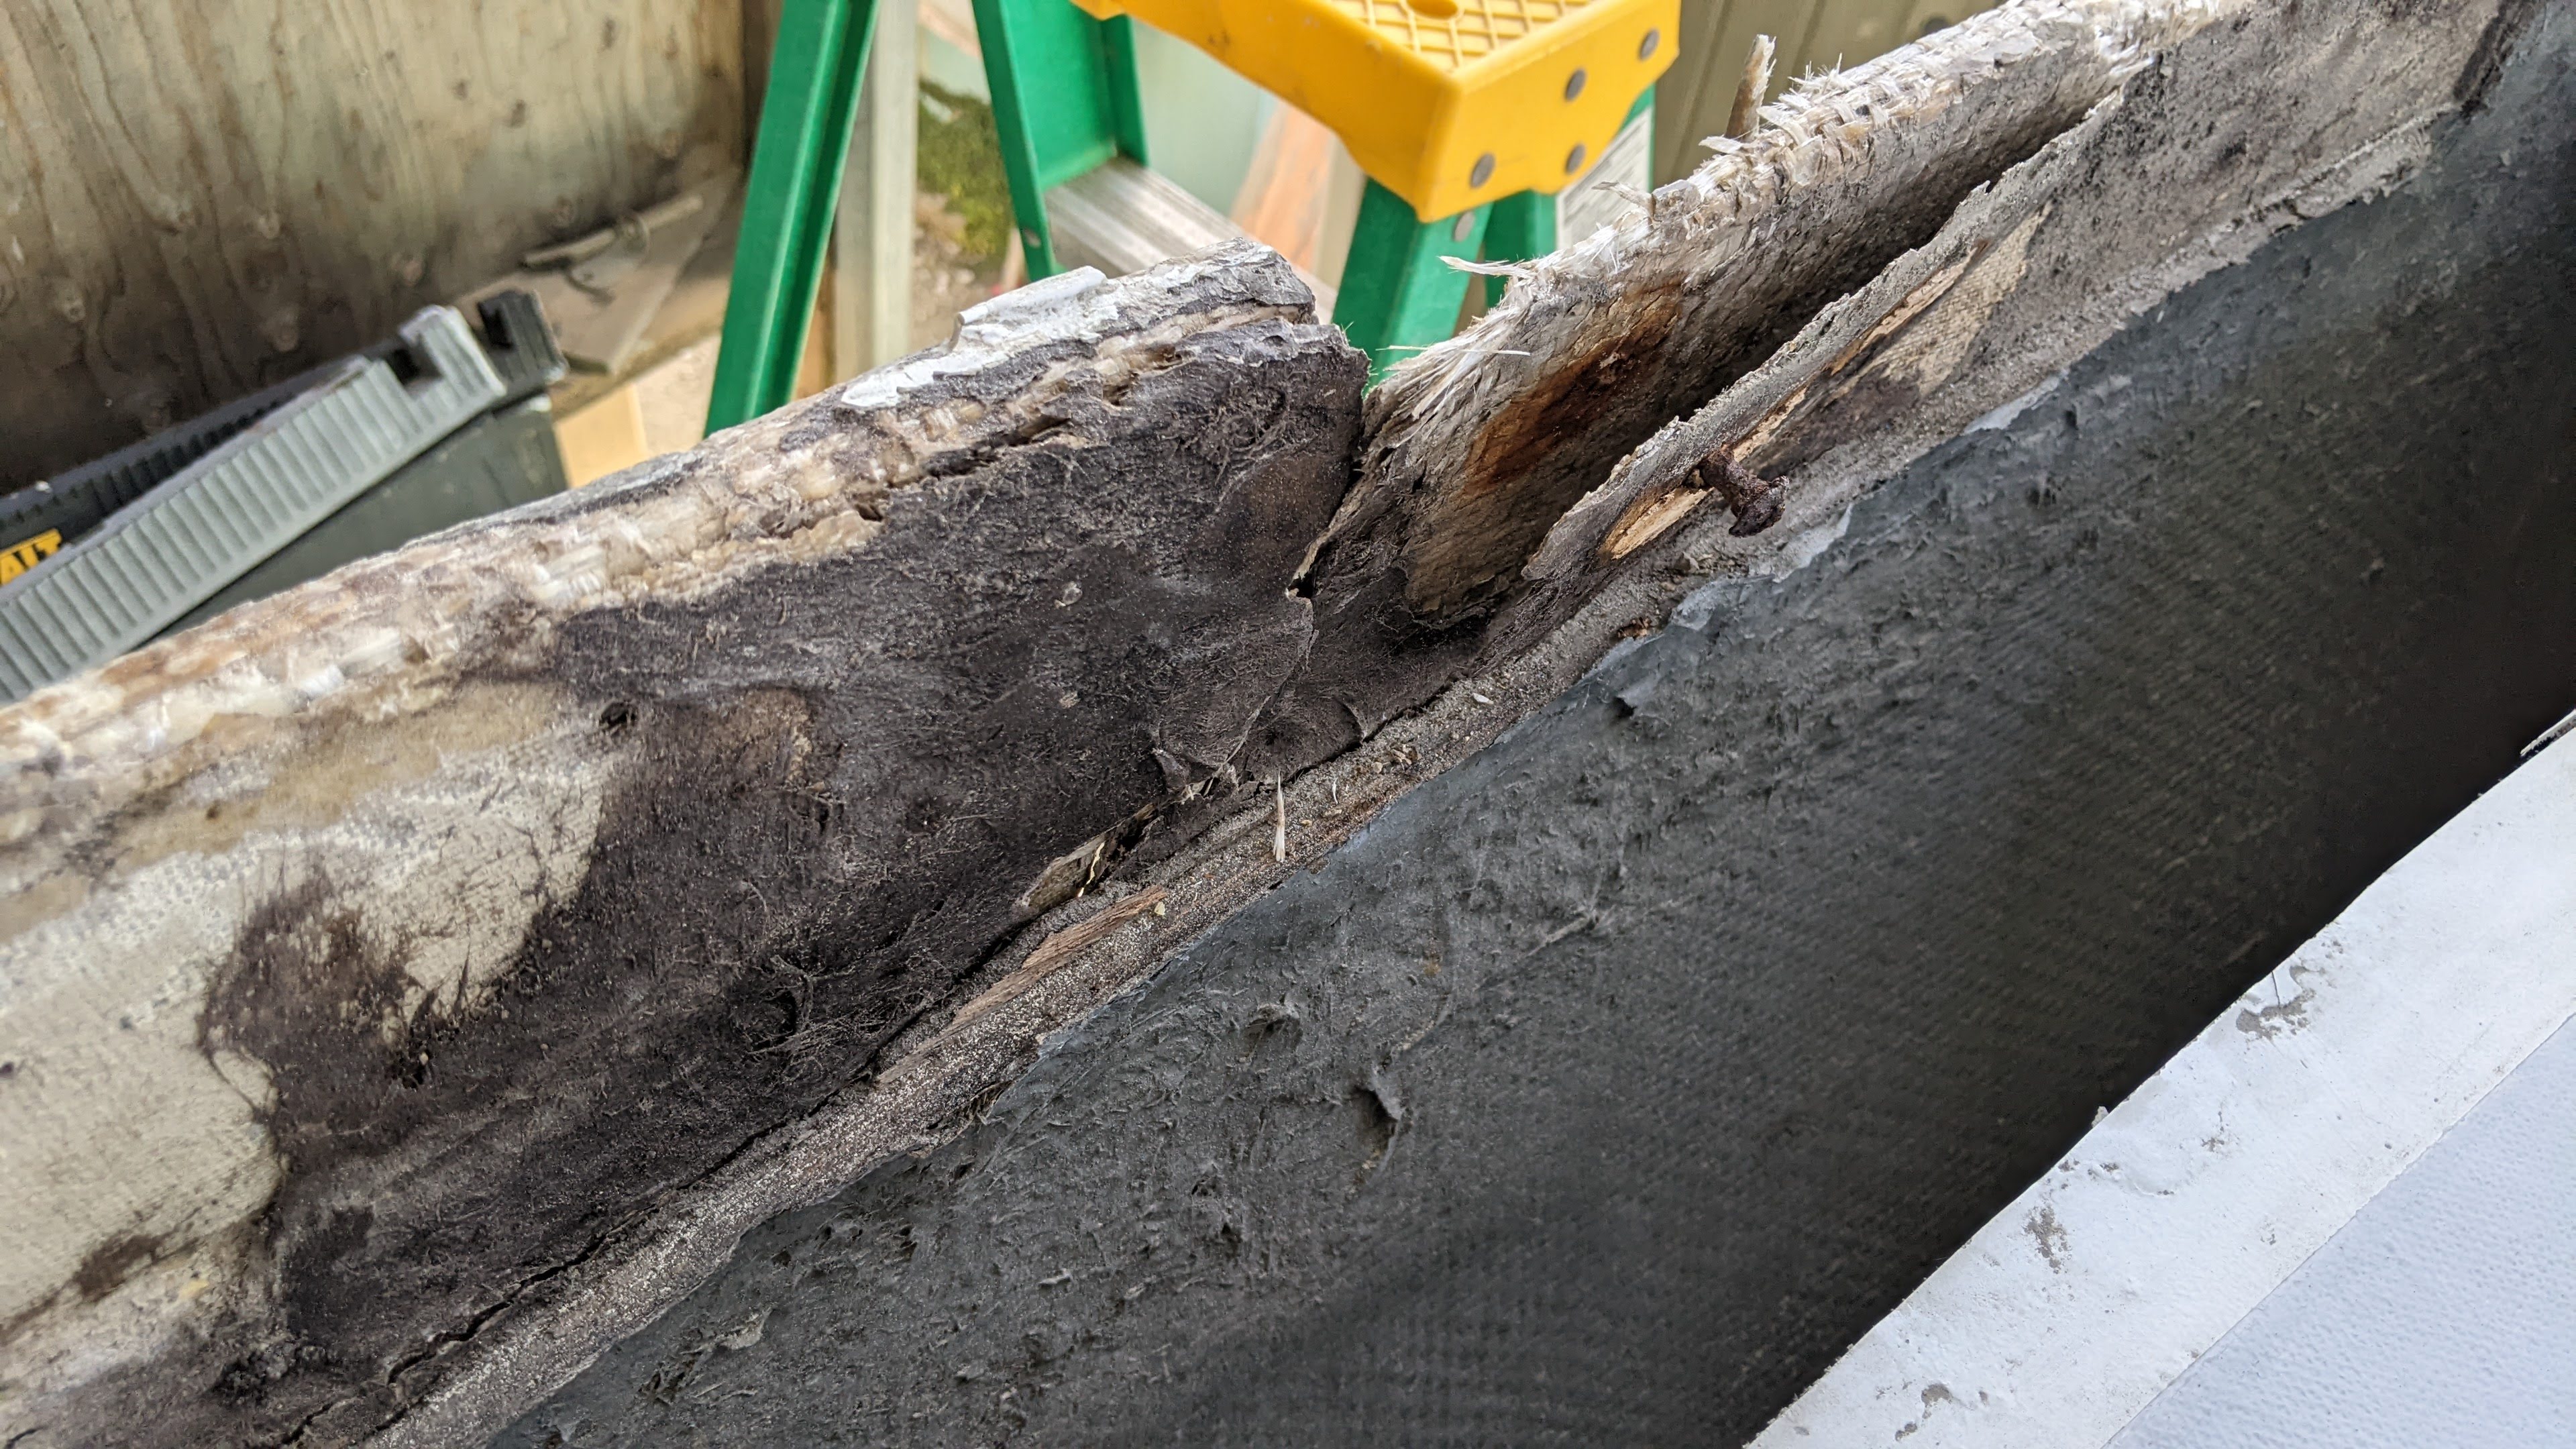
Some previous bodge-repair saw just layers of stuff jammed in there including wood, wood screws, some hair of some kind, and who knows what else.

Damaged area was about 45" long - diagonal line was from a piece of wood that was jammed in there to try and support the area.
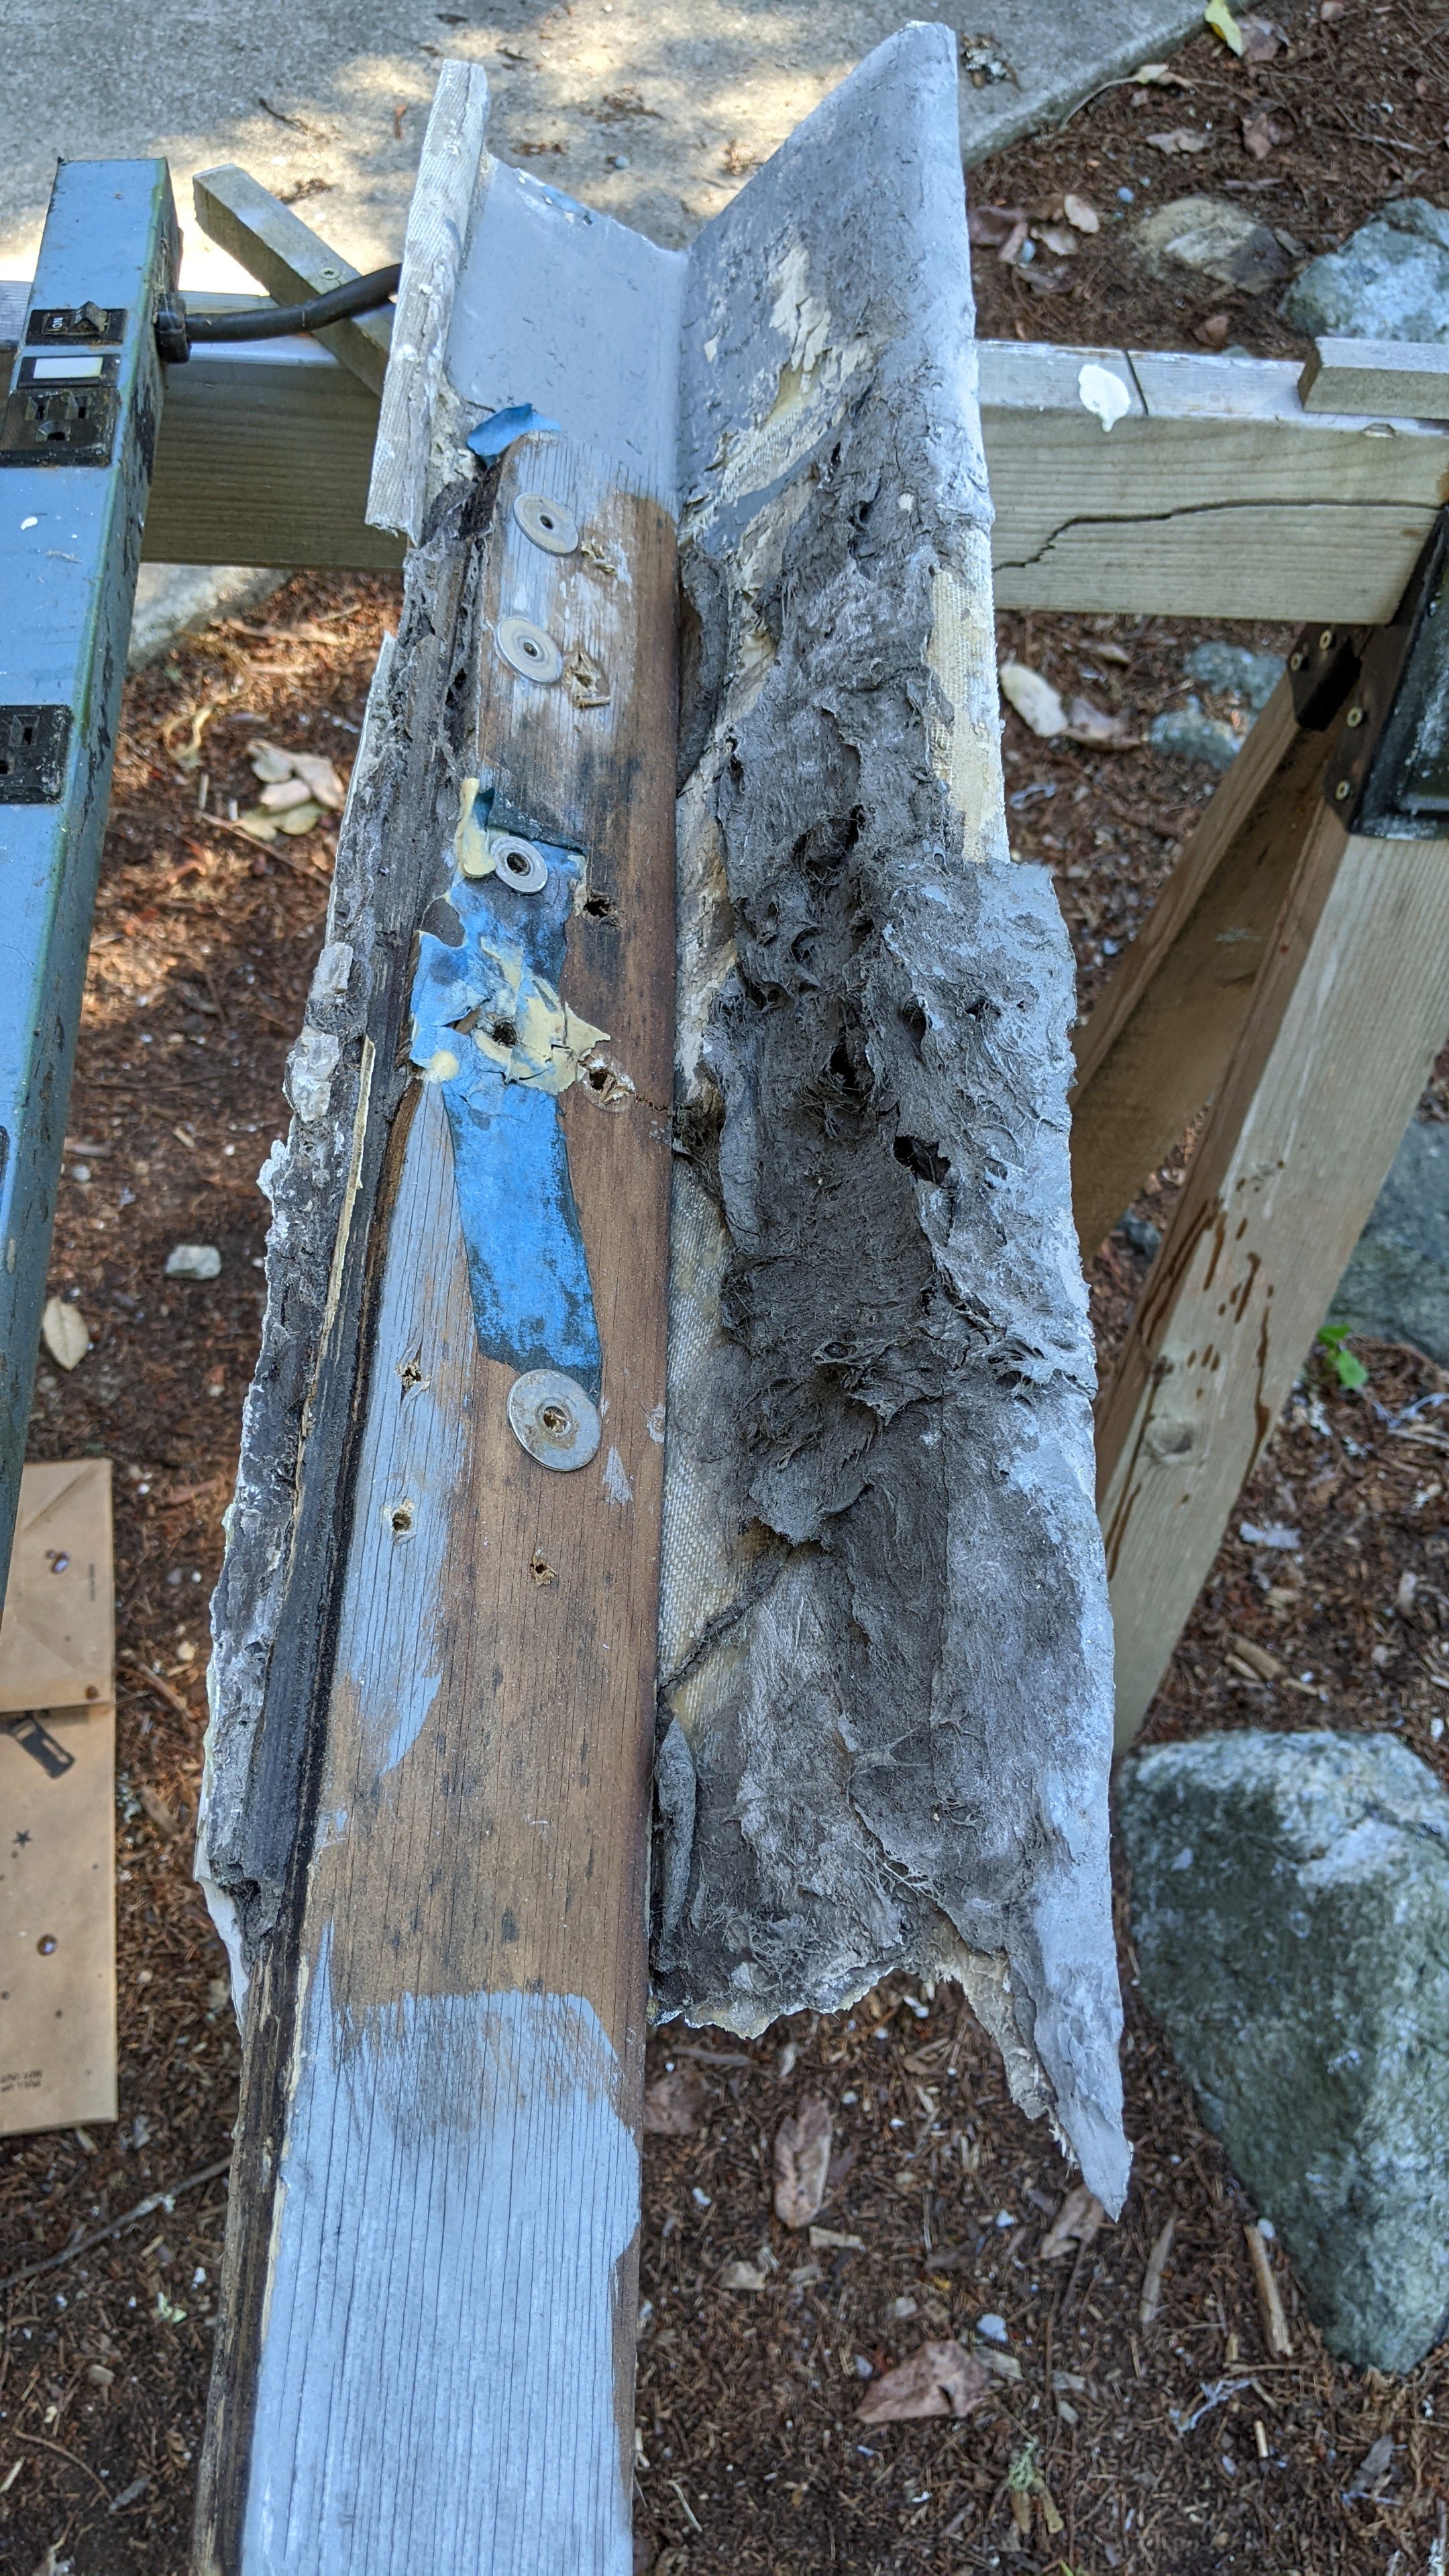
Underneath the section that got cut out. I honestly have no idea what this stuff is. Probably asbestos [/s].

So, we cut back to good material and figure out our plan.

Some foam insulation with paper glued to the back, and then slit to make a bendable form. This got screwed to the inside to create the shape and give some support to the fiberglass layup on top.

First layer of many on the outside, building up to the outer hull level - mostly bi-axial/hybrid .044, with a single layer of plain-weave on top. Six layers of this stuff makes about 4-5mm of thickness, probably the strongest part of this boat now.

Extra support from the inside to sandwich the existing hull inside the new glass.

Used the cut out gunwhale (top) section as a guide, and made a foam core to create a positive mold for the inside. Did a single layer of plain-weave to create a shaped core that can be bonded inside the top rail.

Yeah, not bad. Curve match is pretty good esp given the hull was hand-laid (as am I....hey-oooo) back in the day and changed shape slightly when the hull structure was compromised.

Created a flat sheet to for the coaming (seat-back), bonded this from underneath, and now we have a buck/core that we can start building up from again. You can see at the edges that the existing material is cut back to create a bevel, so each layer that's put on is slightly larger than the one underneath. Creates this sort of growing layer so your last layer should be all the way out to the edges and near the height of the existing surface(s).

First layer of many - again, mostly bi-axial/hybrid, 6 layers, plain-weave last on top.

More on the inside until we're basically back up to the existing surface.
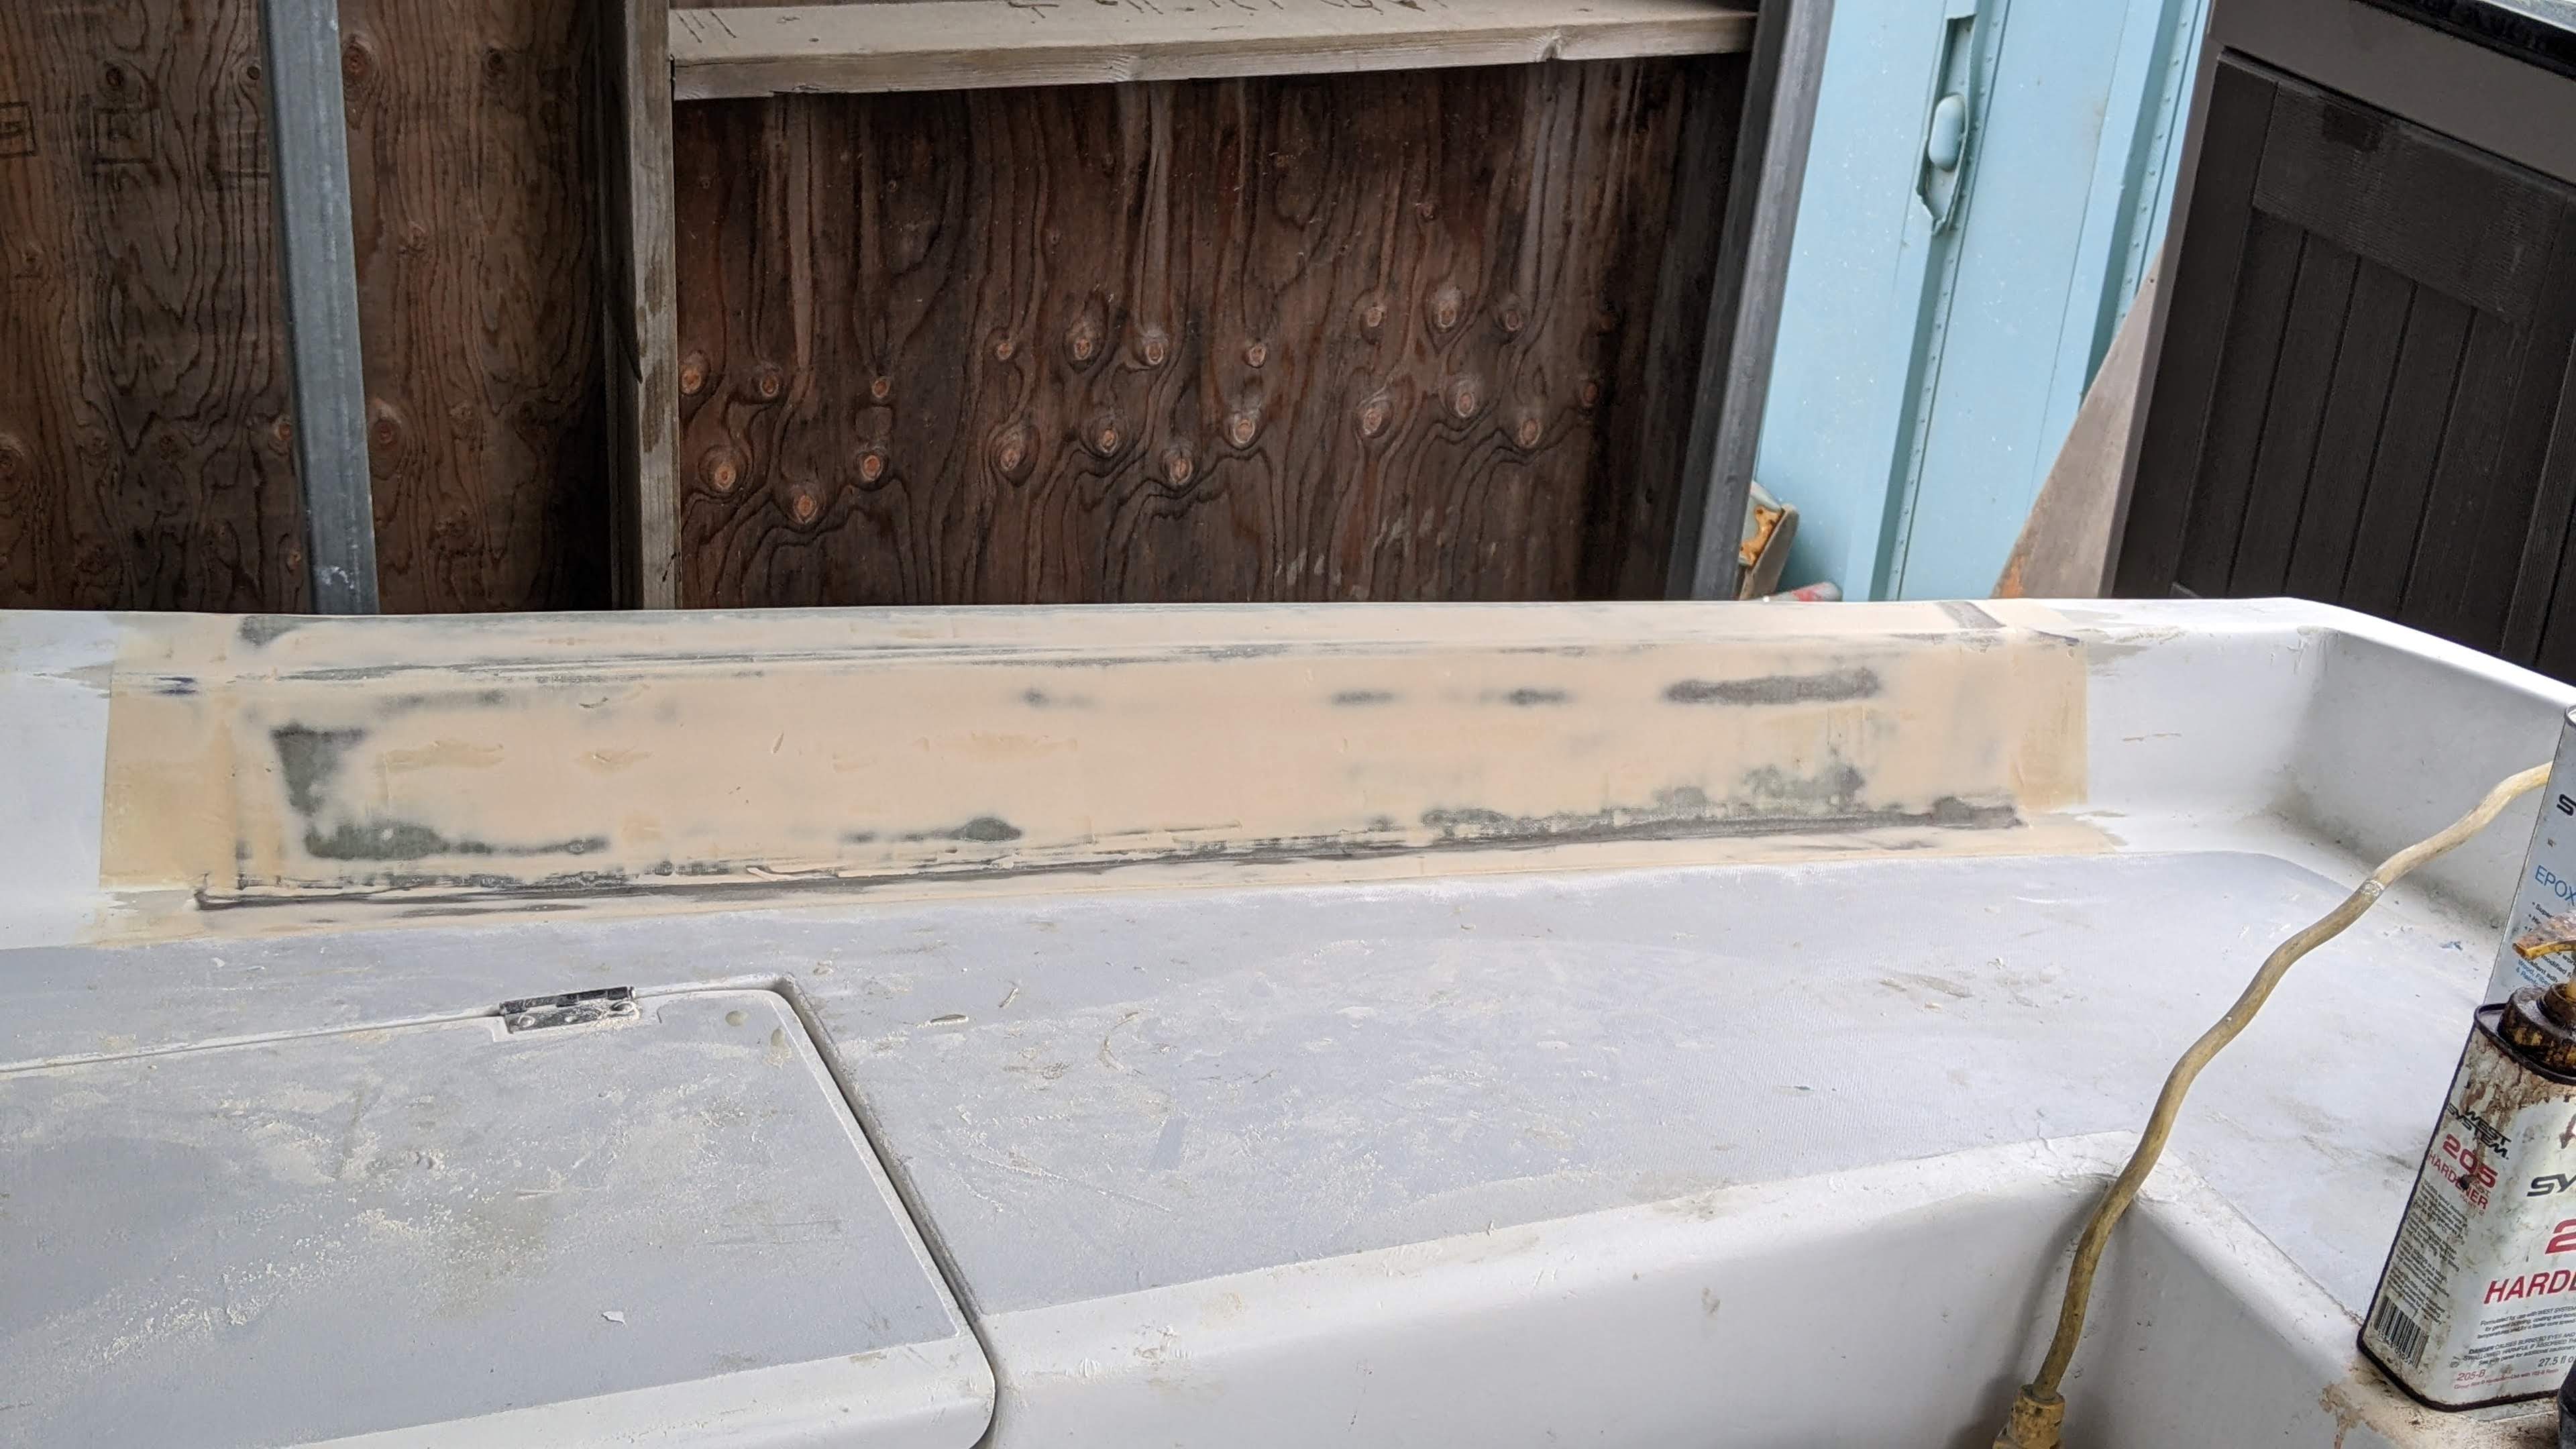
Then we start fairing (ie. boat-bondo) to create a smooth shape and blend into the existing material. One of those deals where you put a bunch on, and then sand most of it back off - then do it again.

Eh, not bad, you can see a few high spots (dark patches) that will need to be dealt with - or not. Put more on, sand it off.

Standing back, smooth to the hand, so close enough. Apply a thin coat of barrier epoxy to seal the fairing material before priming.

Primer! (Rustoleum Marine). Put it on, sand it off. There's a theme going on here.

More primer on the inside. One more coat to go.

Top-side paint applied - this is the Rustoleum Gloss White boat paint. Kinda weird stuff to work with, but it dries hard as nails when it's done...which is kinda what you want.
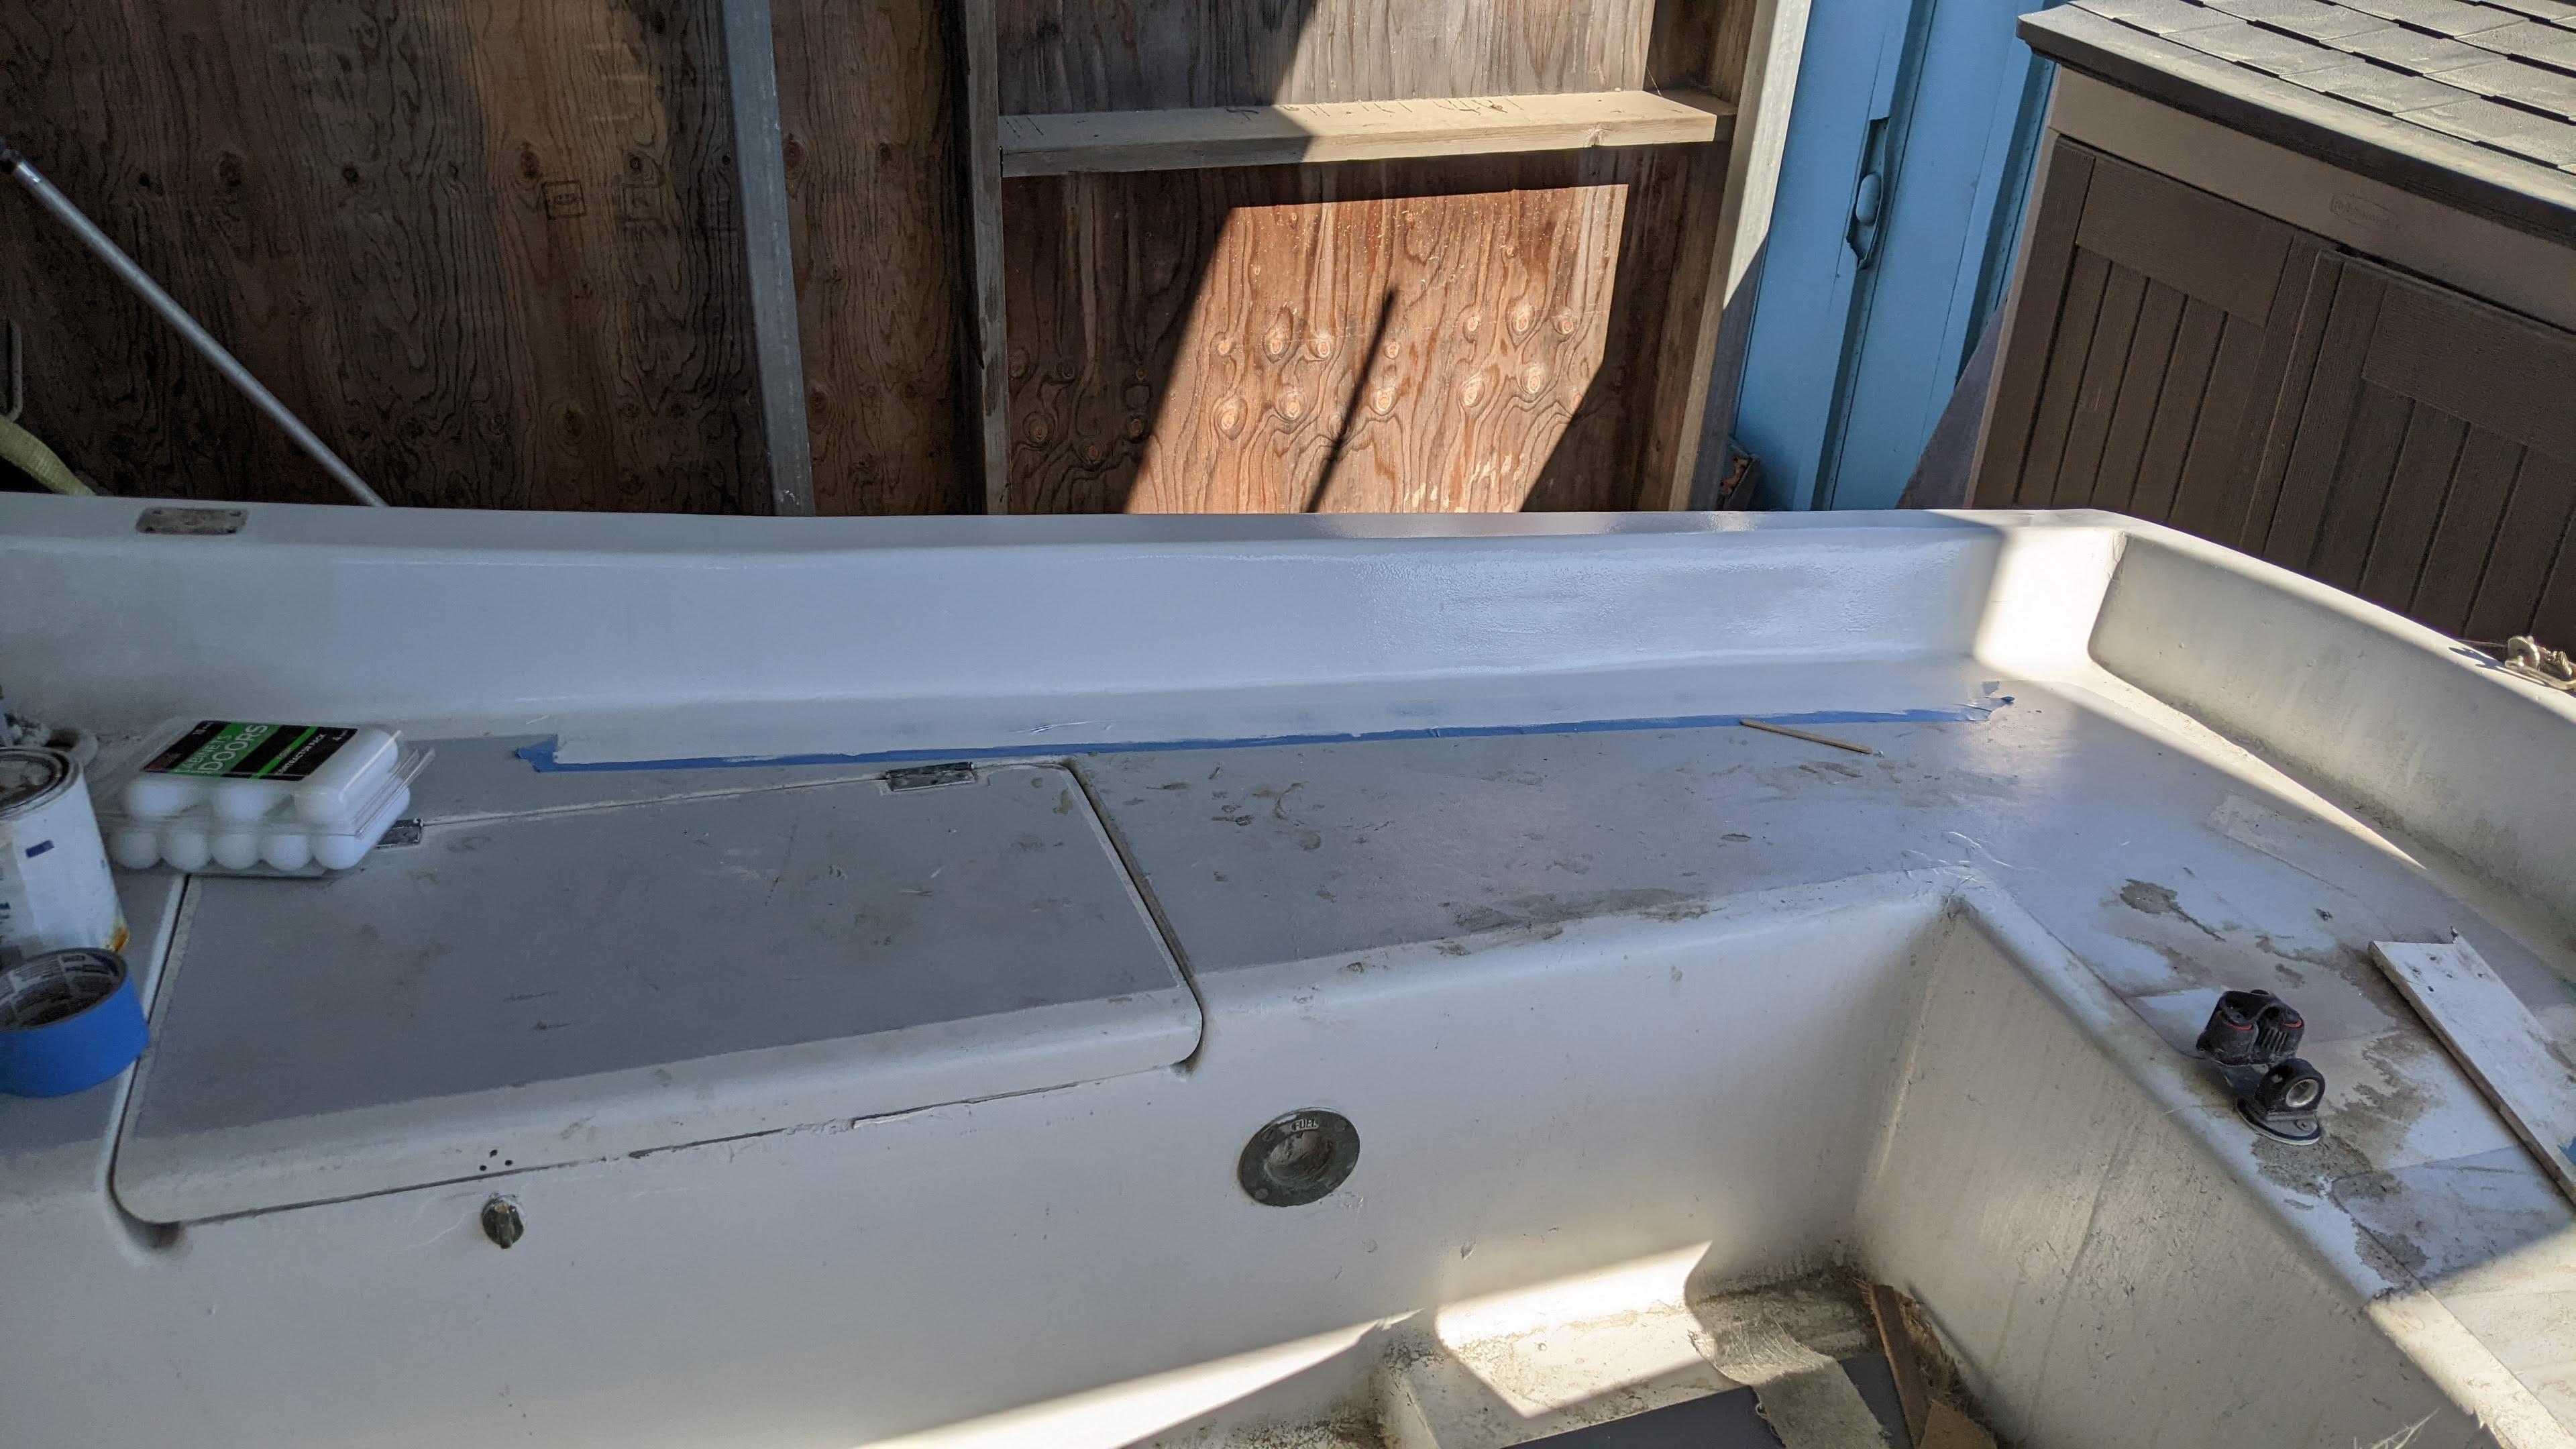
This is the semi-gloss, which for some reason dries nearly matte. Not like any semi-gloss I've seen before. You don't want a lot of shine on the top side as it just glares really badly in the sun, and you kinda need to see sometimes.

Semi-gloss, now dried and turns matte. Ooooookay.

Stripe re-applied and the fiberglass and paint is done. All that's left is to reattach topside hardware, put the rub-rail back on, and it's done just in time for the end of sailing season! Took most of the summer (March till October) and learned a lot, but glad it's done.
SennenGoroshi
Should have just used Ramen
abeansits
Boat - break out another thousand
SithElephant
Congratulations on your new hole in the water.
theringer47
I enjoy this type of content thank you for this!
SwankyPotato
Maybe you should’ve used ramen @OP
flornholio
In keeping with the boat theme I guess...