HolyTreacon
2957
58
5

I built my first ever Desk Build out of nothing!
Of course, as is tradition, the finished pictures are shown first and for those who like to see how this all came to be I will continue below with my build log of sorts.

Jay has been a great inspiration for my first watercooled build 2 years ago. He and the boys from JayzTwoCents are awesome!


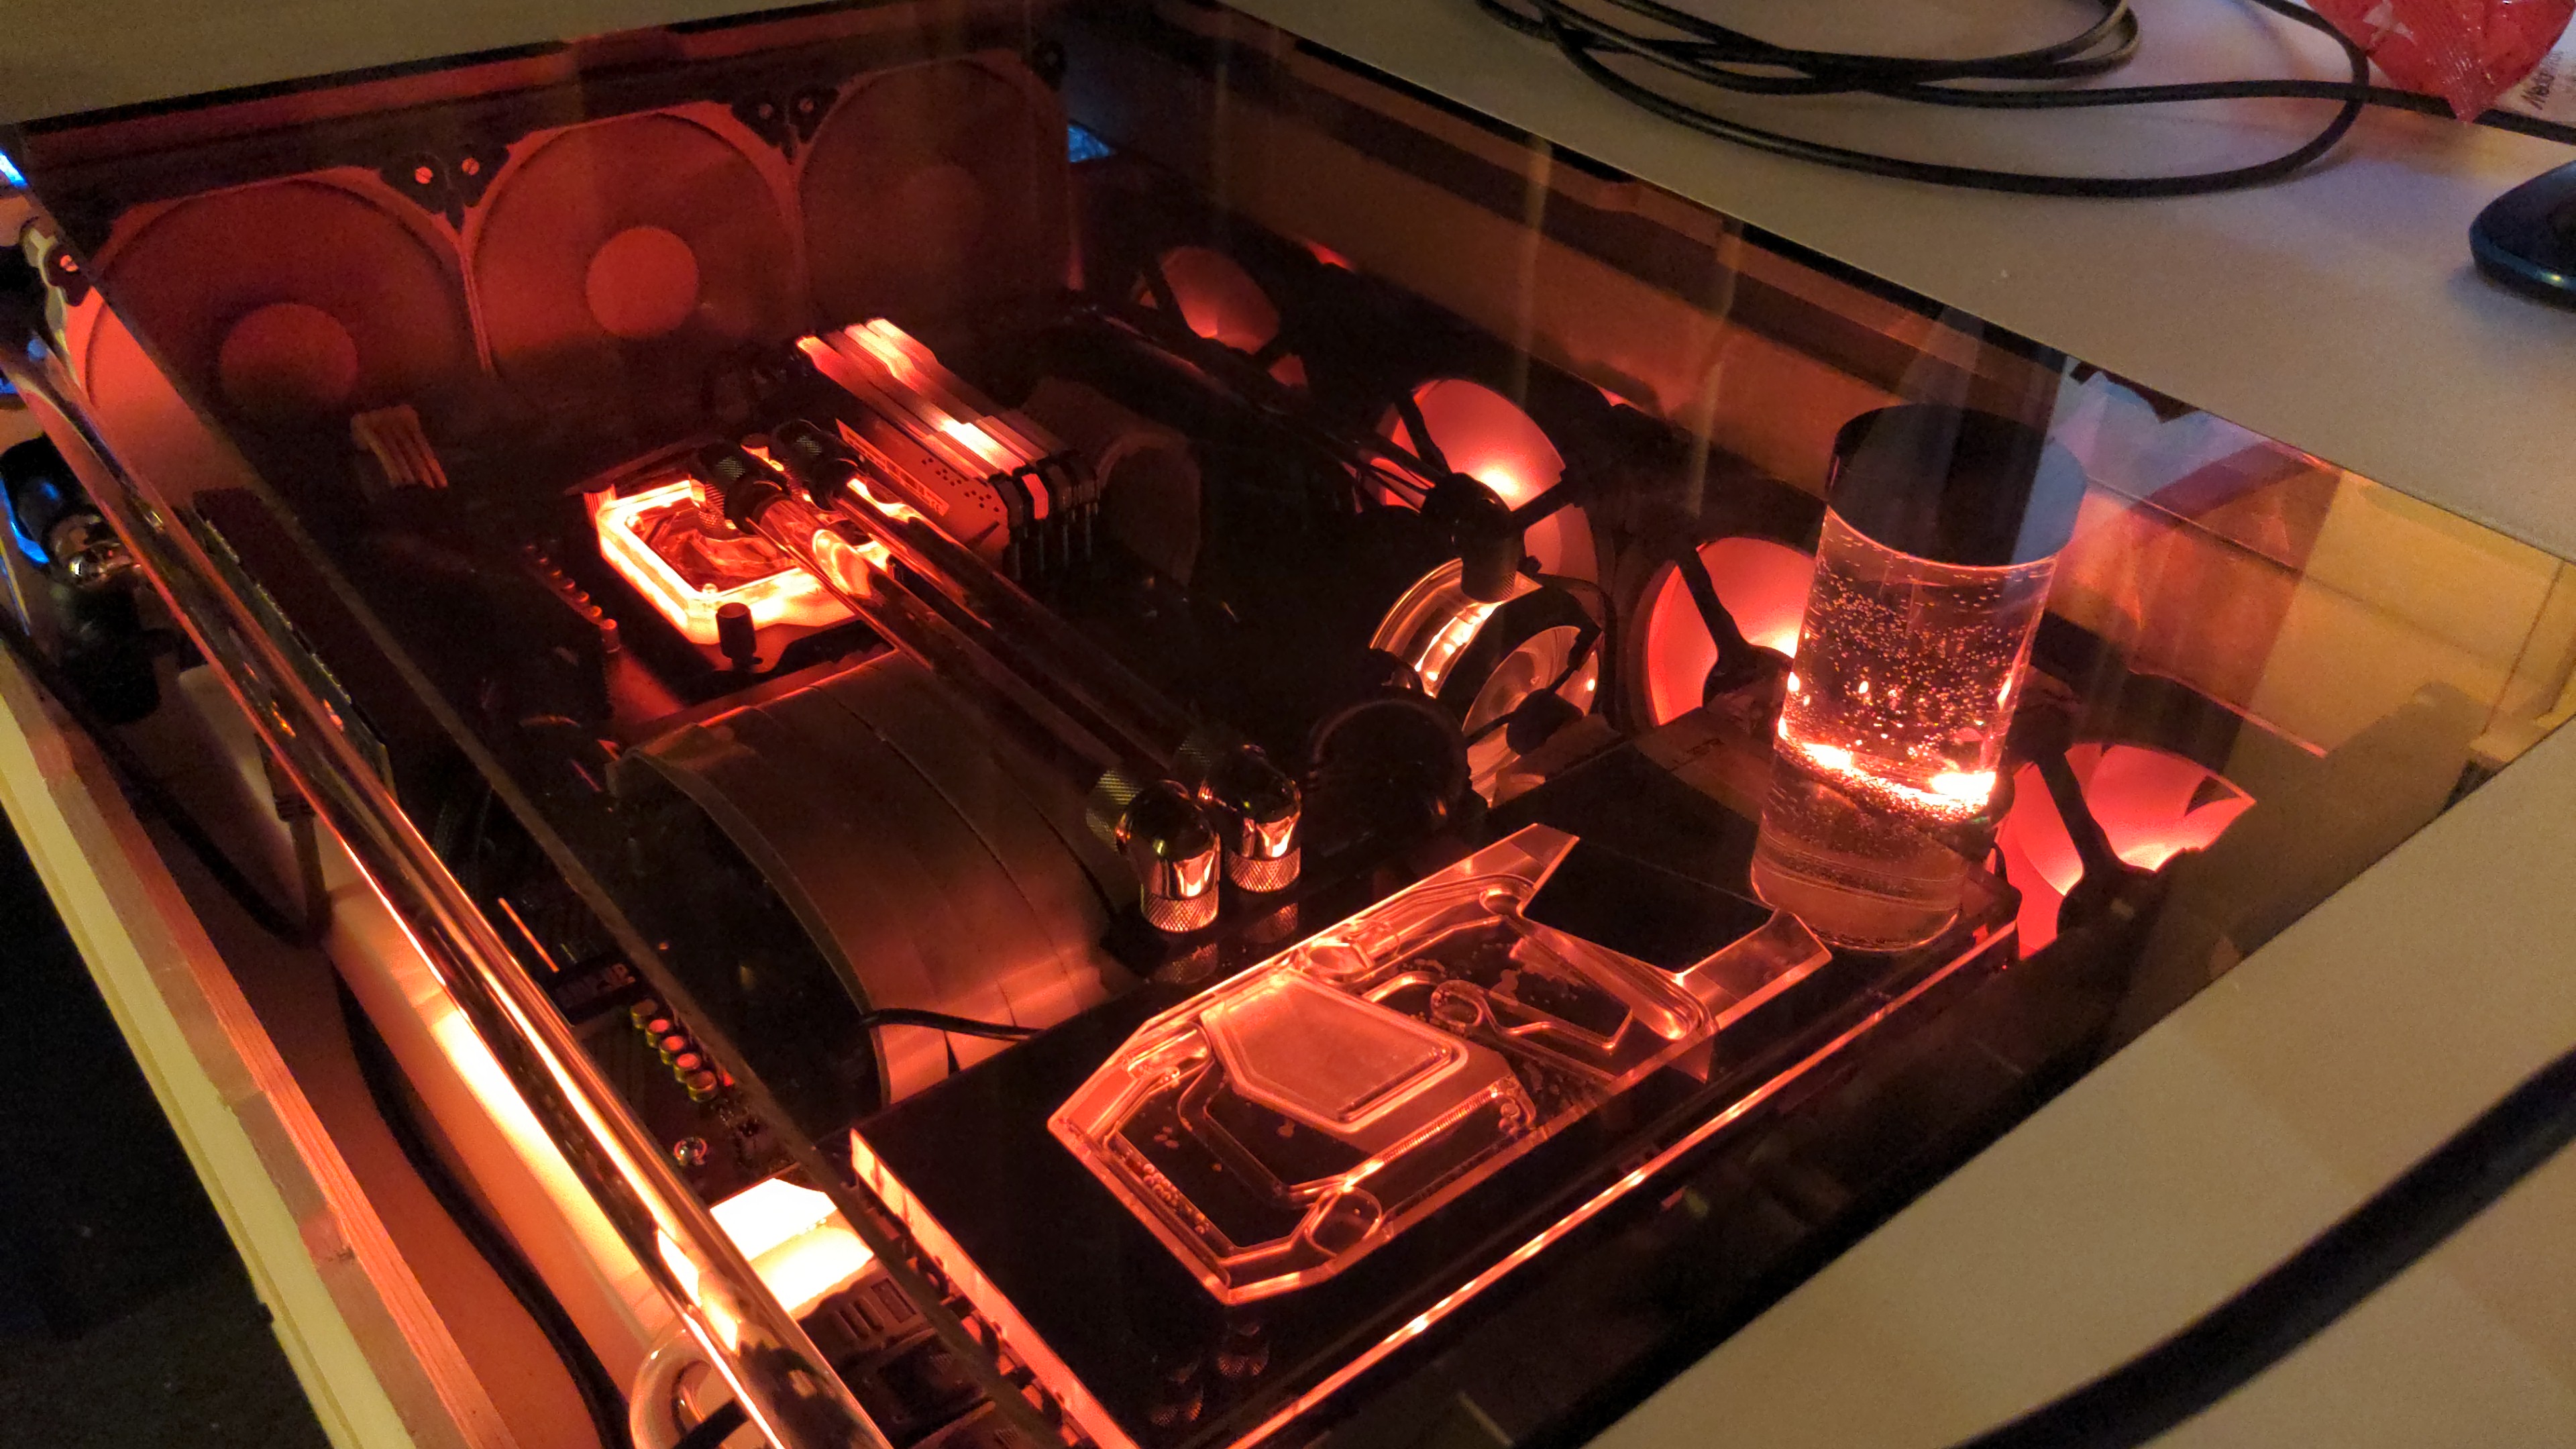
At night


Now to add some closeups of the build without the plates!

Pump to first rad

1st rad to second rad
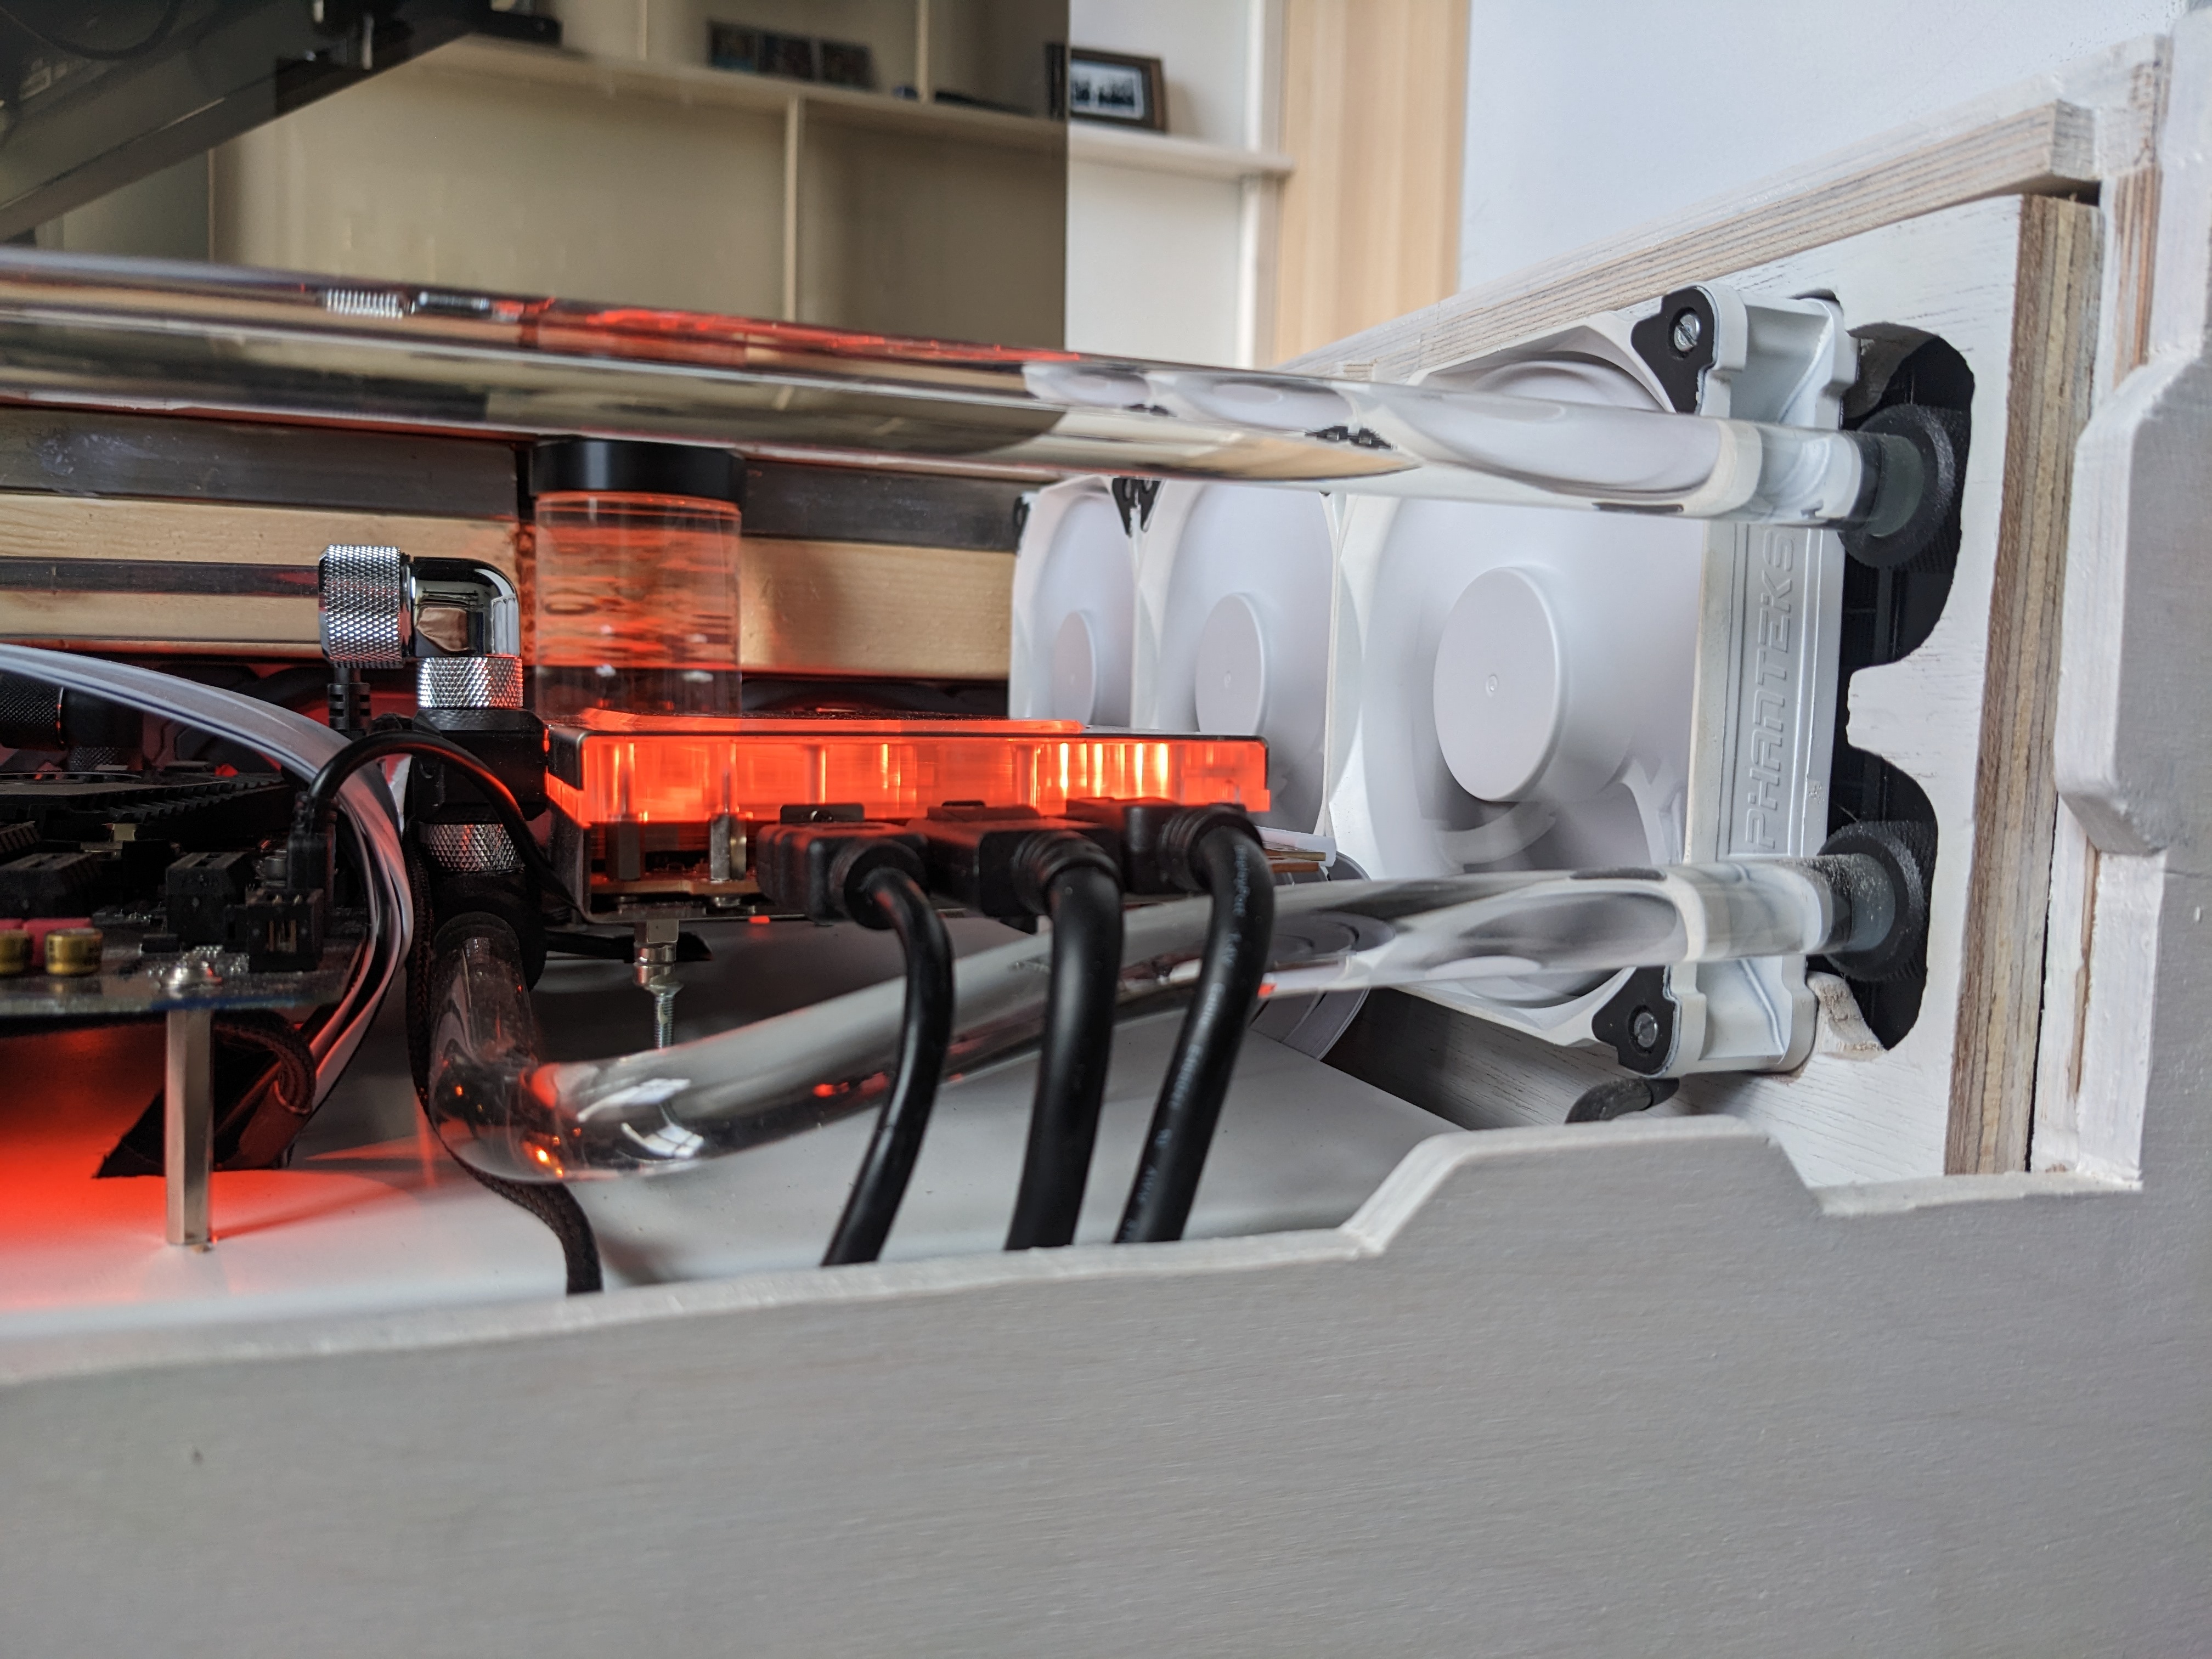
second rad to GPU

Double run (love this a lot) to the CPU then back to the GPU

second rad to GPUAnd finally to the res and into the pump!

Under the Desk there is a second PC for backup/friends visiting

Split the screens!

My previous desk did not leave a lot of room for a friend to sit. I build this desk with this in mind so when we want to play some games together we have all the space we need!
OK, on to the actual build!

This time I took 3 weeks off to do it right. Starting with a little model to give me an idea of how things would fit together. Spoiler: It didn't turn out like I planned x)


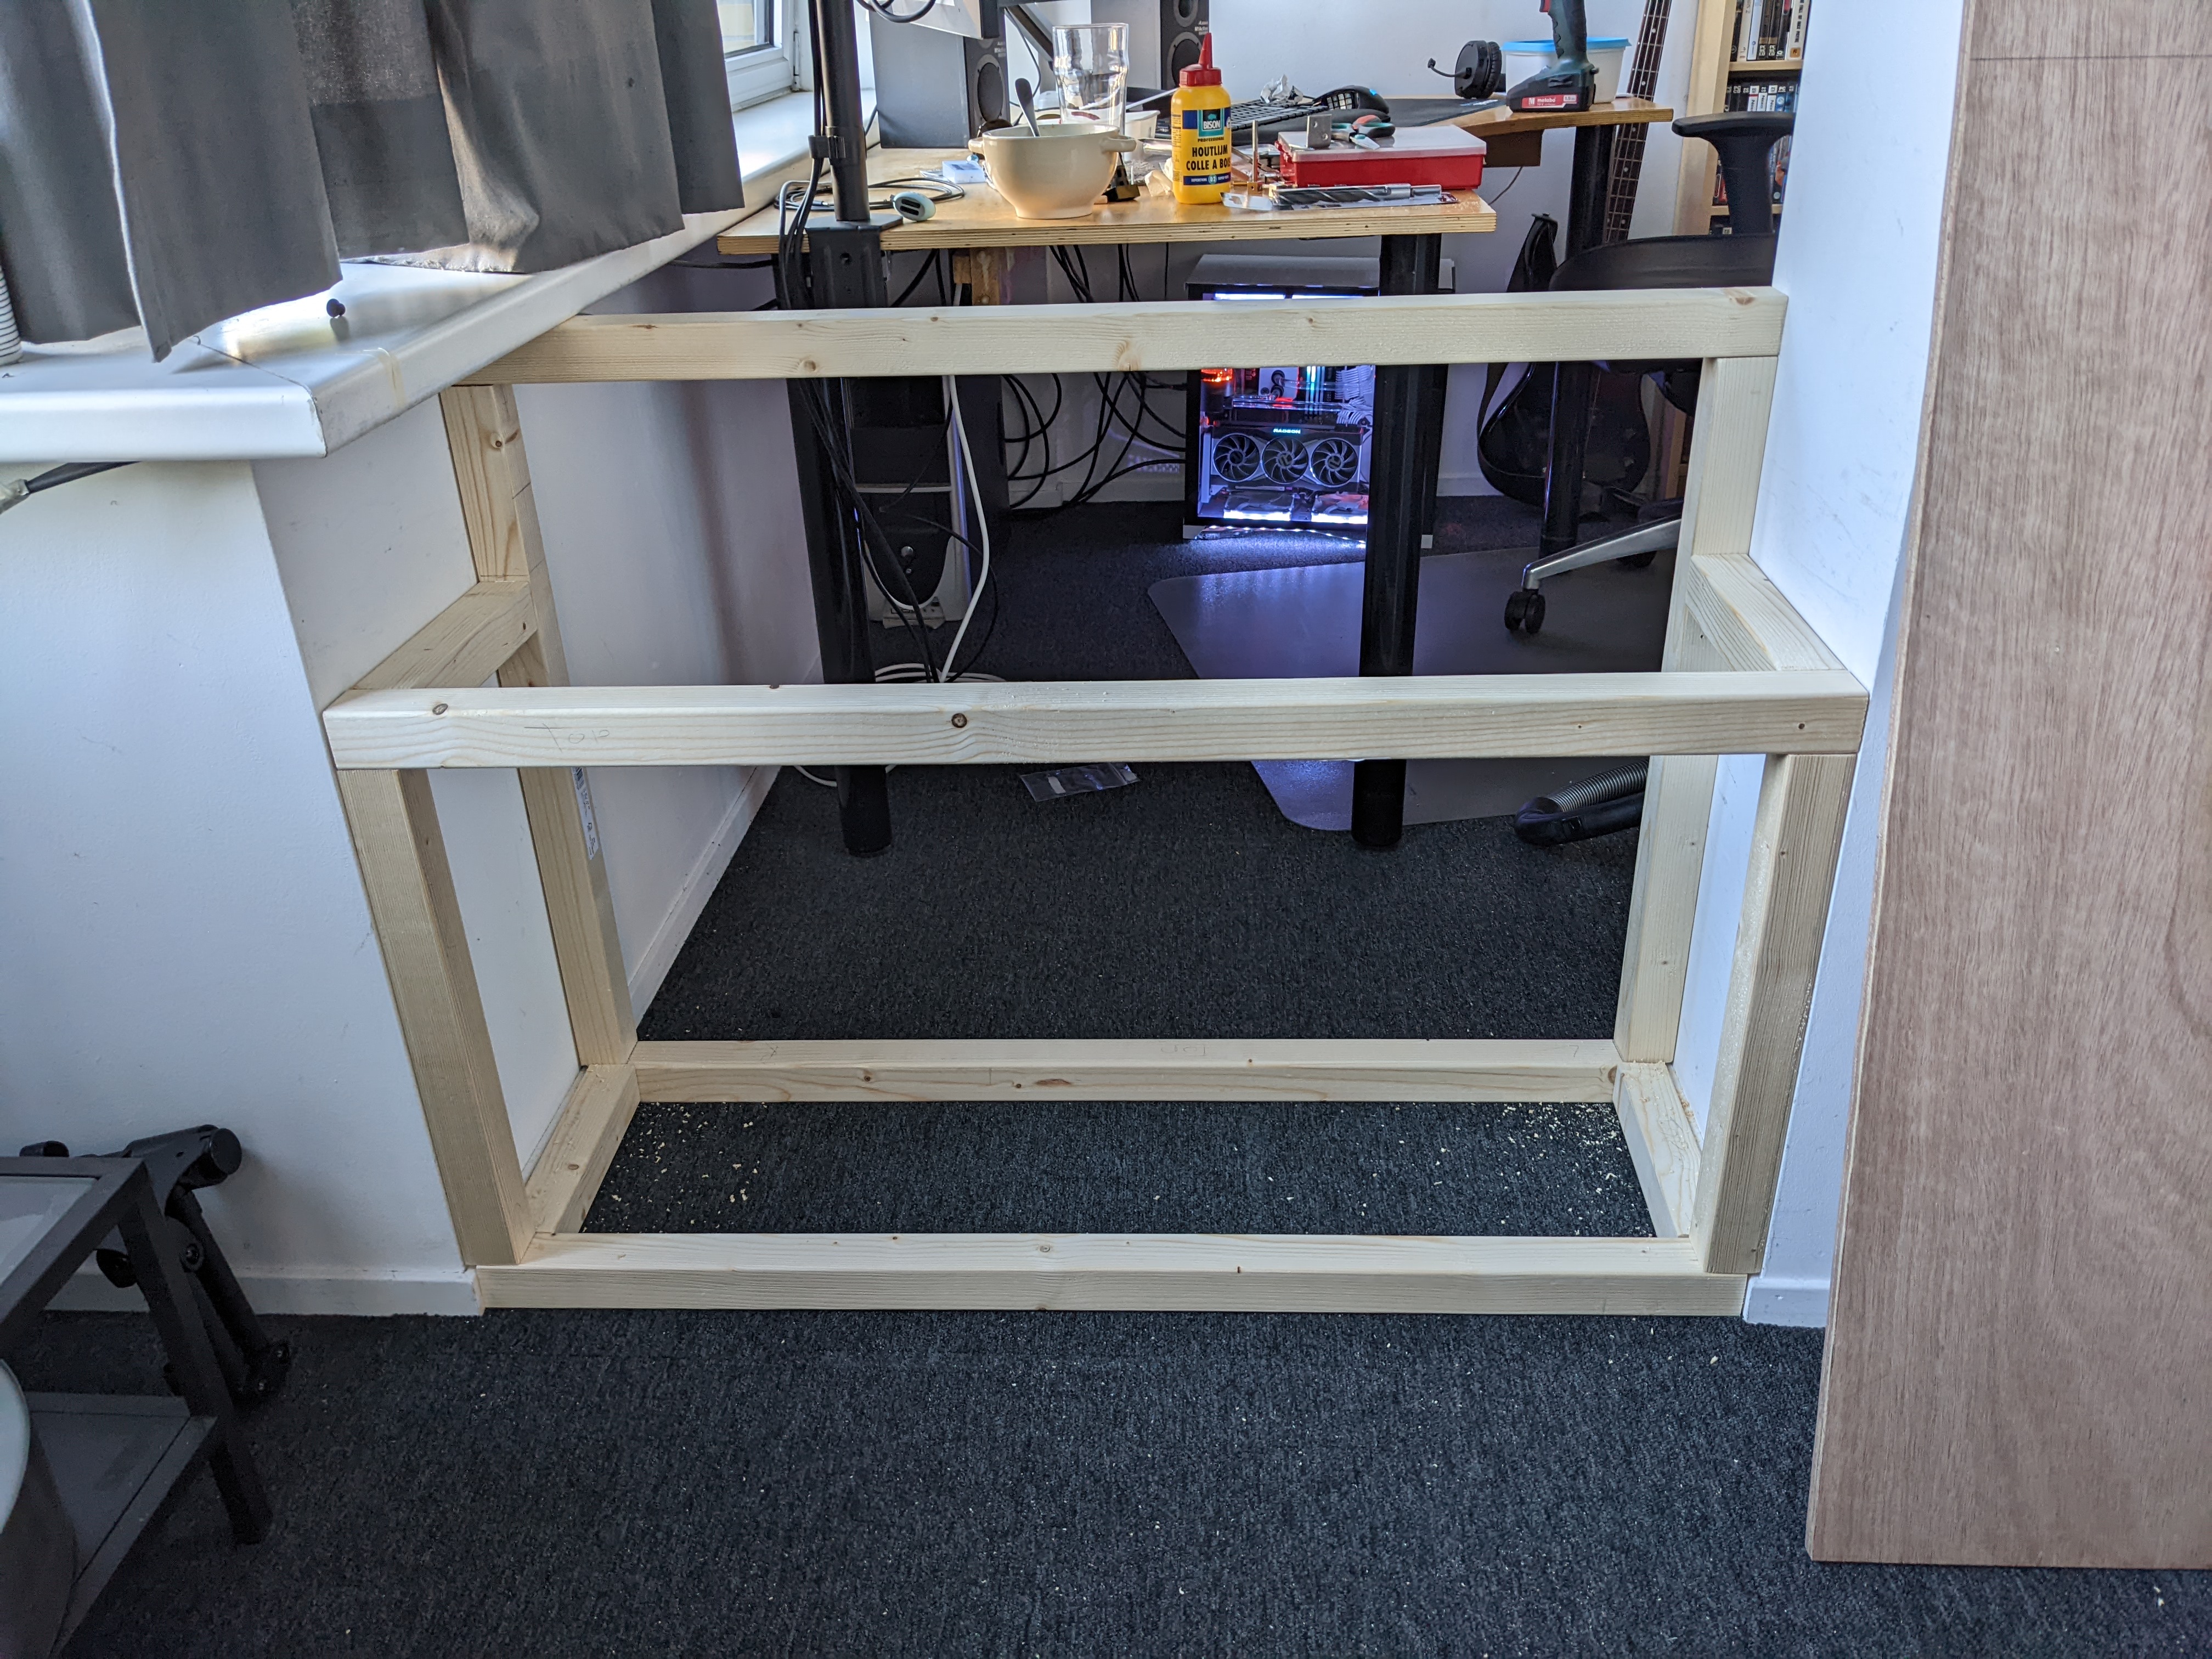
Removed a bit of the old desk and start with the frame!
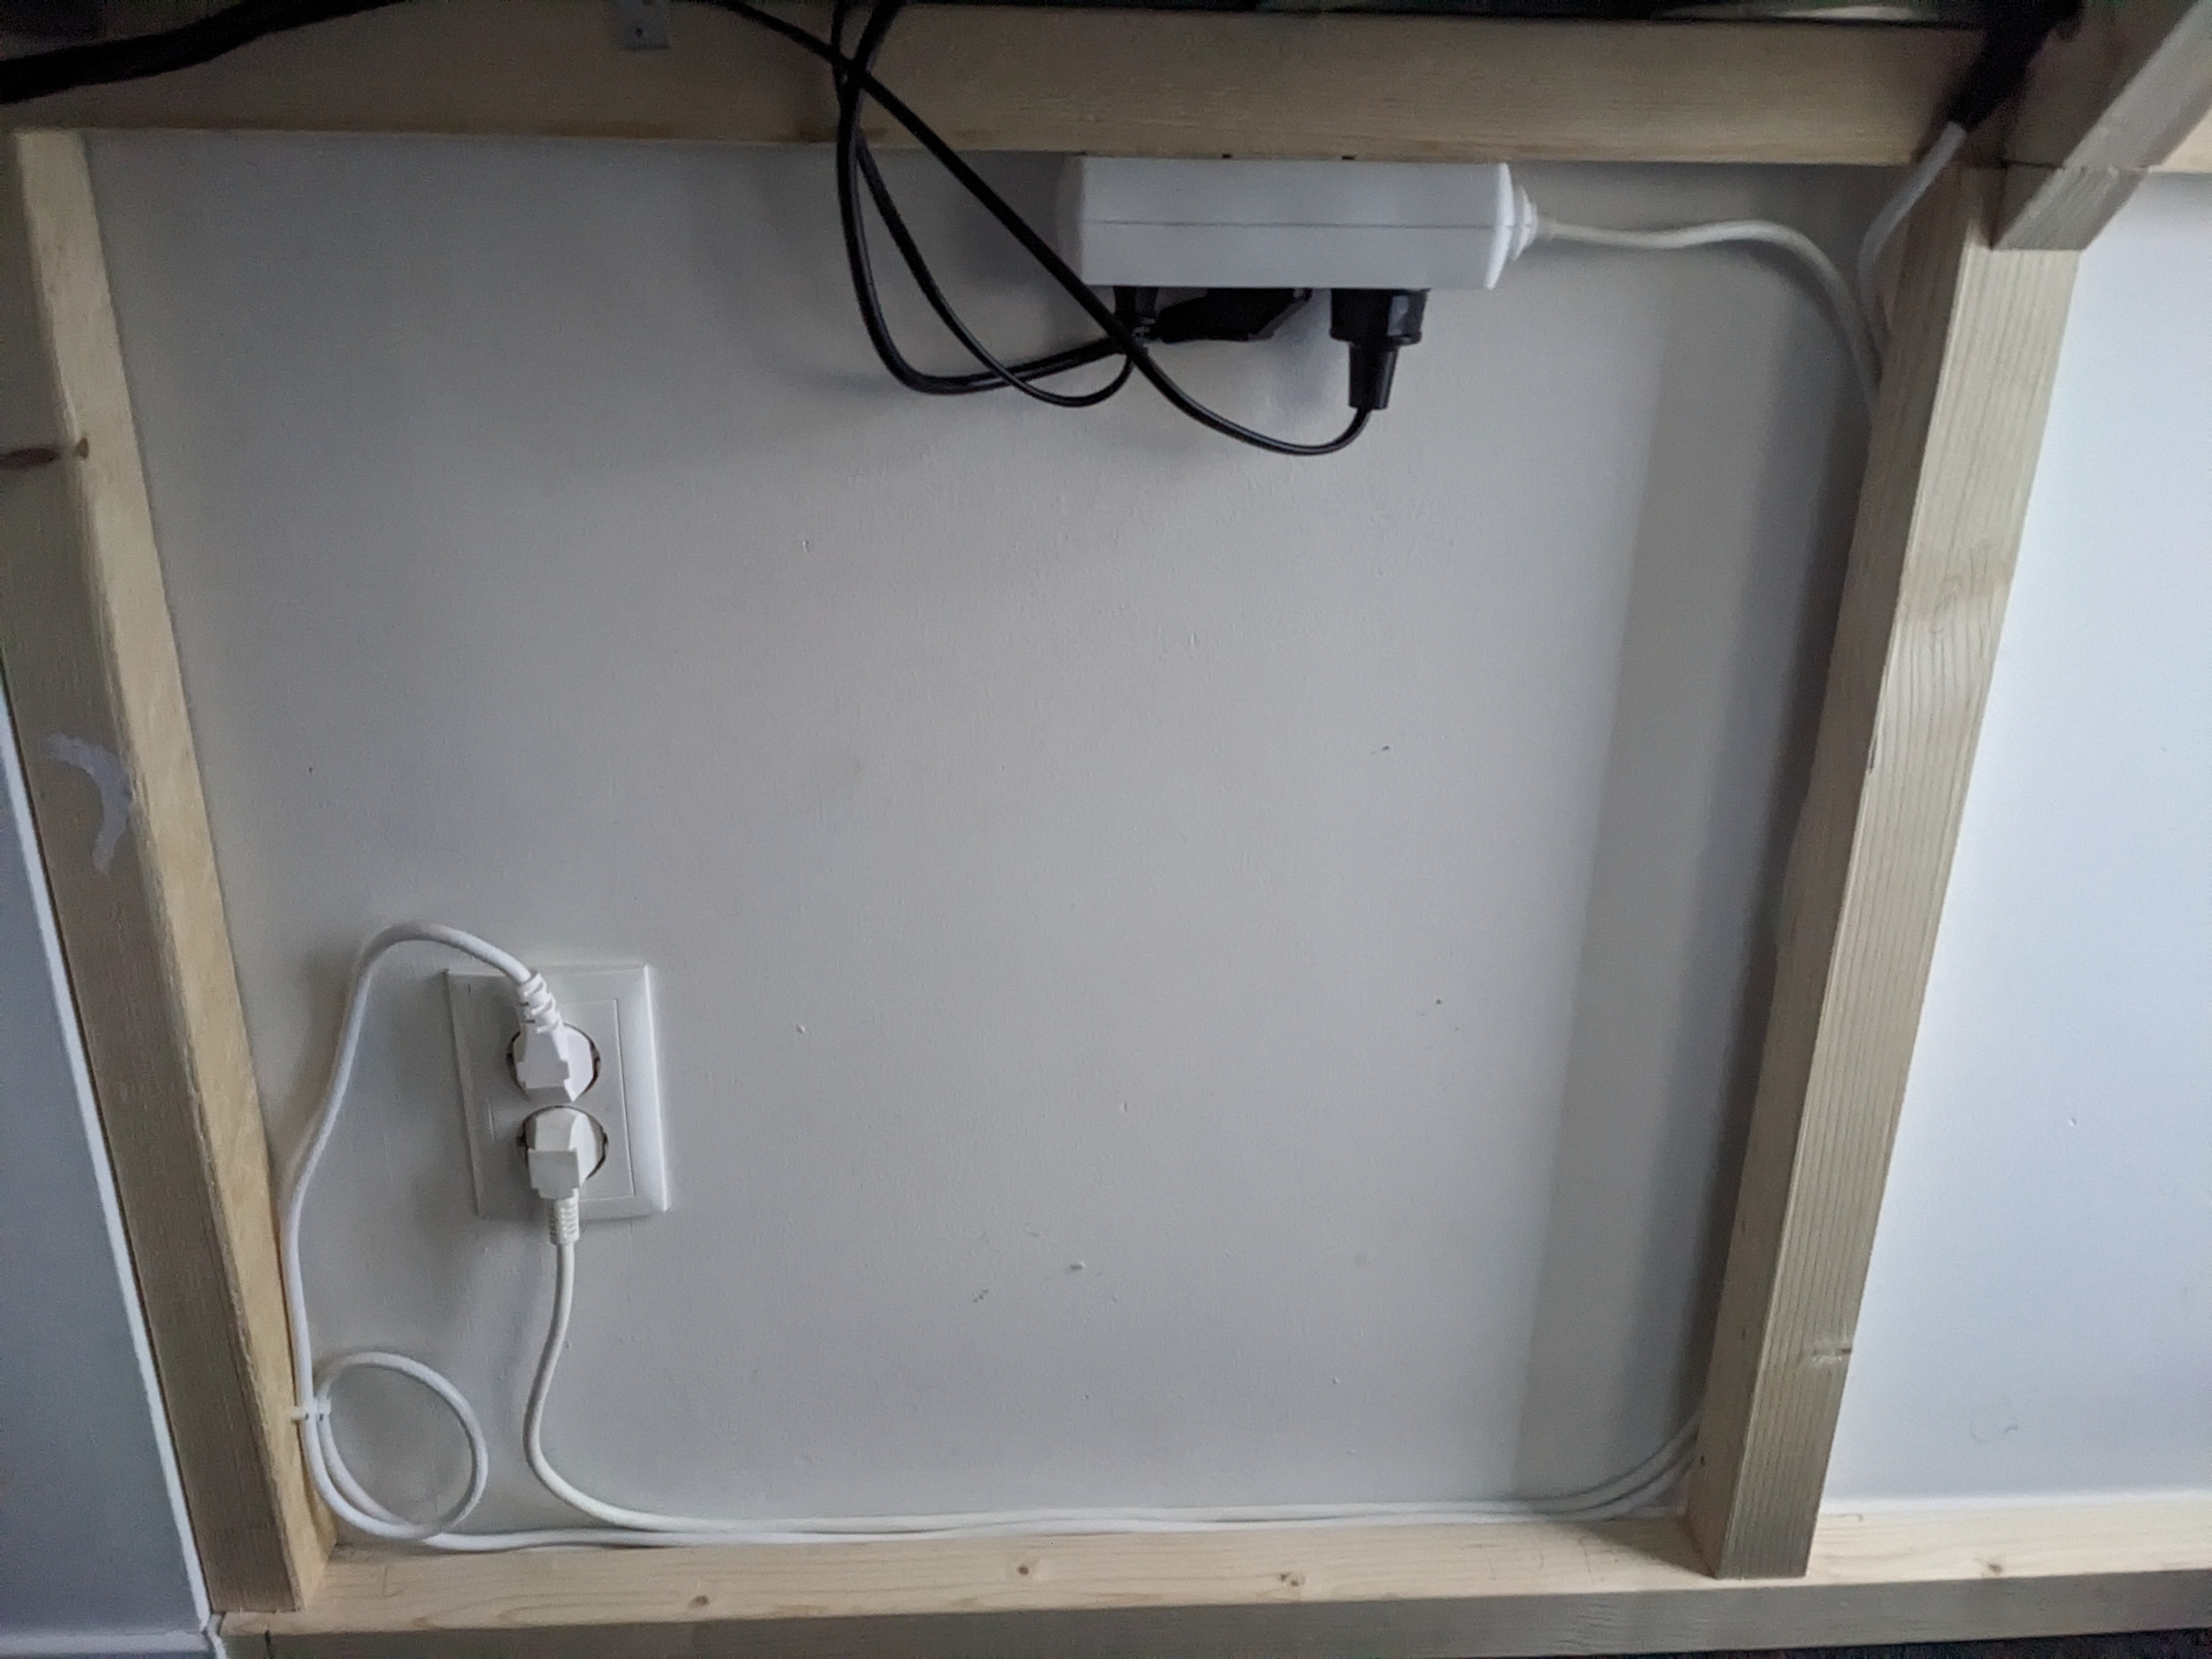
As this is a rental apartment I am not allowed to drill in the walls or that pillar so the whole desk is going to be on frames like this.

Test fit of the PC case bottom

Test fit for the intake fans

Cut the sides of the case where the rads will be mounted on

measuring

not bad!

milling a bit to fit fans later


nice fit!

x2

At this point I need to get rid of the old desk so I can start fitting the new board

perfect fit!

cut some nice holes for the cables and monitorstands

Made some side shelves for random stuff to be on

Adding steel support bars so the desk doesn't actually sag. I ended up adding a 3rd 5x2,5 cm bar because the 2x 2,5cm were not actually enough for the 2 meter long desk top.


This cut was a pretty exciting one. I could not mess up, there is no backup plank and I wasn't about to drop another 200 on new wood. But I had some practice now, and the cut went great. The milling depth for the acrylic plate was perfect too. Very happy with the result!
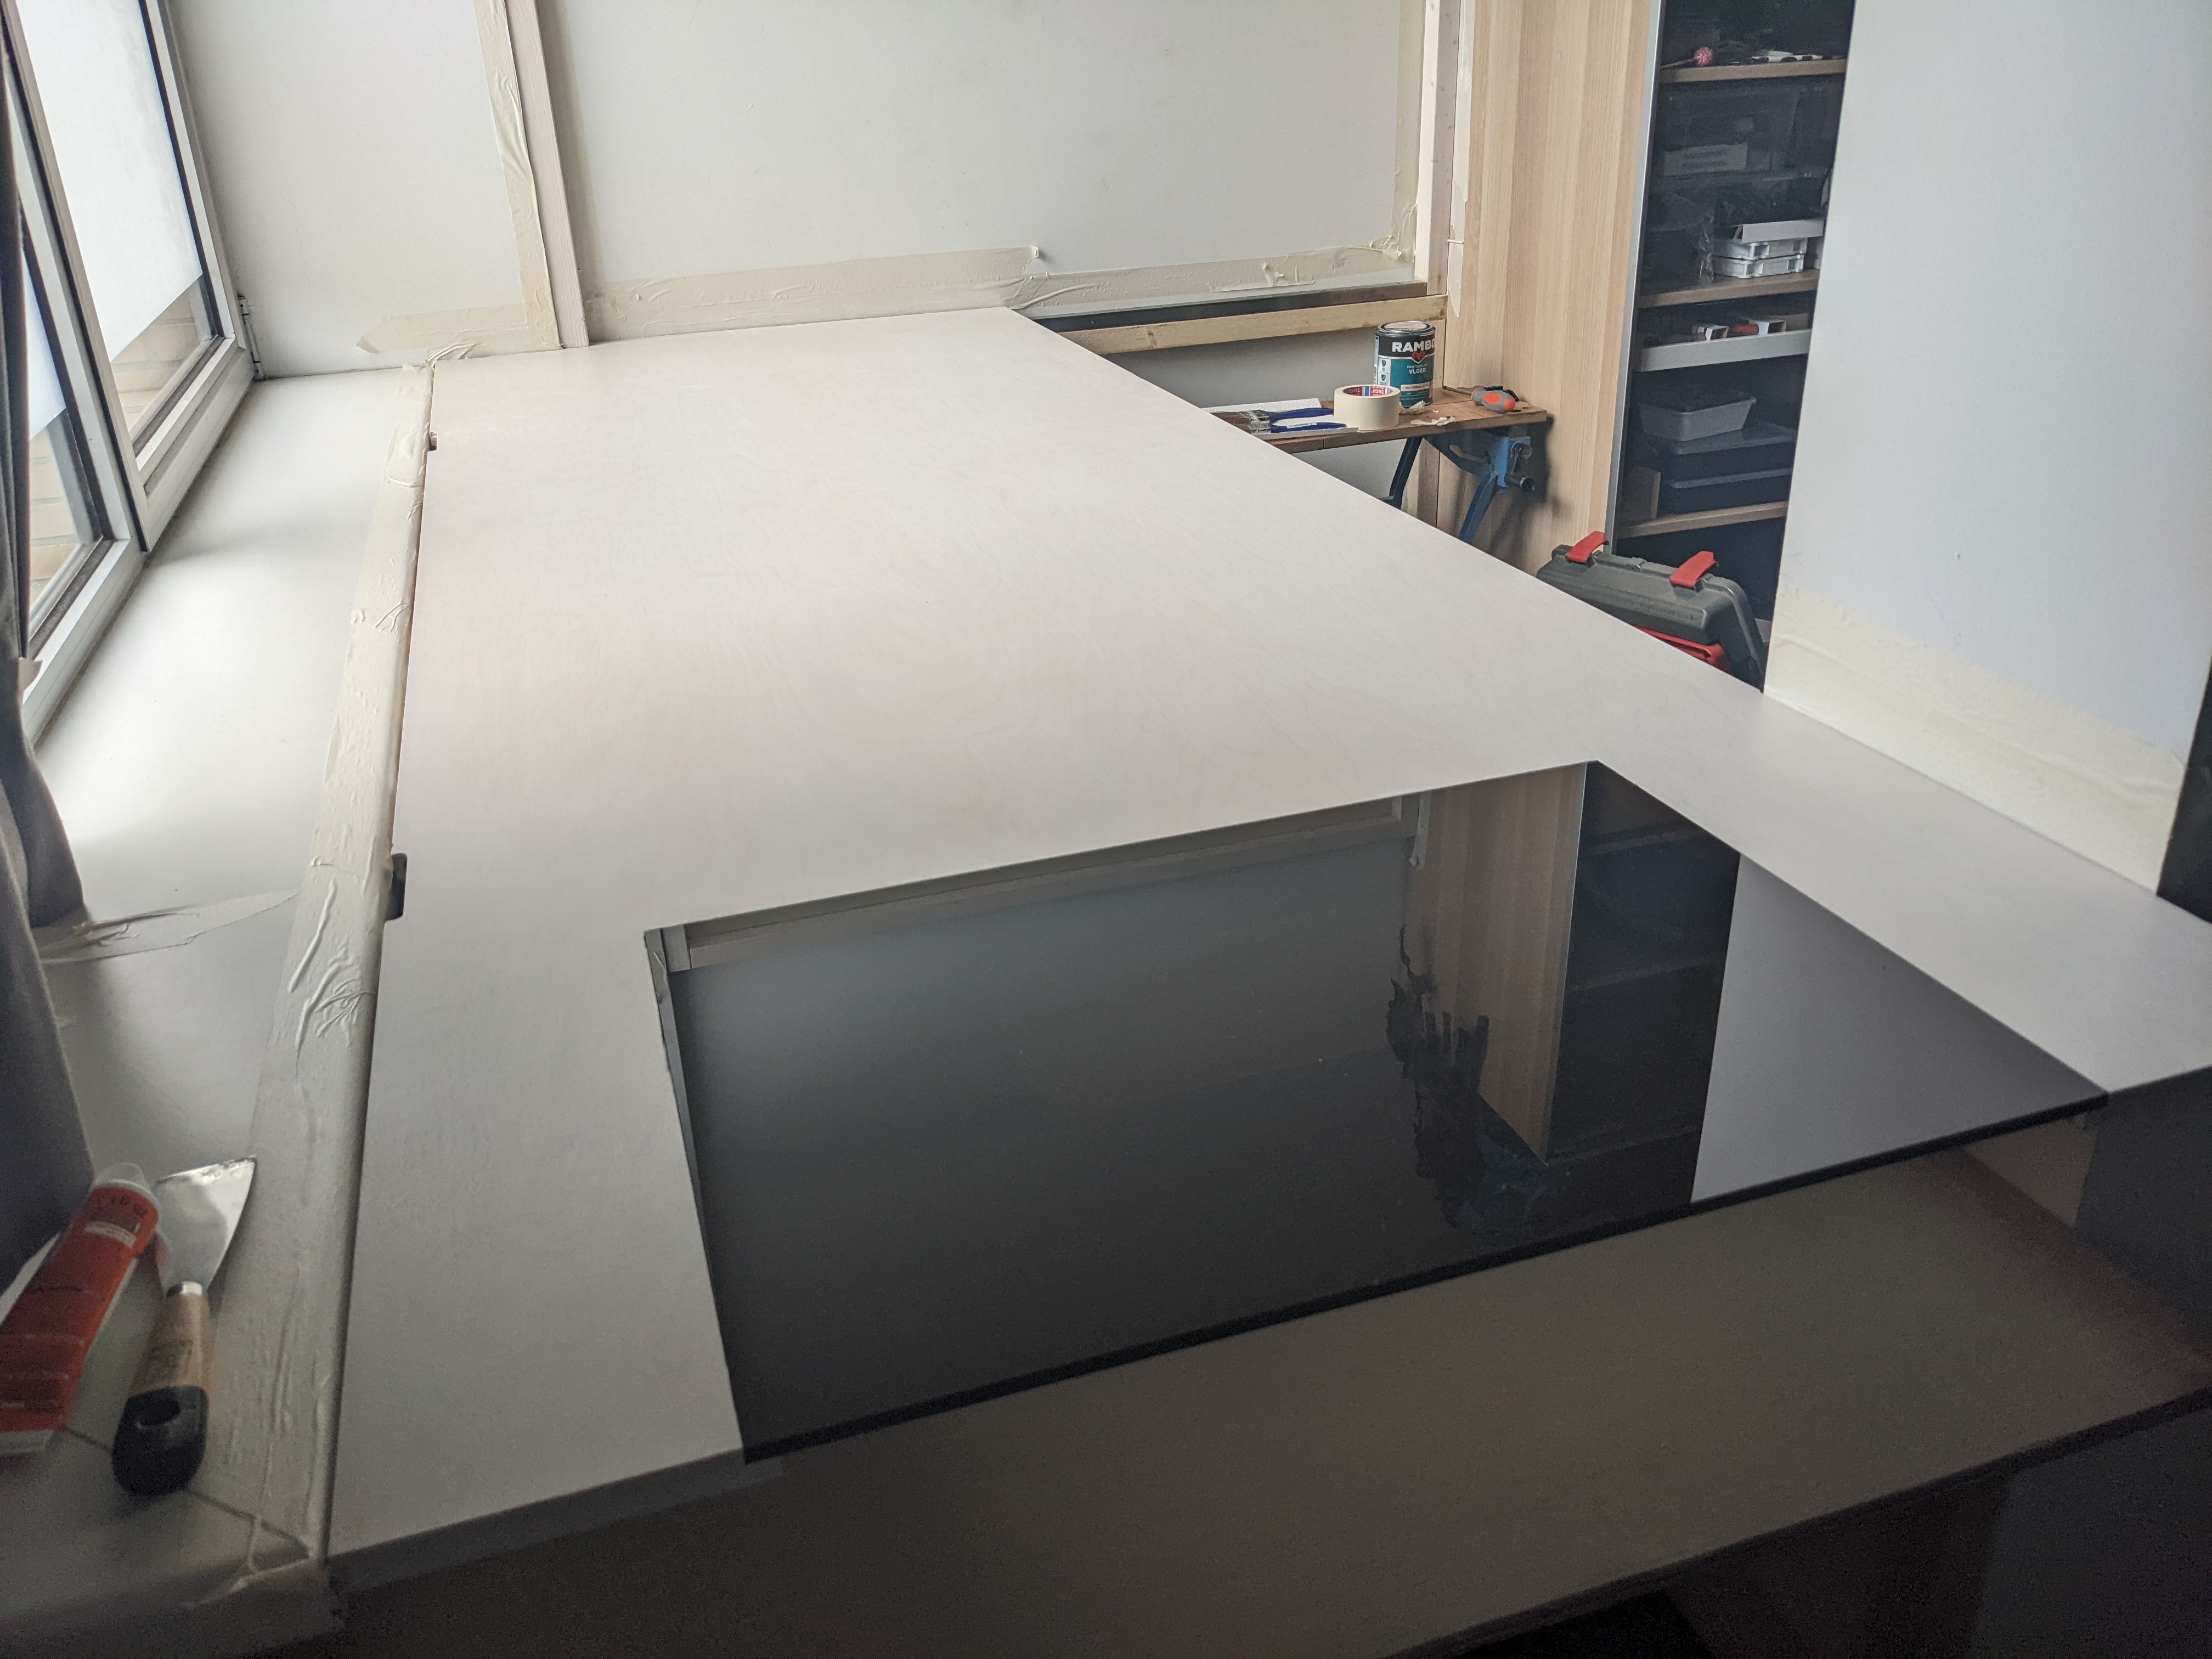
Perfect!

With the desk part mostly done I could move the old PC back in and still play some games before starting the actual PC building part itself

I still have my old Anidees Crystal case, and since no-one was willing to buy it for a decent price I decided to cannibalize it for the Desk. Especially the tinted glass side-panels came in handy to give the side of the desk a slightly more gamer-edge without looking too tacky, imo :)


Before I could build anything remotely resembling a PC I needed the "case" to be done first and that includes a frontpanel. I'm getting better and better with the Bosch, this time milling in the grooves before actually cutting the board
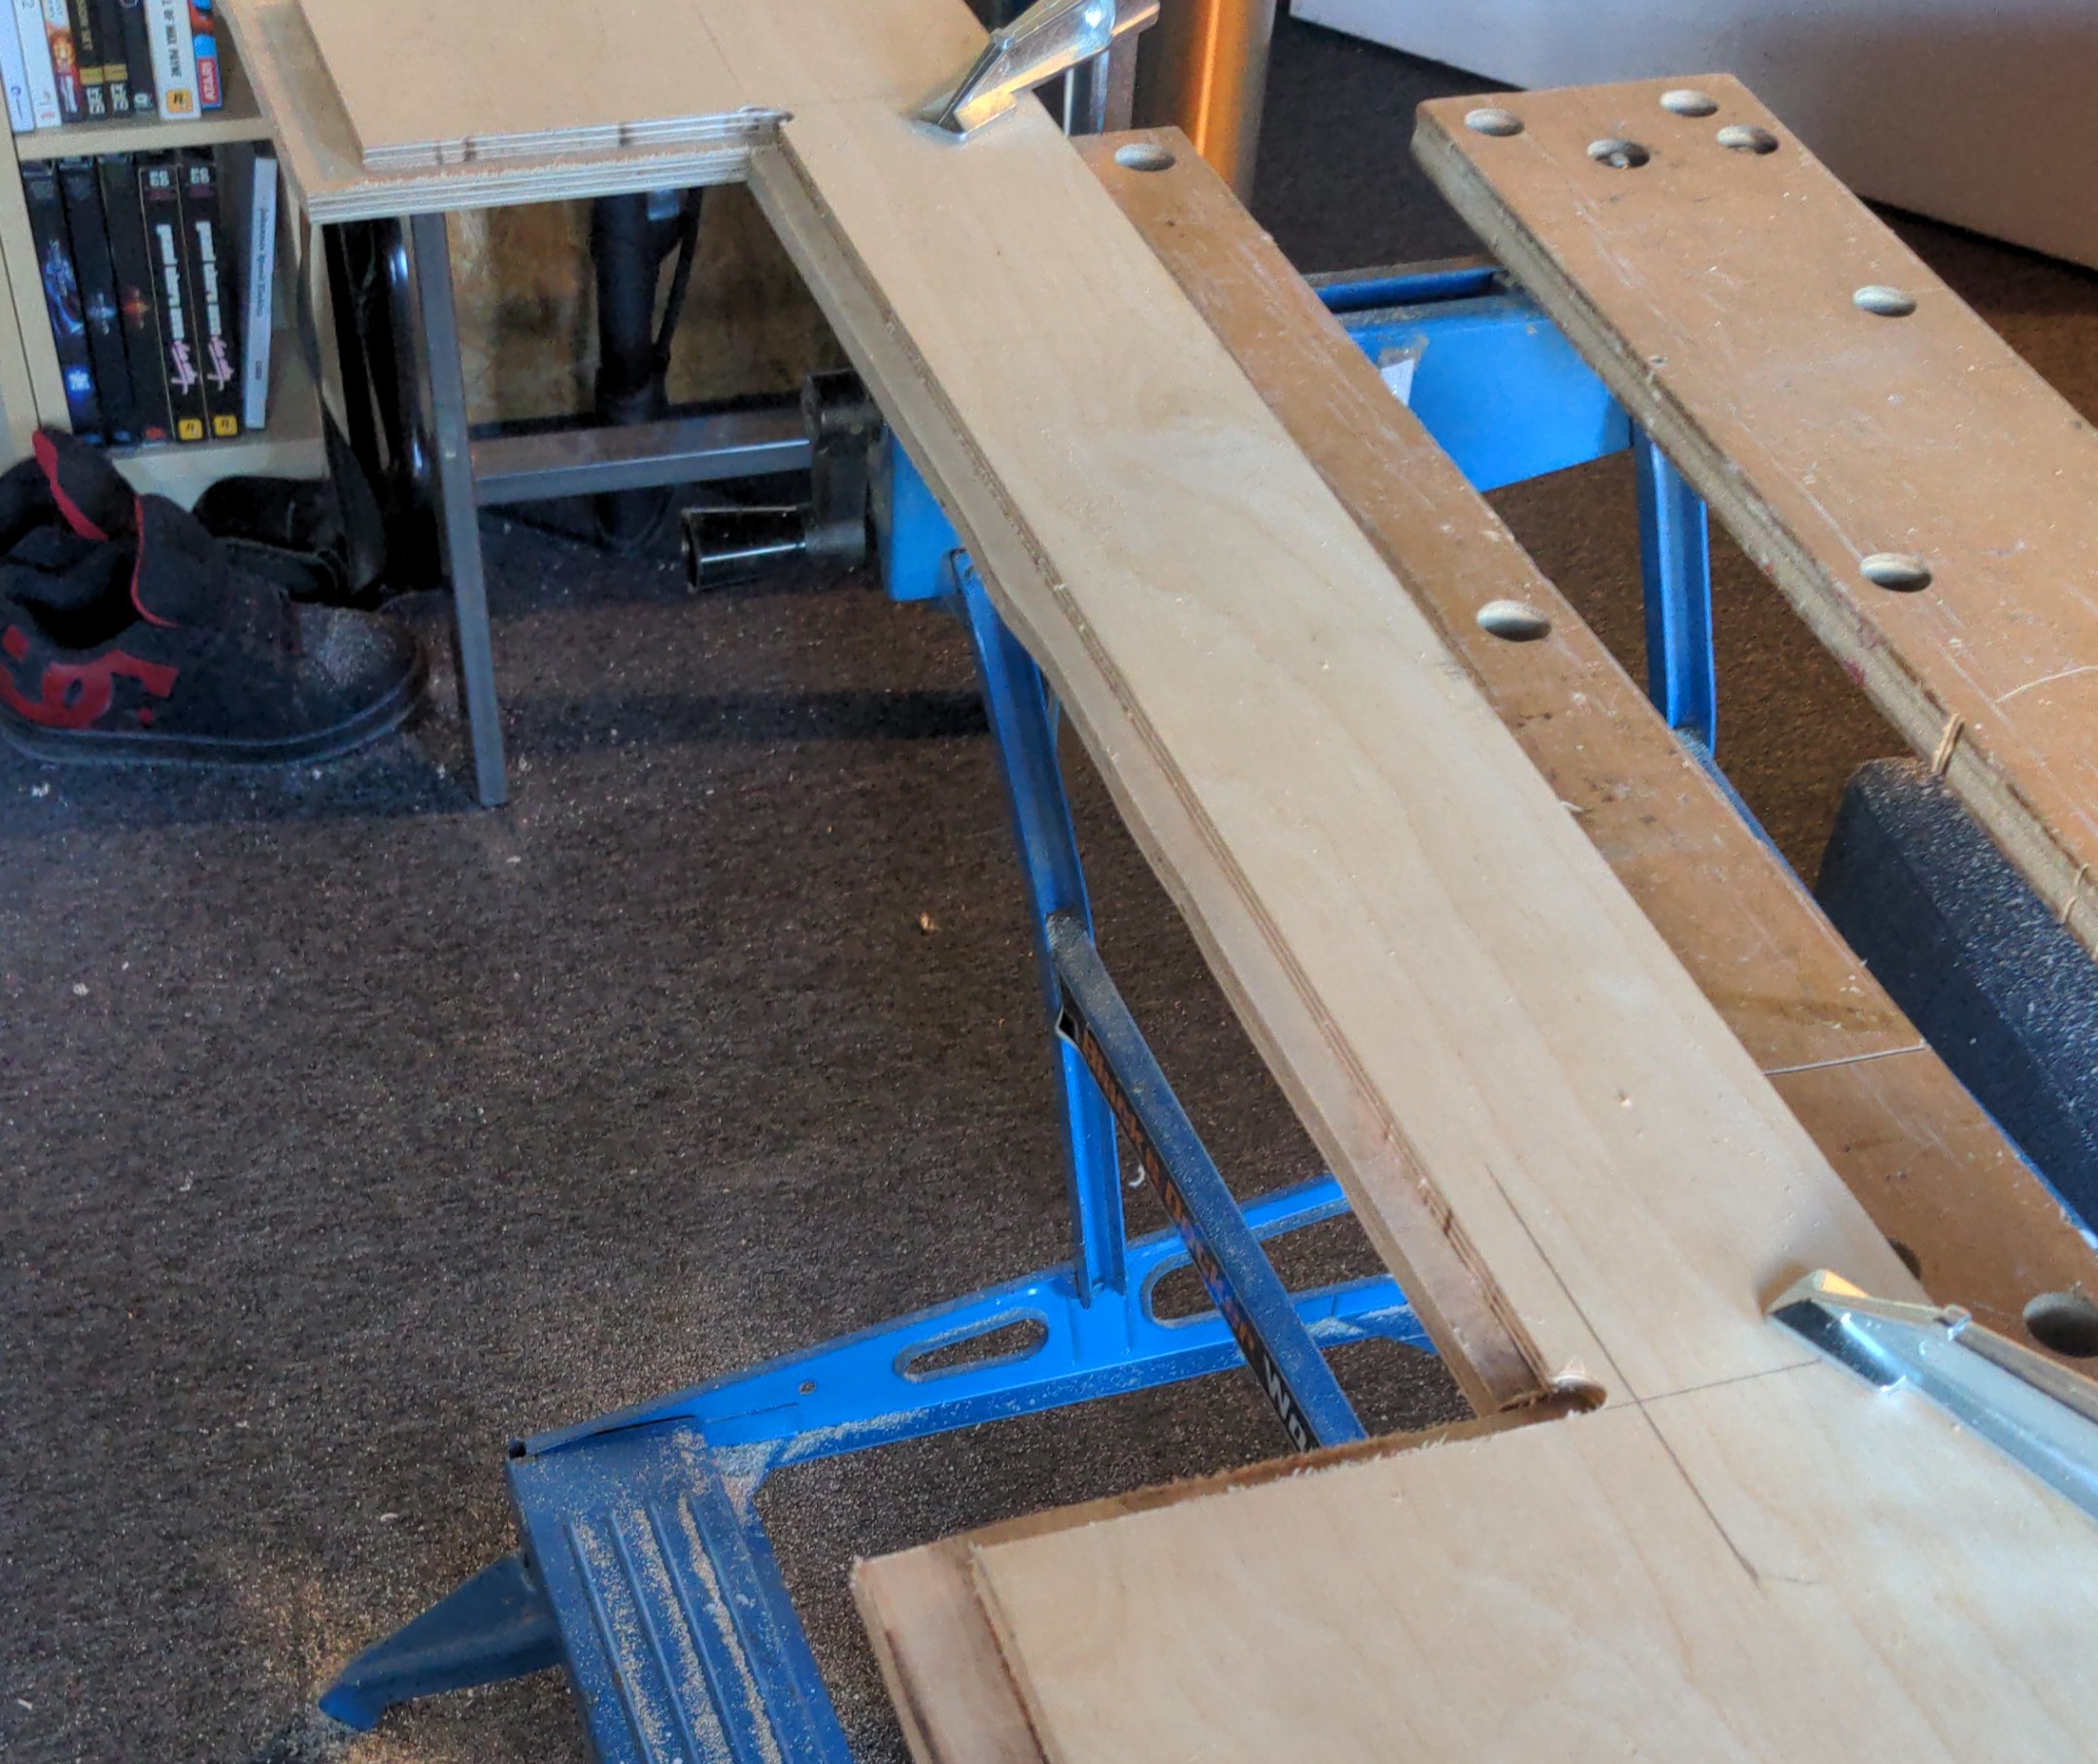

I cut in 2 holes on the sides for fans to get the hot air out to the sides. I ended up not needing them for airflow really, but they do look cool. I just need to paint them.
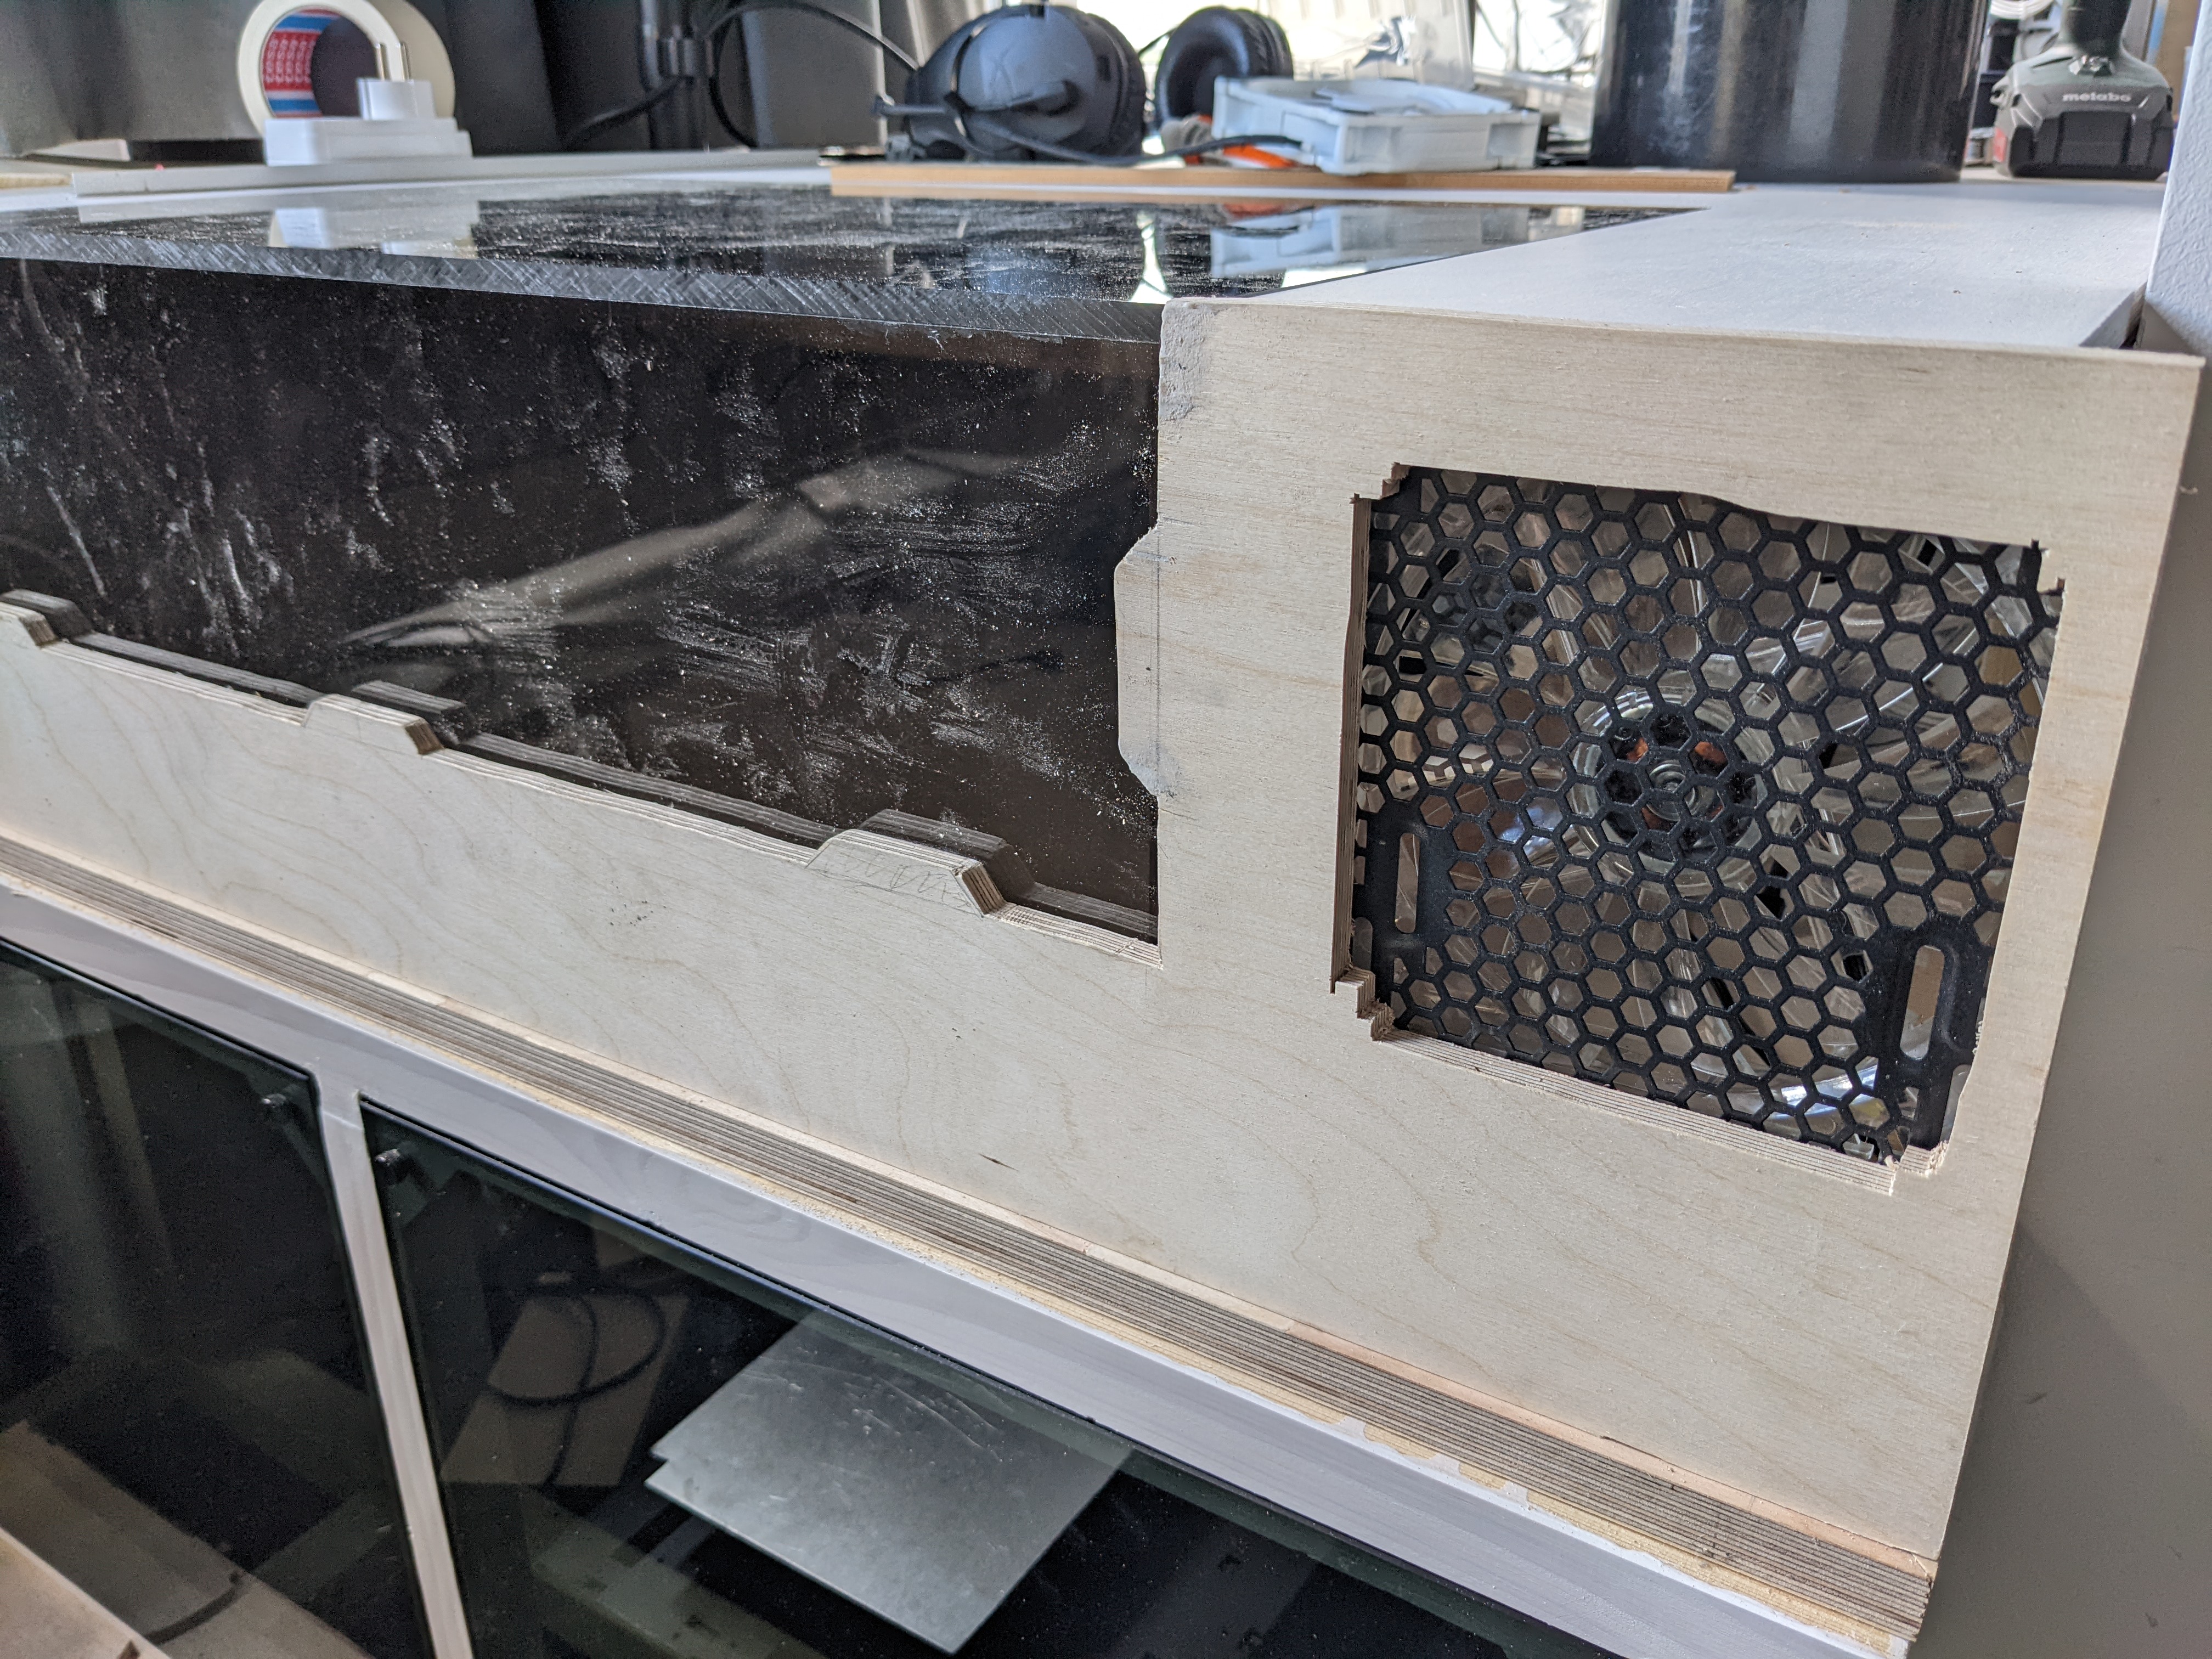
The cuts are pretty rough. I will fix it in post :D ( I love liquid wood)

Time to waterblock my first GPU!


Done! Easier than i expected

Milling in the bottom for easy accessible USB ports

Time to cannibalize the old Anidees some more


Time to cannibalize the old Anidees some more

From this point it is a lot, a lot, of trial and error. Since everything is custom made by me and I have no real computer skills as far as drawing and measuring it all out before I build, I just have to just DO it. It may sound like a pain to some, it is liberating for me. I love this stuff!
I don't have a pic of it but there is a hole in the bottom with a filter from the old case for the intake fan of the PSU.

Proper drain port


Painted

1st iteration of the build

It didn't work out unfortunately. I really liked the horizontal reservoir but it wasn't ment to be :(

Cablemess

Final build leak testing, no issues :)
Done!

And now to show the cable management. The best I've done in my life :D


I'm especially happy with this guy. Leading 1 of the cable to easy charging the wireless headphones

And yes, those are old RAM sticks, bent so they can support the headphones :)


And that's it! My own desk, with a PC in it. The build was fun, long and I would do it again! The arm on the right is prepped for a third monitor but in all honesty I don't feel like I need another. The ultrawide with the 1 extra on the side is more than enough for me.
I hope you enjoyed reading my journey on this build! May your temperatures be forever low and the framerates high!
heyheyheylisten
I have a laptop. Jealous?
feren
Turned out very sharp, @OP. Nice work!
TerrorPlatypus
I had my suspicions when you said you took 3 weeks off for the project, the outlet picture confirmed it. Amazing build!
LucidPariah
Damn that's classy! Love the colour scheme! Have you ever heard of the Snowblind mod? Here's mine /gallery/xMugbHj
CanIGetSomeExtraSalt
can it load imgur?