allcluedup
847
7
1

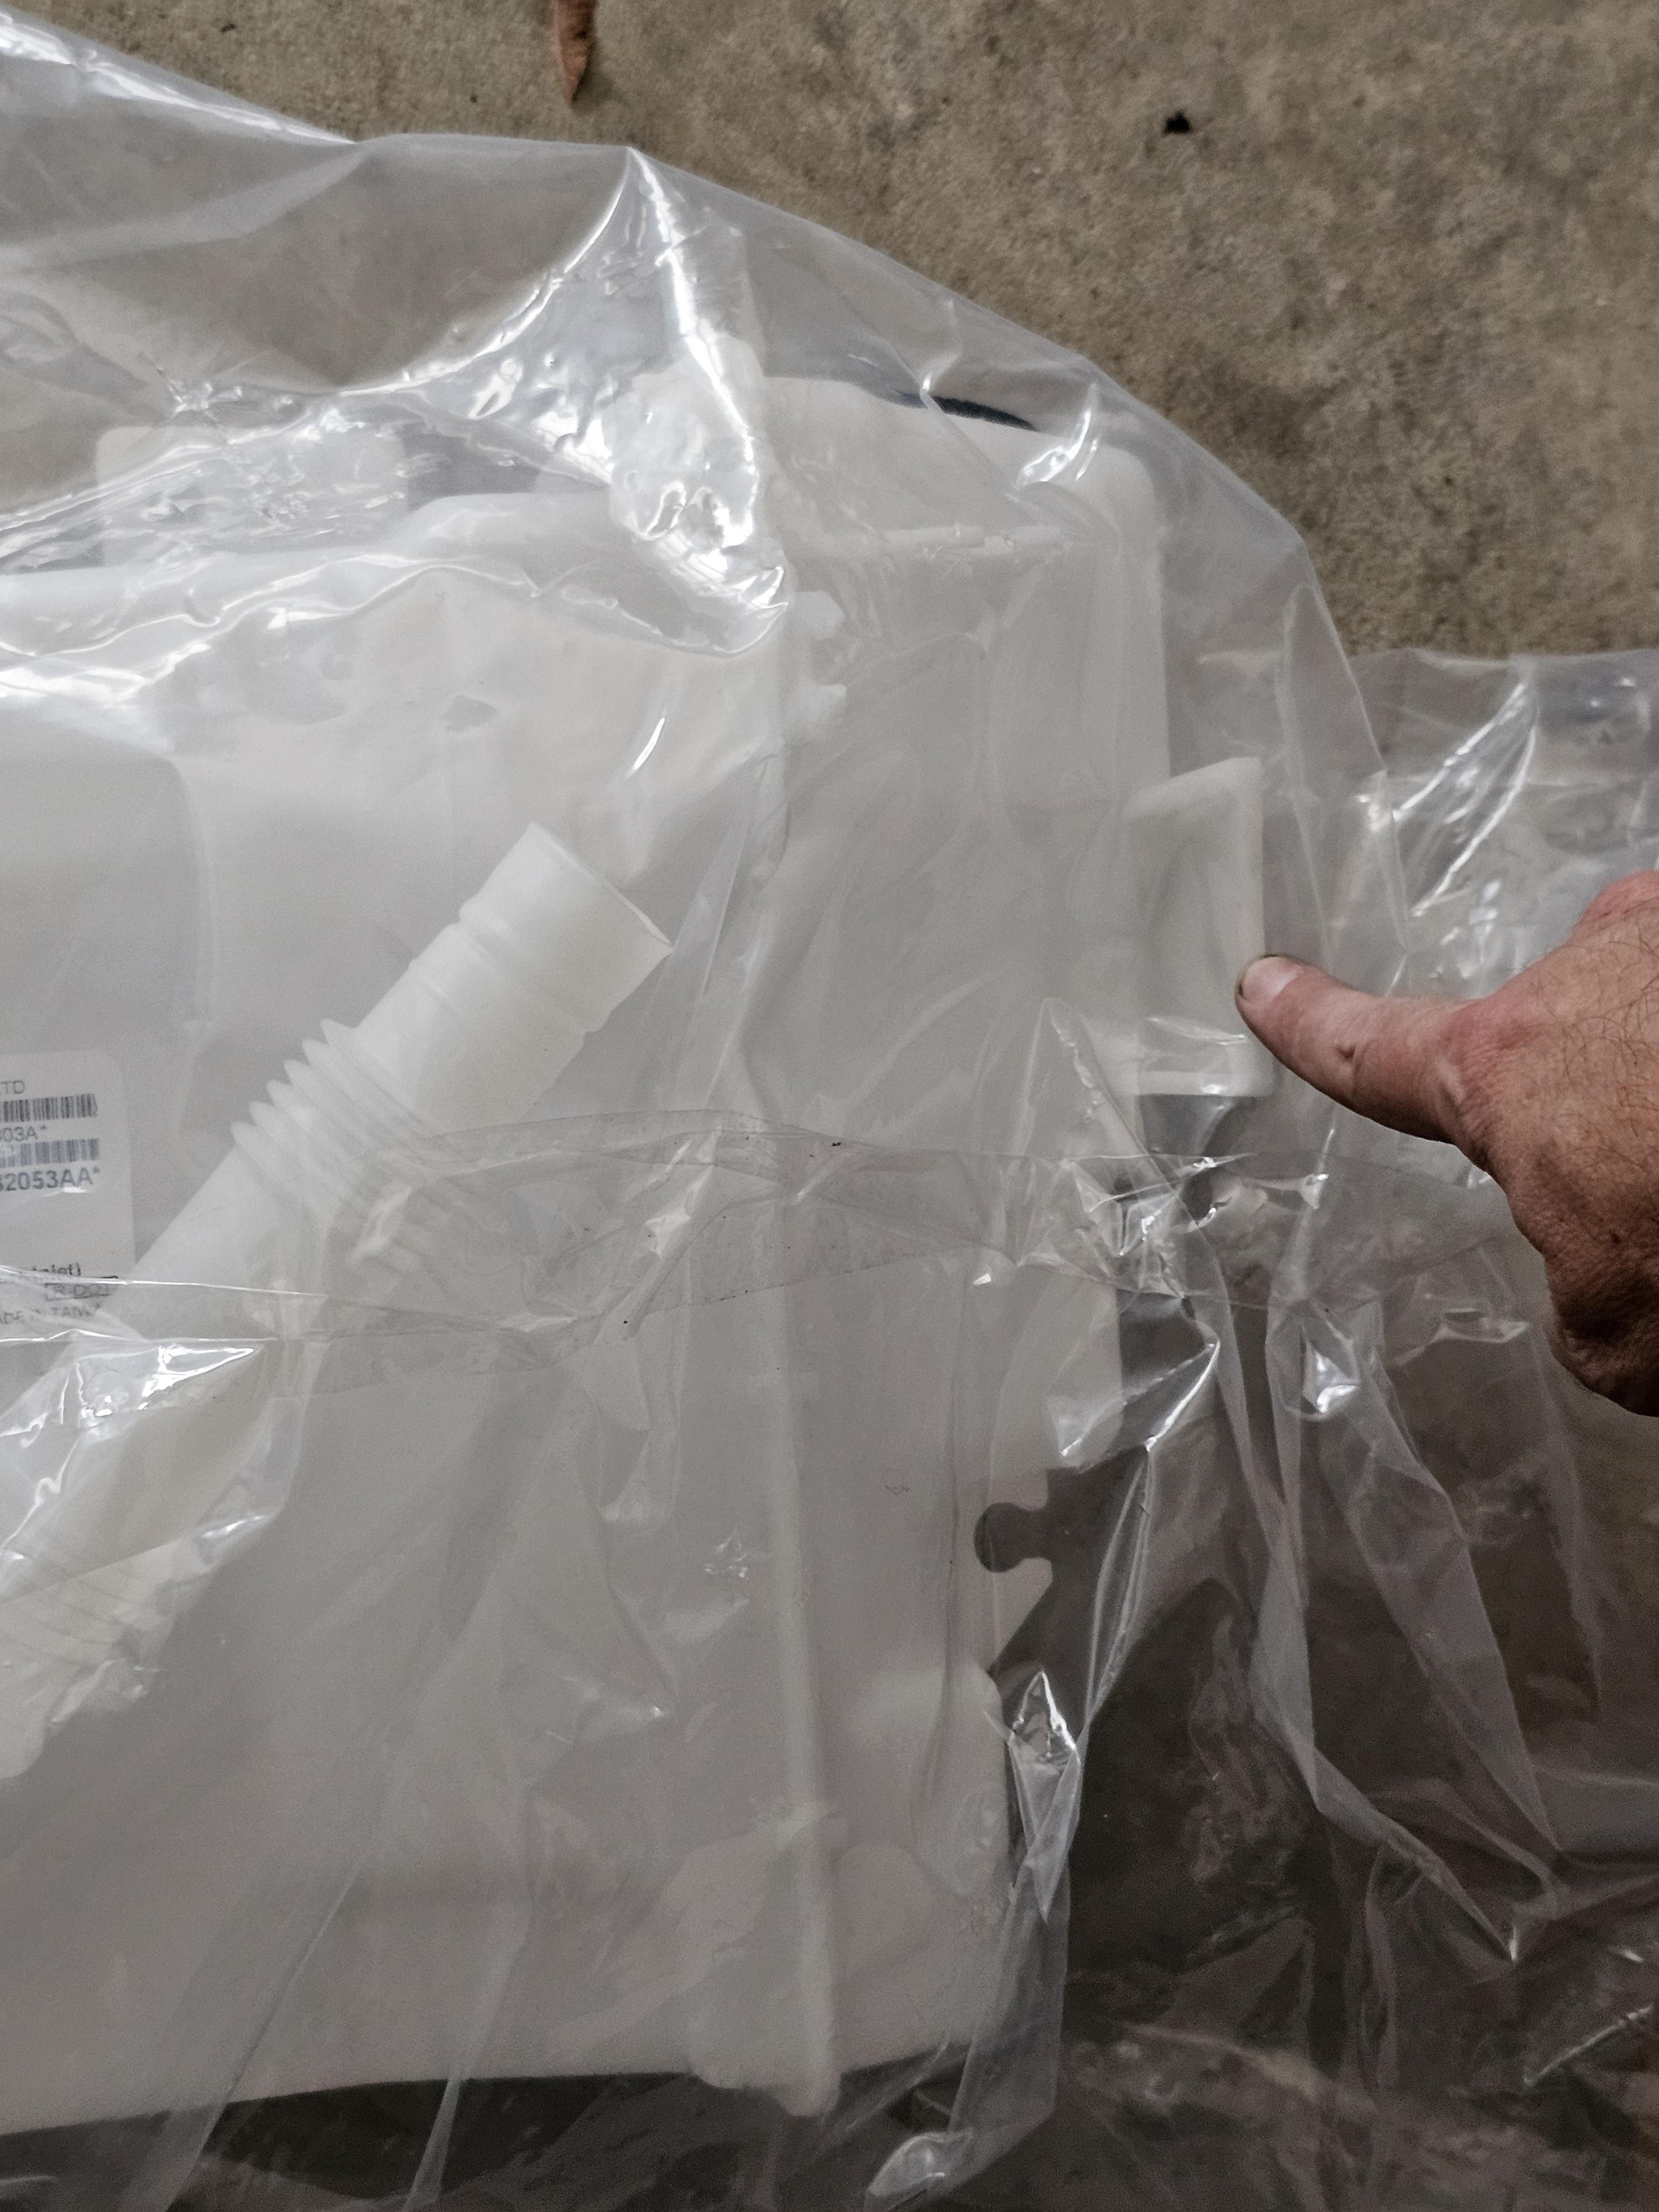
Make sure you got the new washer bottle kit ready to drop in

Behind the RH front headlight assembly there is a single bolt tucked away that's 12mm in size and almost impossible to remove with out removing the headlight and to do that you need to remove the complete bumper assembly. Keep reading I will show you how to remove that bolt without removing the headlight or the bumper .

With this handy flexible socket extension I thought I was on a winner. I could get the socket on to the bolt but every time I applied torque to remove the bolt the socket popped off the bolt. (Note the safety thongs on the feet)

There's a single screw holding this electric connector to the rear of the headlight assembly. Remove that single screw and move this out of the way. Also there is a single bolt holding the top of the neck of the filler on the washer bottle. Remove the bolt and move that neck right out of your way.

On a spare head light assembly you can see the plastic clips that you need to cut off. I used a pair of side cutters and it works a treat.

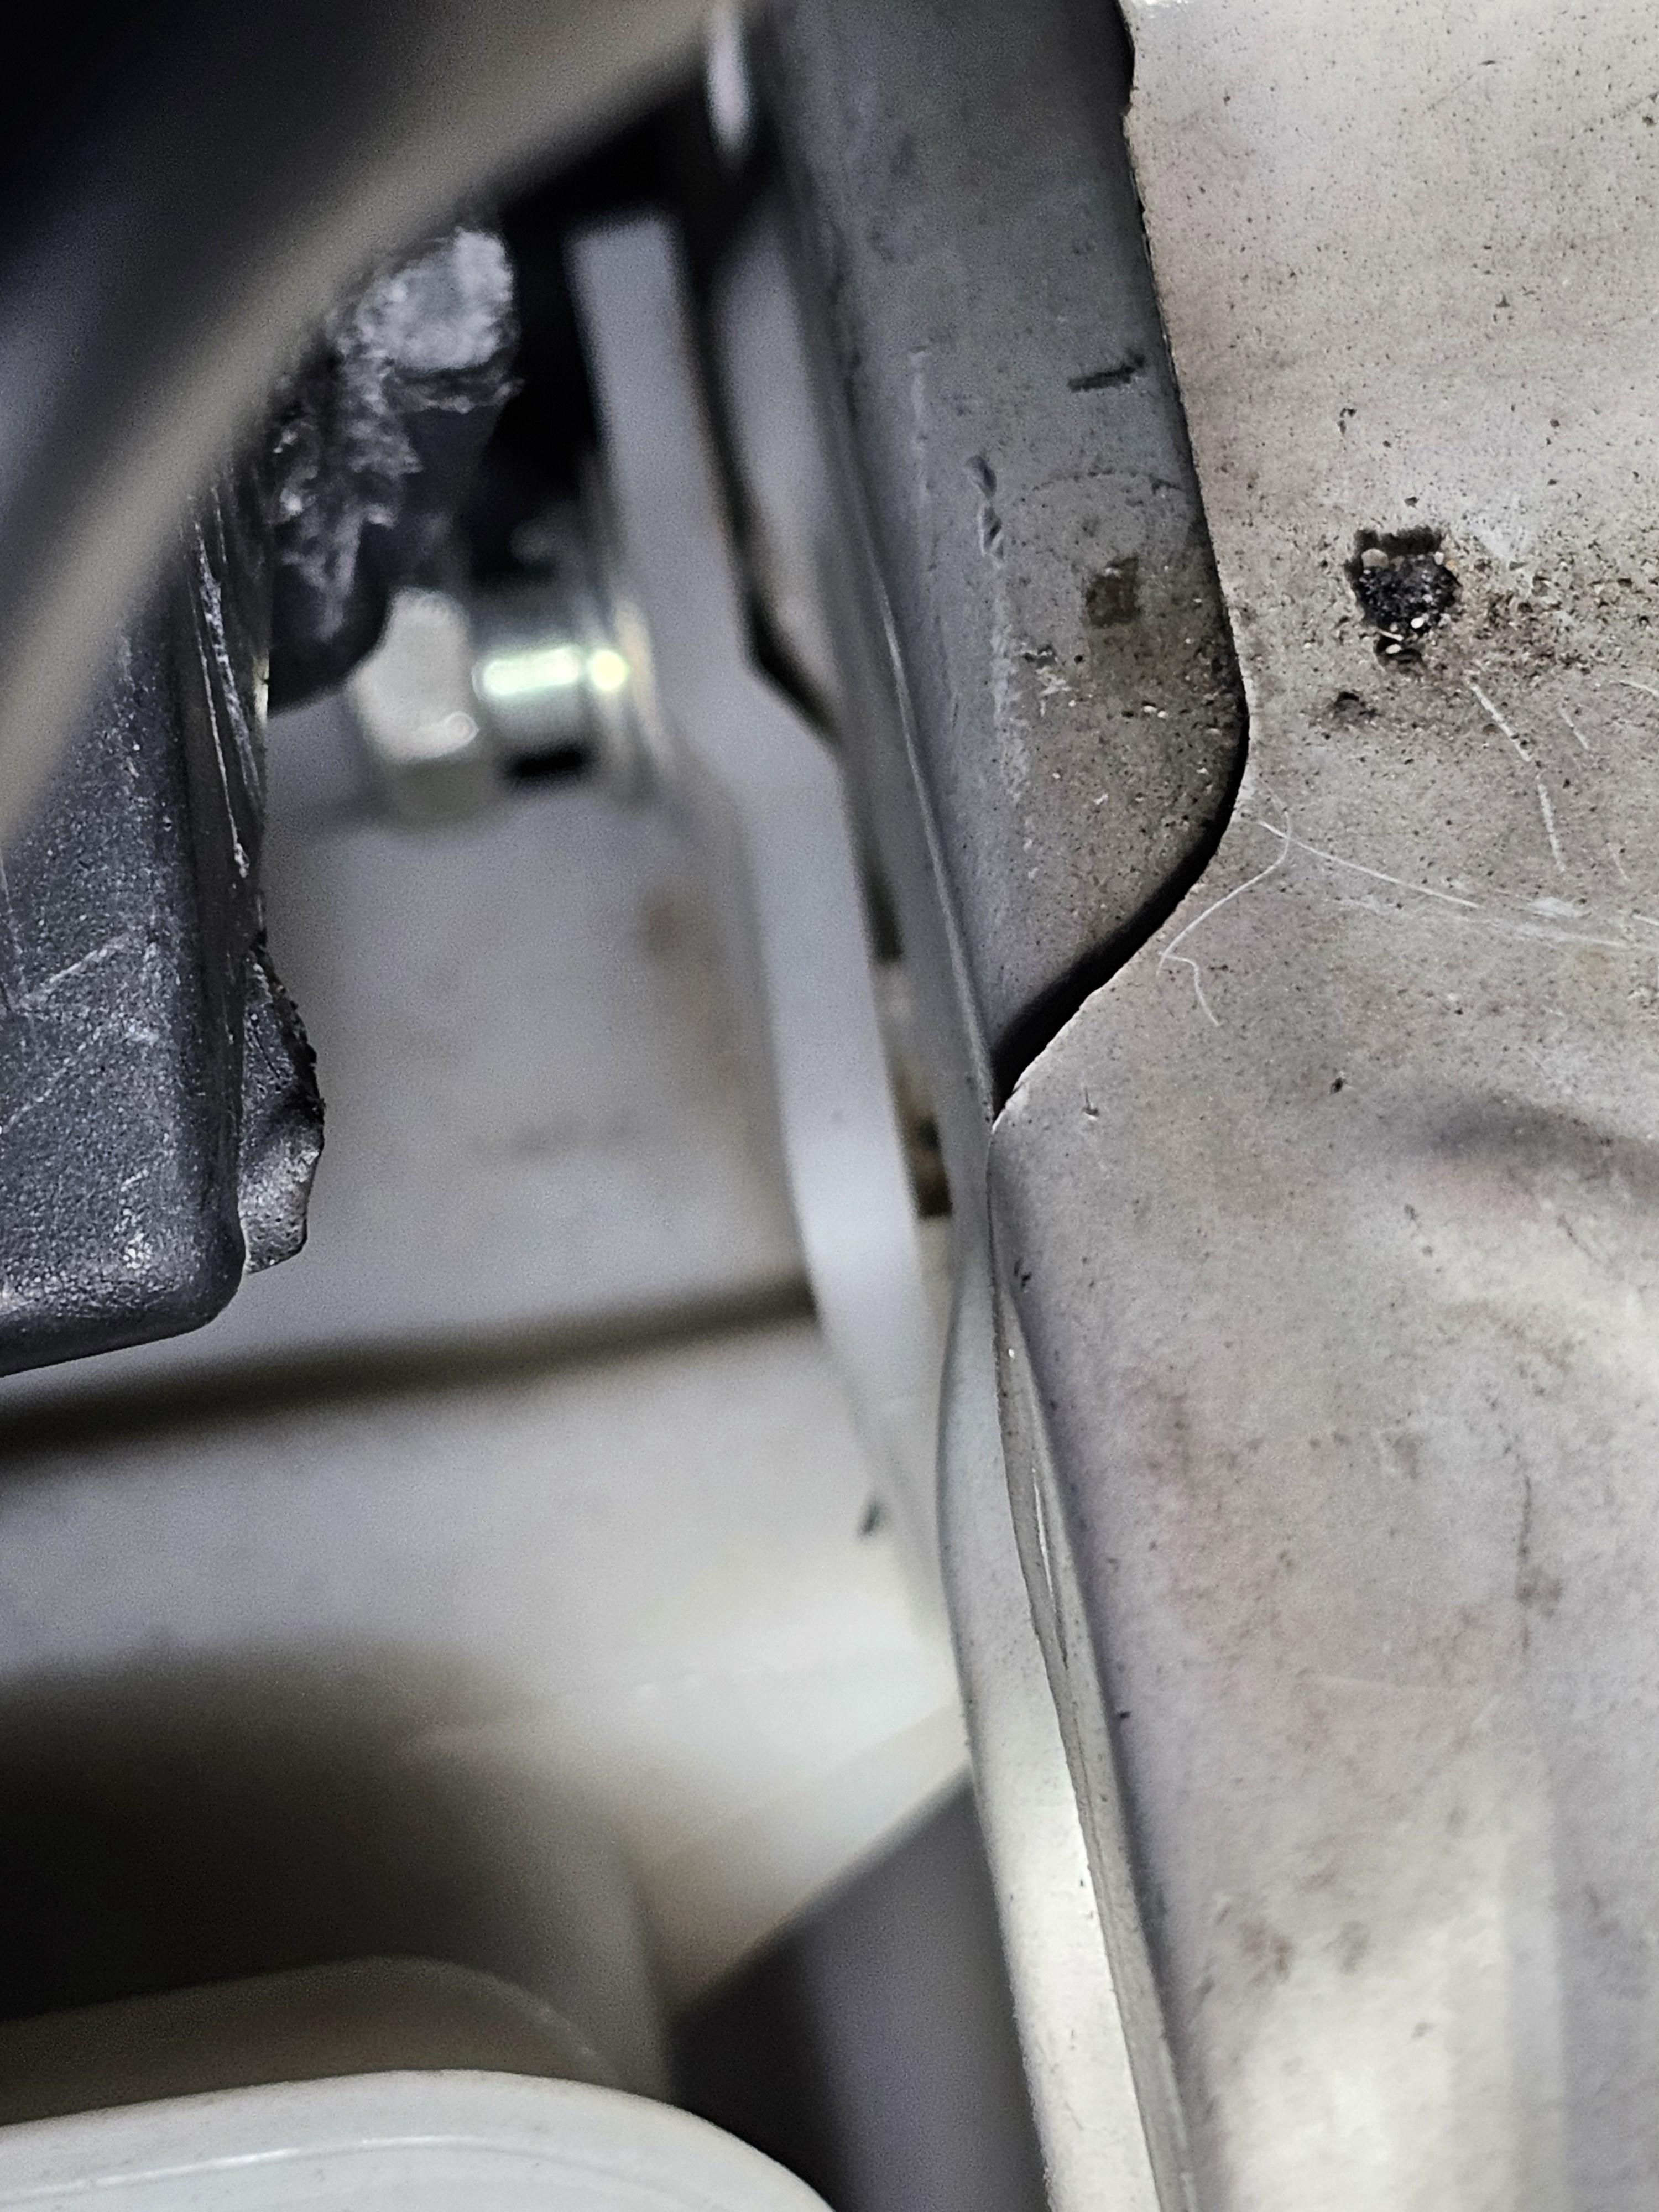
With the electric connection out of your way and the filler neck out of your way you can now see the bolt and the rear of the headlight assembly. I have already cut the plastic lugs off and now it makes life a lot easier to get a 12mm open ended spanner in there and about 1/4 of a turn at a time you can back that bolt out.

This is the electronic connection and neck you need to get out of the way

If my hand was transparent you would see I have a 12mm open ended spanner on the bolt and turns about 1/4 turn out at a time

More of that pesky bolt, cos once it's out you ain't ever going to put it back in.
Bolt is almost half way out


Ta da!!! Bolt is removed and headlight is in place as is bumper.

There is an extra bolt right down at the front to be removed. This is done by removing about 5 plastic Rivets on the plastic skirt underneath the bumper

When you come up from under the front skirt look up and you will see the washer bottle. The bolt is up on the right


And old washer bottle is out

And front bumper is still attached and front wheel removed for ease access. Wheel arch is slightly un clip and about 5 clips underneath on the skirt

Old and new washer bottle


New washer bottle installation done. Note at the top a handy zip tie threaded thru the bolt hole where the real pain bolt did live and will never again live on this car. Tested before putting everything back together and it works a treat. In case your wondering the part number for the washer pump & seal is 8260A109. Also if you're wondering why the liquid is green in the washer bottle, it's because I use "bars bug Windscreen washer fluid"
UnitConversionBot
12mm ≈ 472 thousandths of an inch