selenophileart
26367
72
5
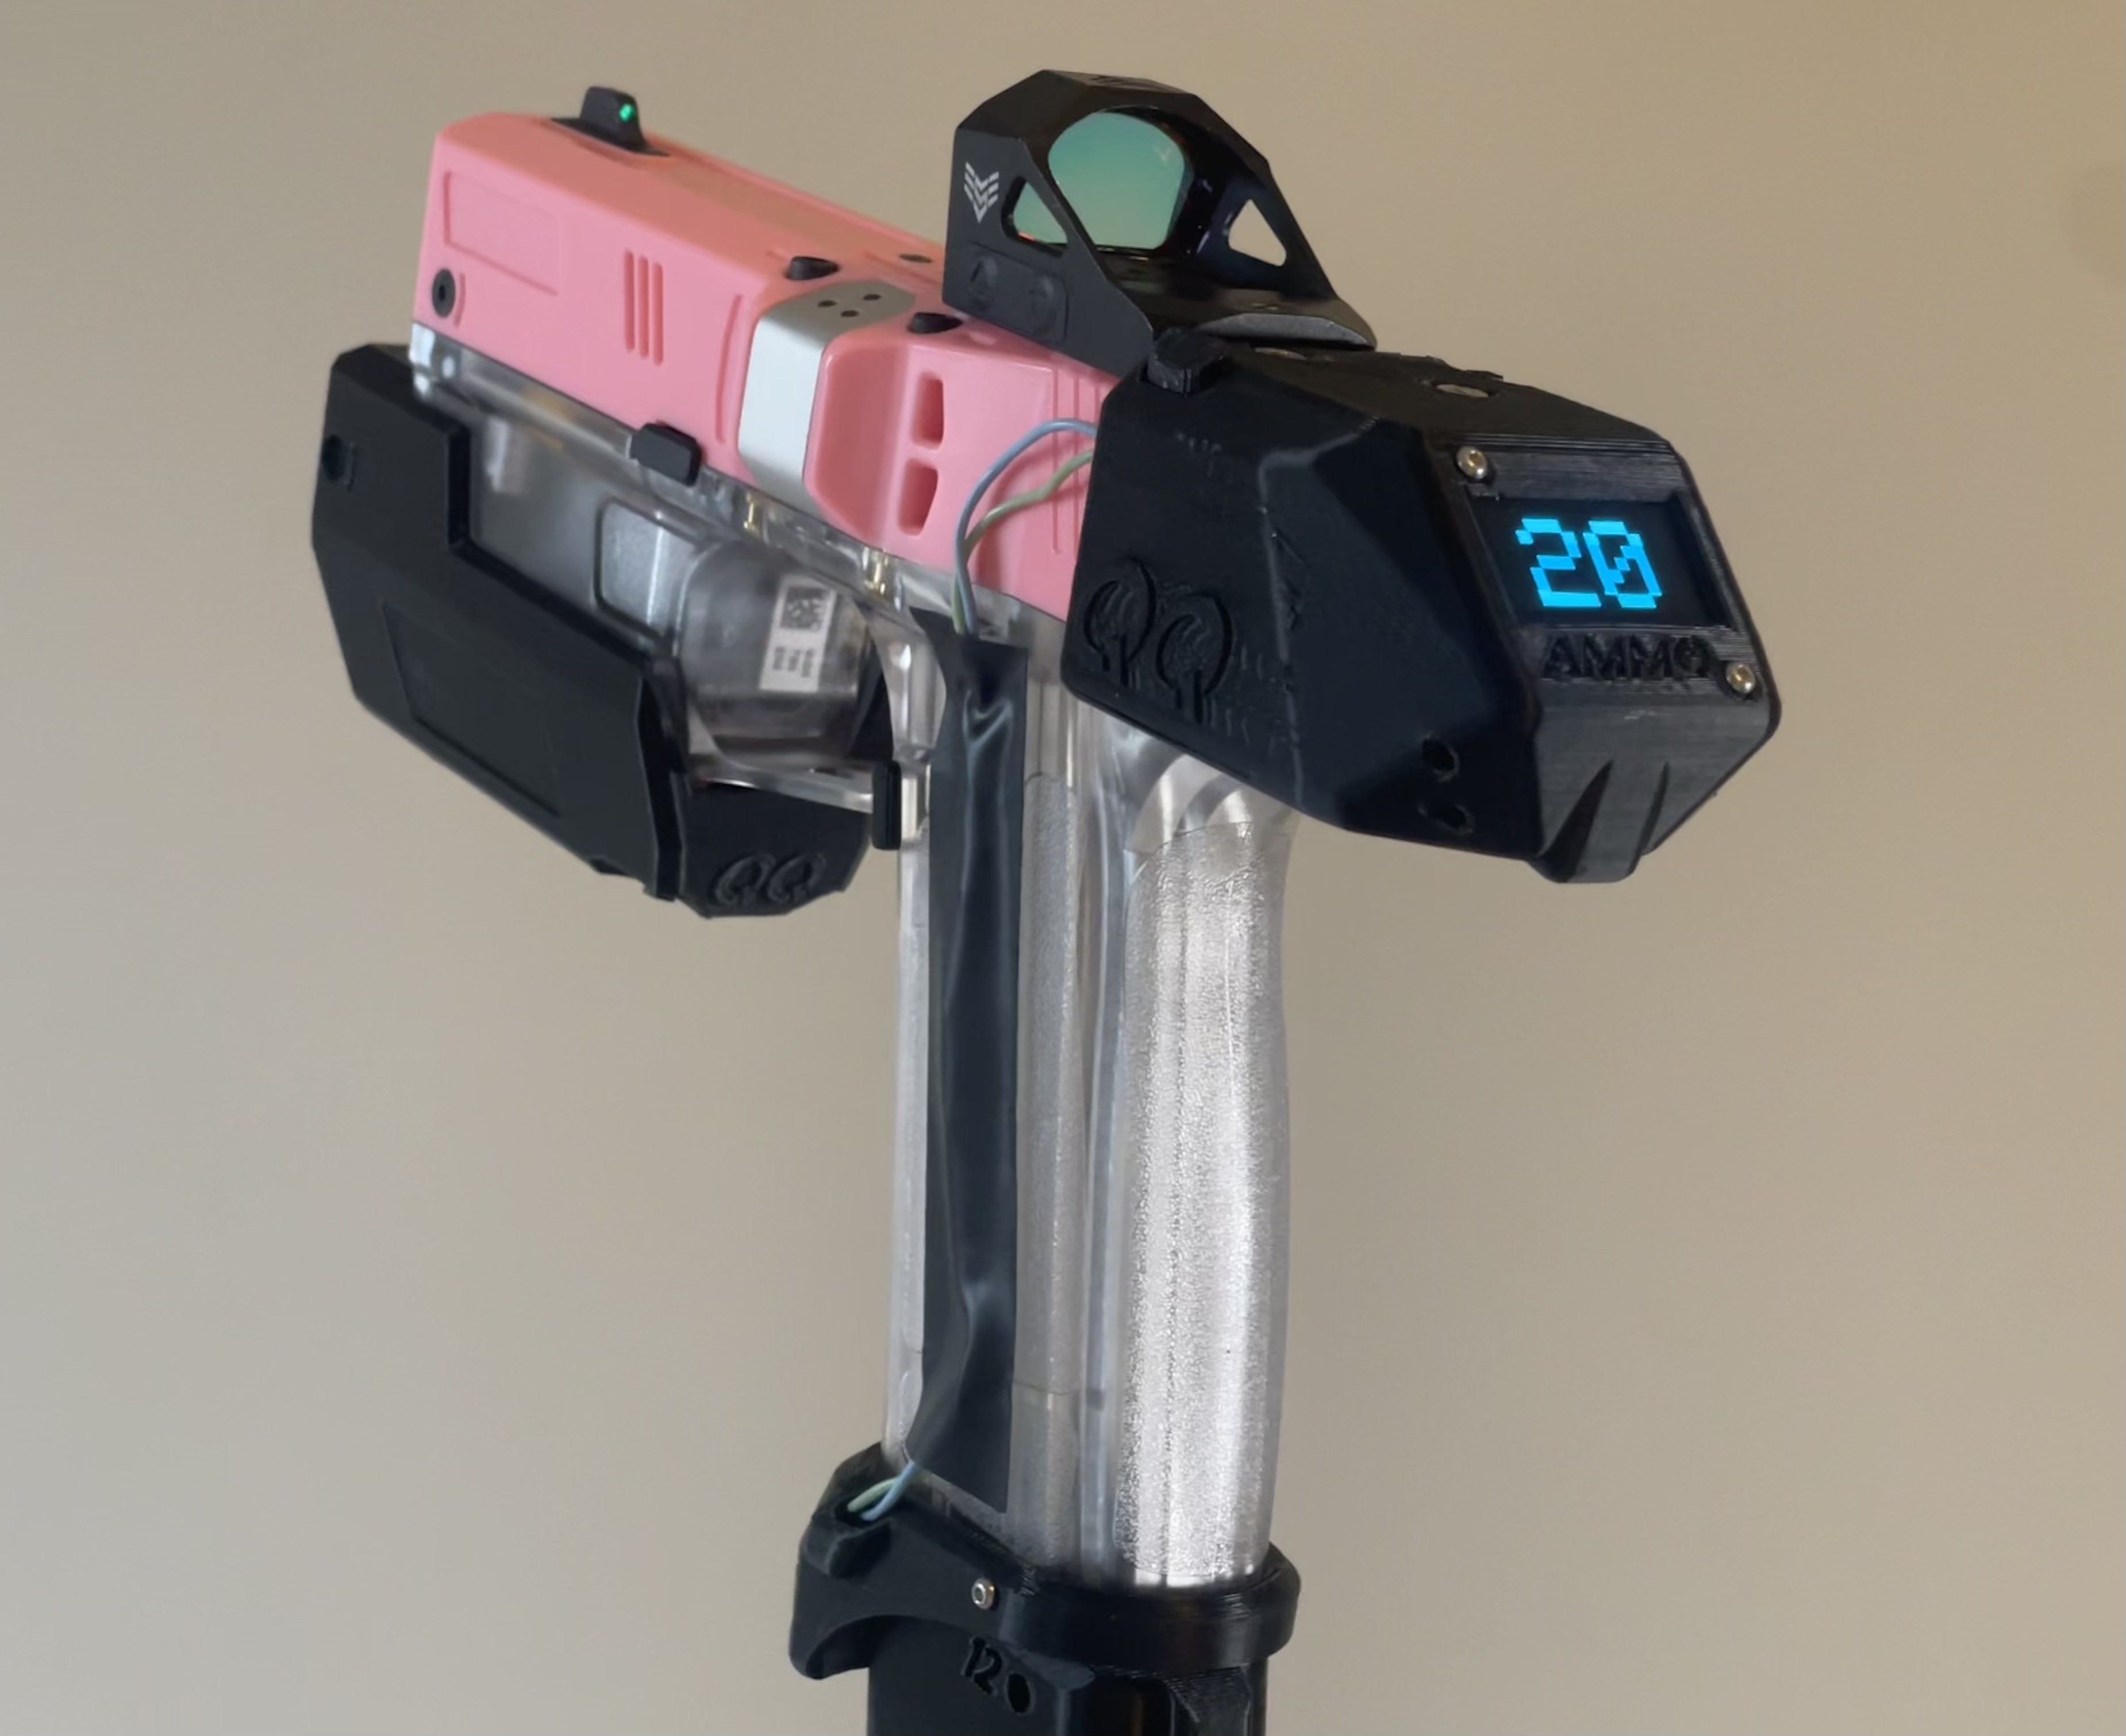
This is probably the coolest (non 3d printed) Nerf-style foam dart blaster I've found, and while I had to import it from Singapore it was absolutely worth it! As soon as I got it I knew I had to make some mods for it.
It's called the HC Diana, and its a solenoid-pusher actuated brushless flywheeler. To people who AREN'T a blaster nerd it basically means the darts are propelled by being pushed into two spinning wheels similar to a hot wheels track, and solenoid actuated means the darts are pushed into the wheel's by an electromagnetic system rather than mechanical linkages when you pull the trigger. THis blaster has semi/burst modes as well as auto.

But enough about the blaster! What about this counter?
After fitting the red dot on it and making a flashlight/laser mod as well as the magazine extension I was feeling ambitious, and I couldn't help but think it needed something more to go with the space-pistol feel it was developing. As I was looking through my parts bin I saw the little OLED screen, and instantly got inspired!

This is what the blaster looks like without the counter system, and it's what I was working with when I started trying to decide how I would count down the rounds as I fired.
There were screw mounts and holes all over this thing, so that wasn't a constricting factor, but there weren't any holes or easy spots to route wires in and out of the blaster. That meant counting the voltage impulses sent to the solenoid was out, as was wiring into the microcontroller in the pistol. That wasn't a huge deal, as I really didn't want to have to screw with the blaster internals if I didn't have to, but it did mean I had to do more than just slap an arduino on the back.

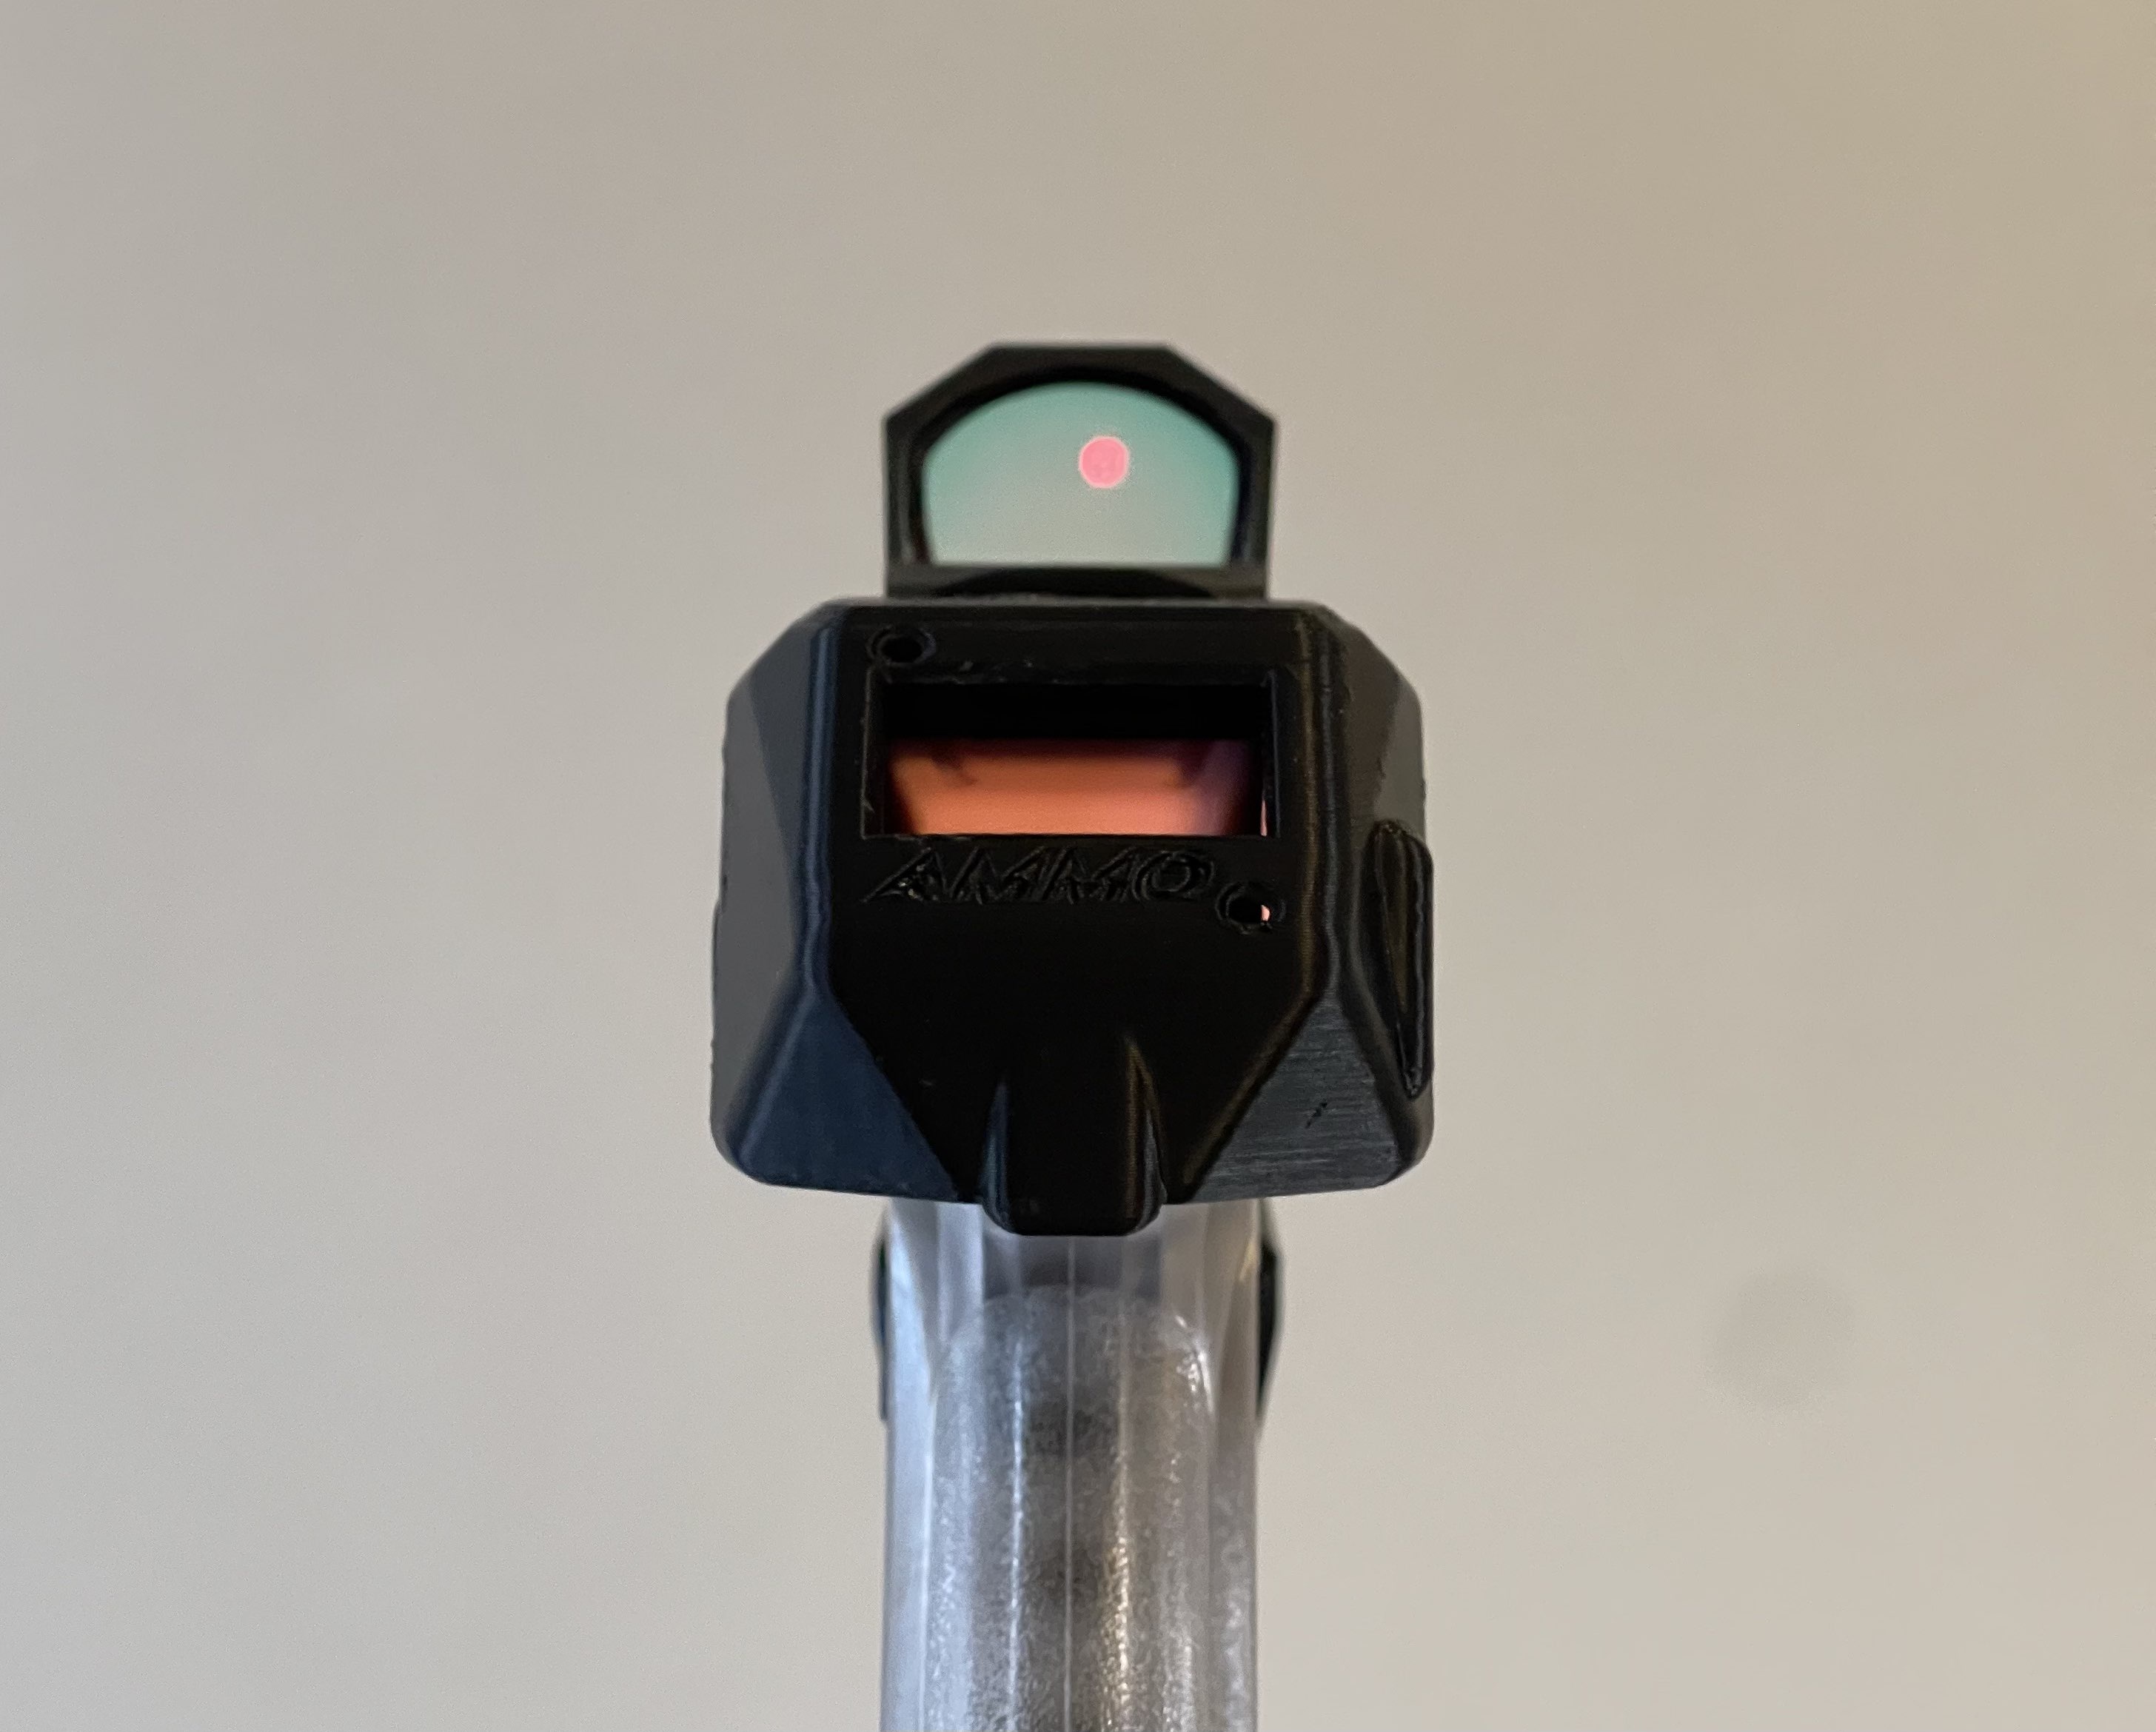
I messed with a lot of ideas, like switches in front of the barrel (would negatively affect fps and accuracy so thats a no), an IR or similar beam sensor in the front of the barrel (great concept, but would require a lot more wires and components like resistors to be added), but then I remembered this little hole on the rear of the blaster!
The red dot you see on the pistol (not the sight lol!) is the back of the solenoid pusher, and as you fire it clicks forward into the gun and then returns back to this position. The return spring is very weak, and this hole is only 6mm across but I knew if I could use this to click a switch I could count those signals easily with any arduino.

I made a little test program using parts I had around, and counting switch clicks was very simple, and I had experience with these displays so I quickly had proof of concept! But what kind of switch could be clicked reliably with almost no actual pressure? (so I didn't interfere with the solenoid function)

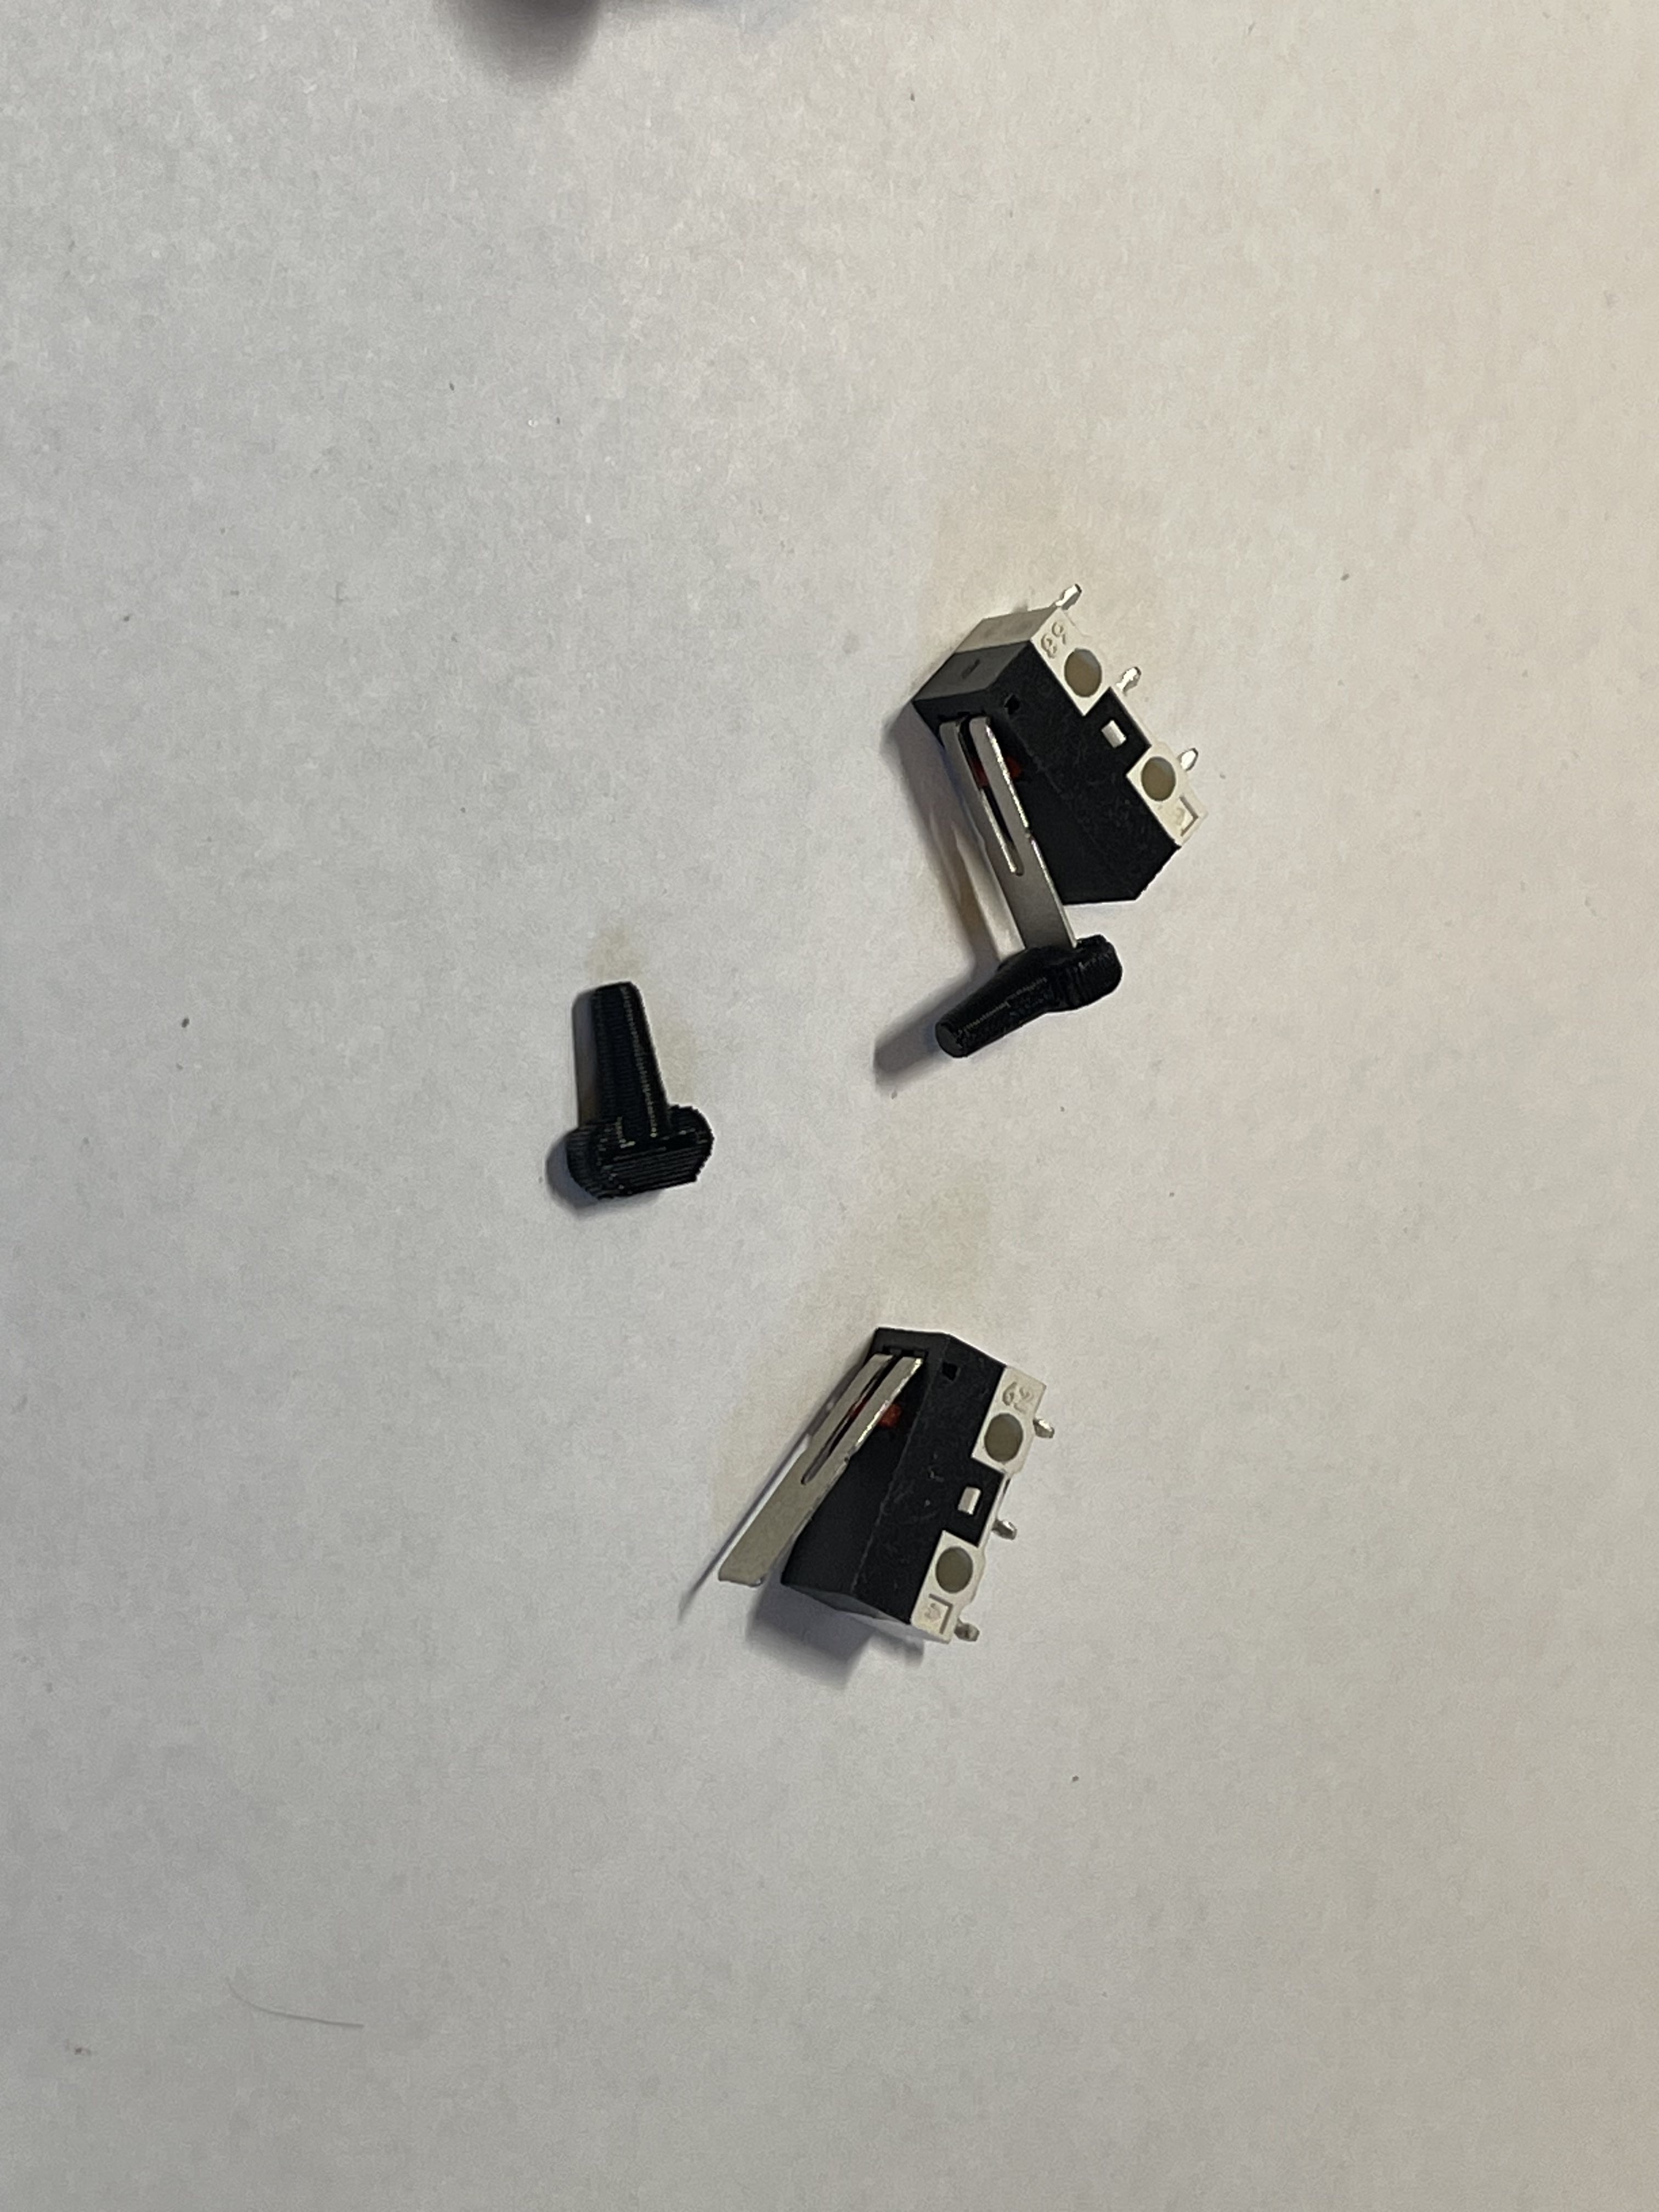
The answer I came up with was a tiny limit switch! I had a bunch of these around for 3D printer repairs and projects, and they can also be actuated easily with almost no pressure, so they were perfect.
As-designed they wouldn't fit in that small 6mm rear hole, so I designed this small bit to slip on the lever as well. It is glued in place, and while I couldn't test it completely at this stage it did seem to allow me some flexibility with mounting and tripping this switch.

So what did I need to make this system all-in-one? Well I needed the screen ofc, and an arduino-style microcontroller to count the shots and display them, as well a switch for power and the switch for the shots themselves. Not to mention a battery!
I chose the Wemos D1 mini (ESP8266 based) as the microcontroller (perfect size and easy to power with a 1s lipo), and paired with with a battery I salvaged from a broken laser pointer. This battery powers the screen and controller easily and should allow doe a long playtime between charges. I didn't wanna cram a charging circuit in here so I added that battery connector. (it allows me to charge with a small USB drone battery charger I had around)

Once I had the parts inventoried I had to figure out the shape of the blaster itself, which involved carefully taking some perspective-free shots of different angles and scaling them so I could draw it in 3D.
Tips for doing this: put the object you're photographing as far from you as you can without losing detail in your pics, then use a long lens/telephoto to take the images. This will eliminate a lot of the perspective a shorter lens would create in the final pics. Use photoshop or a similar software to align and crop the images before importing them to 3D.

The next step was to measure and model all of the components I mentioned earlier, as well as the hardware to keep it together. Notice those screws on the top; that is where the rear sight usually mounts, but those screws also serve as the solenoid mount so i had to carefully position them.
(I didn't make that D1 ESP8266 model, I just found it online, I did model the rest.)
Using a lot of careful adjusting and shifting I arranged everything as you see here, so that it would take up as little space as possible, keep the screen visible at both low ready and while aiming, and be ergonomic and not too bulky. I also had to make sure the switch assembly I made earlier would be positioned perfectly in relation to those mounting screws, and sit so that the switch would be pressed when the blaster was not firing. It looks simple above but this took a lot of thought and trial and error.

I used clipping planes and transparent models to create a shape that would encompass everything as well as mount correctly to the blaster.

Here is the final shell wrapped around all those parts. Creating the shell then carving it out to house everything was easily the most complicated part of this entire process.

I am quite pleased with the shape, though! It doesn't add any overall width to the blaster and it encompasses everything I needed it to, without looking toooo bulky or ugly.

The test print showed I had cut this tolerance a bit close for the D1 mini (it cut through the shell) but I fixed that later)

Here it is empty.

There is a lot of complicated geometry inside to house and mount everything. It's hard to see here, but the D1 Mini is held in with a plastic spring clip for easy mounting and removal if needed.

Here it is test fit on the blaster itself!

Testing the view when aimed, it looked like it would work!

And here is everything wired for the prototype! No, it's not my cleanest design, but it worked!

Space was TIGHT in here, soldering and routing wires for everything was not super fun haha!

But amazingly everything fit first print! Besides some holes for the allen wrench to het to the switch mounting screws I didn't have to adjust anything too major after the first test fit.

I DID however learn not to overtighten the screen! I've since added some geometry to HOPEFULLY make this issue harder to replicate but I cracked the first one I installed. Oops!

After replacing that screen I got to programming, and a few hours (and quite a few bad words) later, I had the counter running! I was honestly a bit flabbergasted it worked as well as it did after I was done. (Admittedly I started this project fully knowing I was being a bit over-ambitious lol!)
I added a magwell with another switch using a similar process as I described before not long after, and programmed in the reload screen and mag reset!

Pretty slick, if I do say so myself, and it doesn't add more than 50g of weight to the blaster!

I think the fun factor it adds is off the charts, personally haha.

I love how legible it is while aiming or just pointing it casually.


The laser/light combo on the front is also my design, but is a separate system from the counter.
The wiring is a bit jank rn but everything else about the system is pretty refined! I need to adjust the magwell to be more secure and itll be perfect.

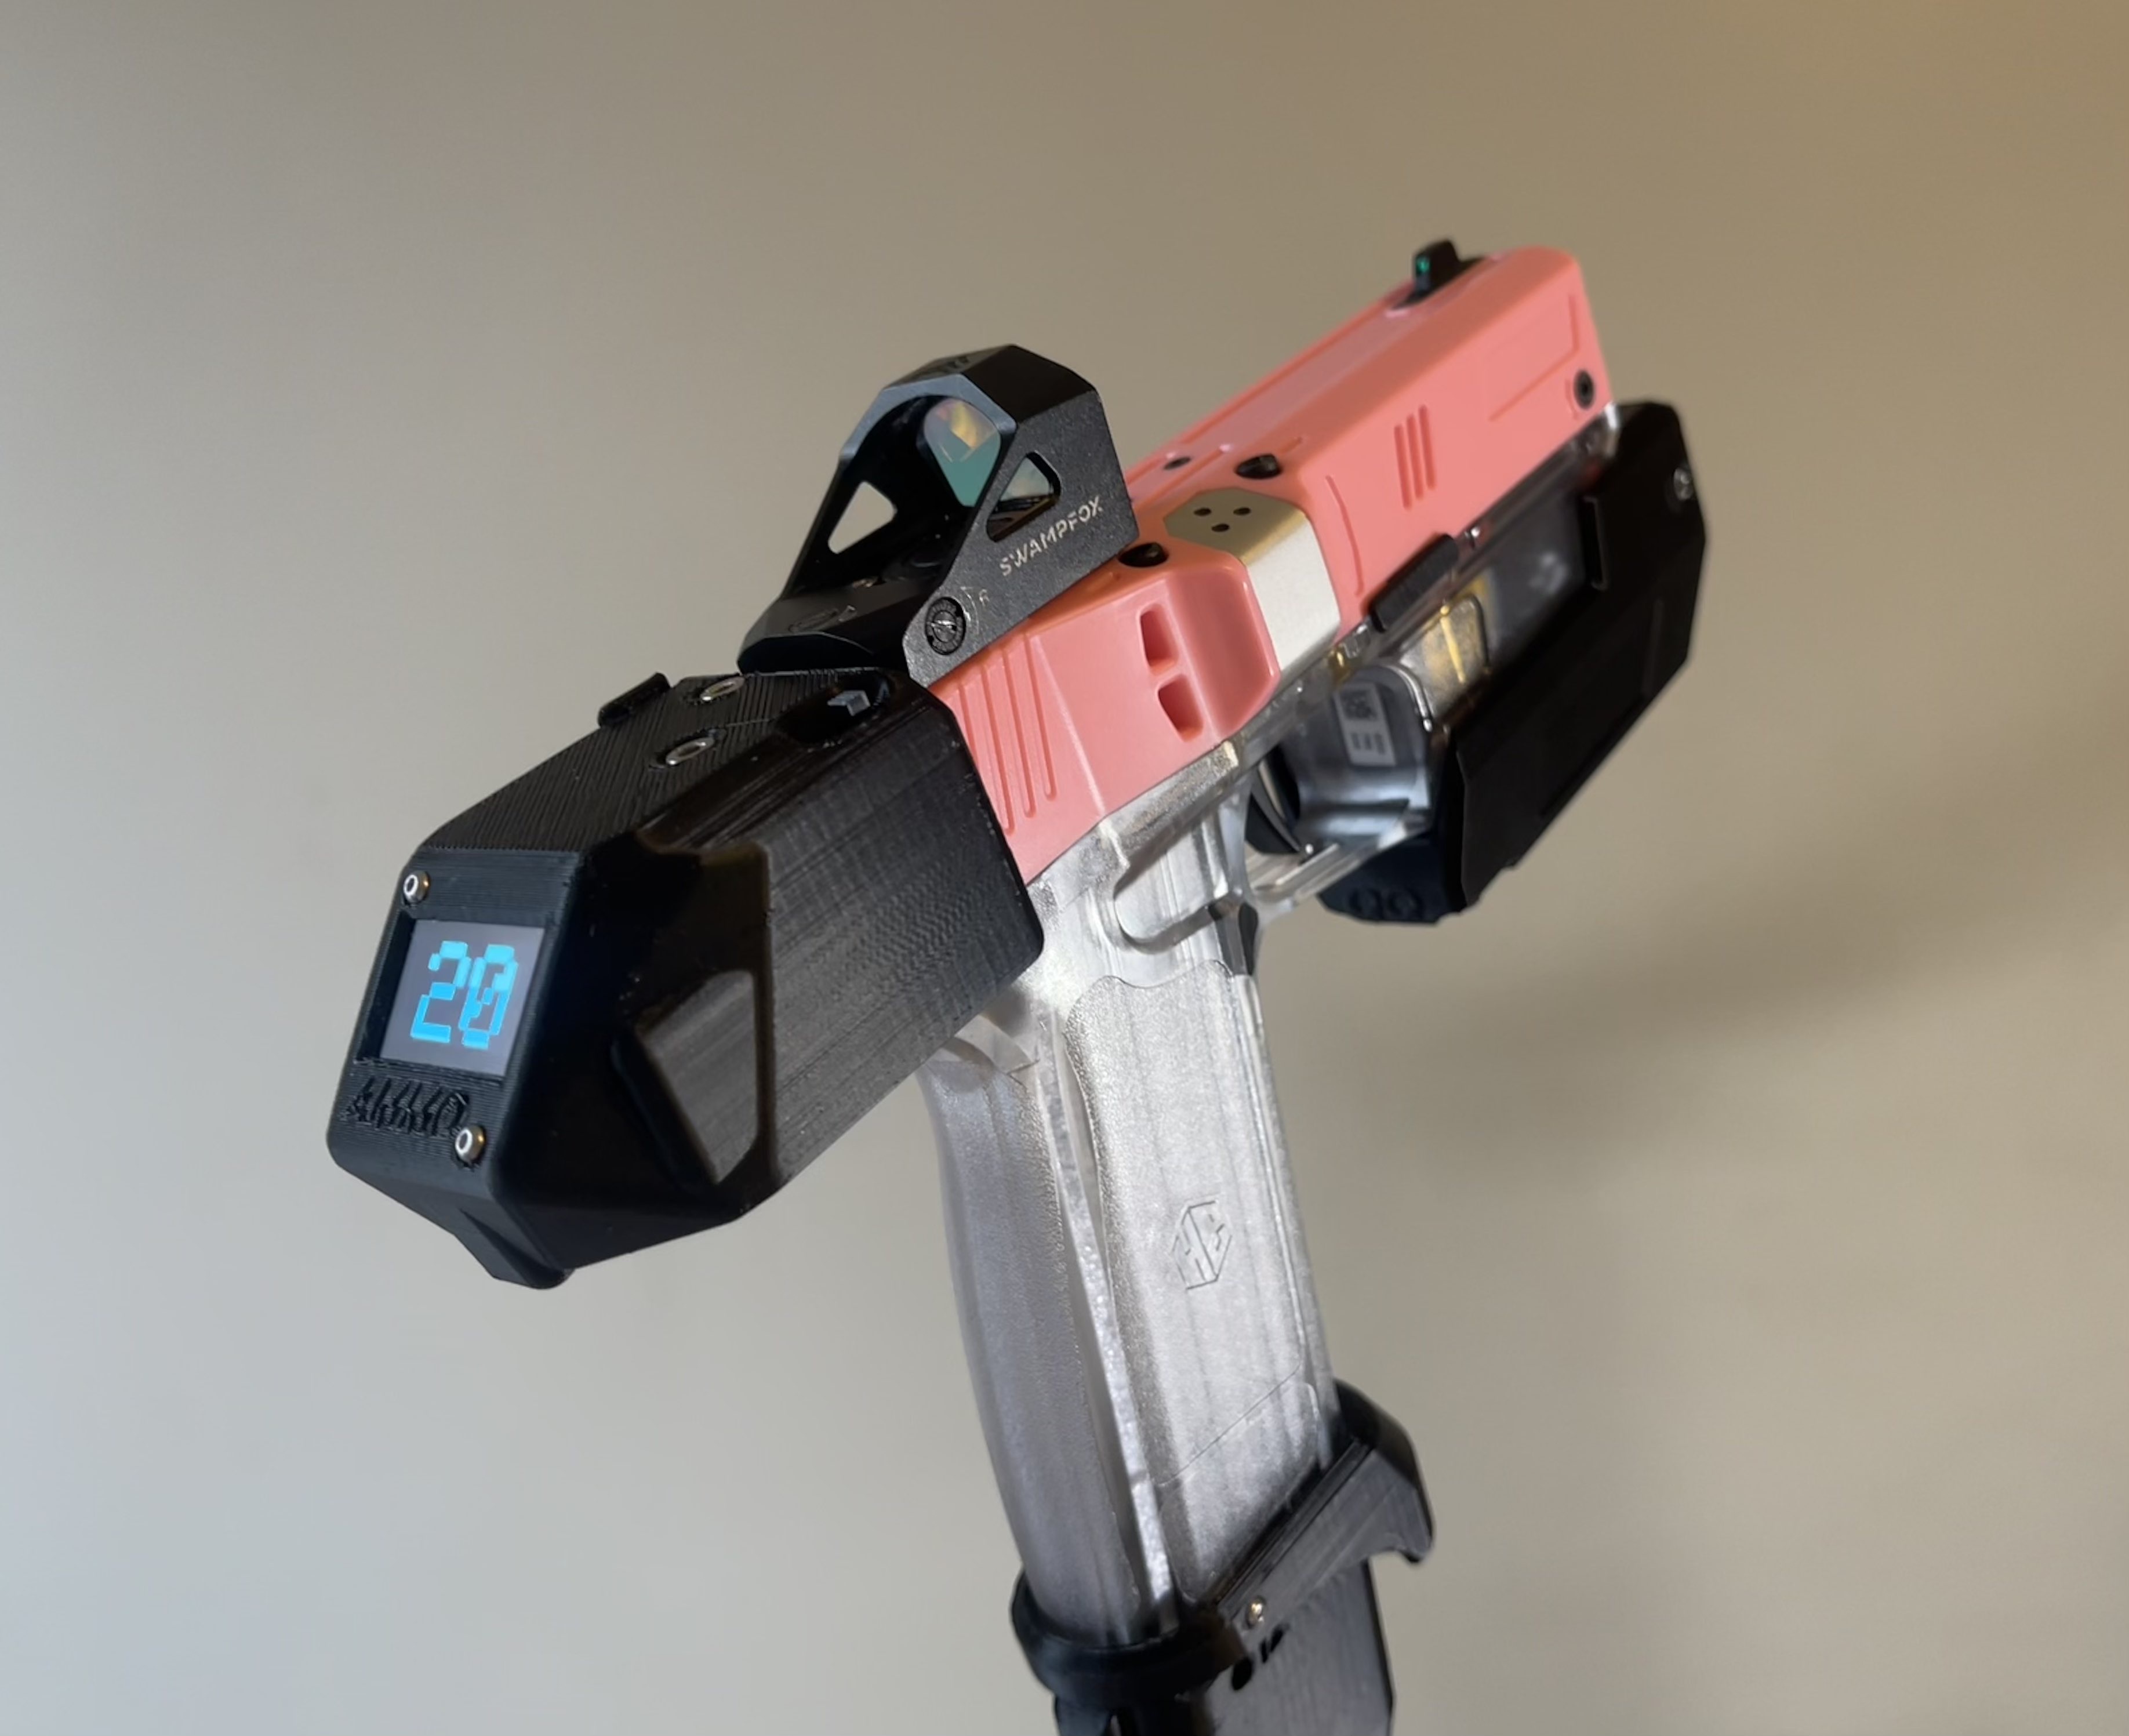
Other side.

And a nice glamor shot!
I hope ya enjoyed seein how I designed and put this project together, thanks for readin if you're still with me all the way down here!
I will be releasing this on printables soon with the program and wiring diagram as well so you can make your own, and I'll make another post when I do!
joepineapplesindrag
IUpvoteFuturama
wetsquirrel
I love it when you talk nerf to me.
nightripper
Shifuede
Needler was one of my favs.
selenophileart
I was defo inspired to make this by both halo and alien haha
PileOfWalthers
I wanna have one of those for my Walther PPQ.
RElGNMAN
Future assault rifle systems will have ammo counters like this, to assist troops on the battlefield.
Kuiper
Honestly? I highly doubt it. Systems like these are cool and all, but functionally useless in the grand scheme of things. If you're not counting your rounds, you're either concussed, or you didnt spend enough time learning your rifle. If you run dry, and can't find out why gun doesn't go bang, you might be in the wrong line of work.
Also these things add needless weight, complexity, and don't add enough functionality other than coolness factor. They are cool though.
InkGoat
Seriously though, that's really cool.
selenophileart
Absolutely guilty as charged haha
Thanks so much too!