RominRonin
2707
29
2

Planning my small, external studio room.
This album was created to supplement my post over at the Soundman2020 Studio Design Forum: https://forum.digistar.cl/viewtopic.php?f=5&t=1081
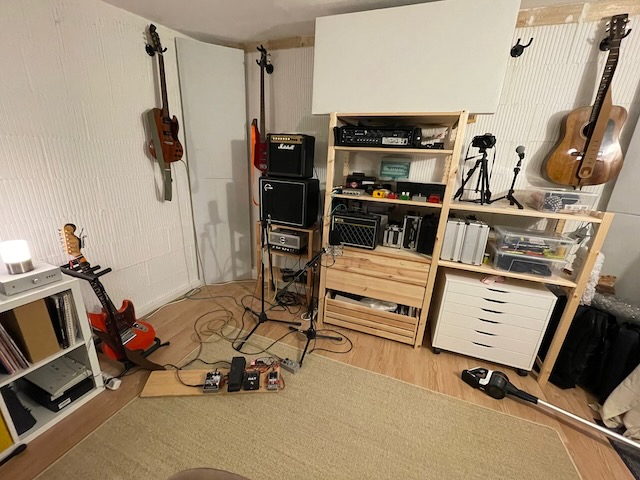
Here is a recent shot of the completed room.
Another recent angle.

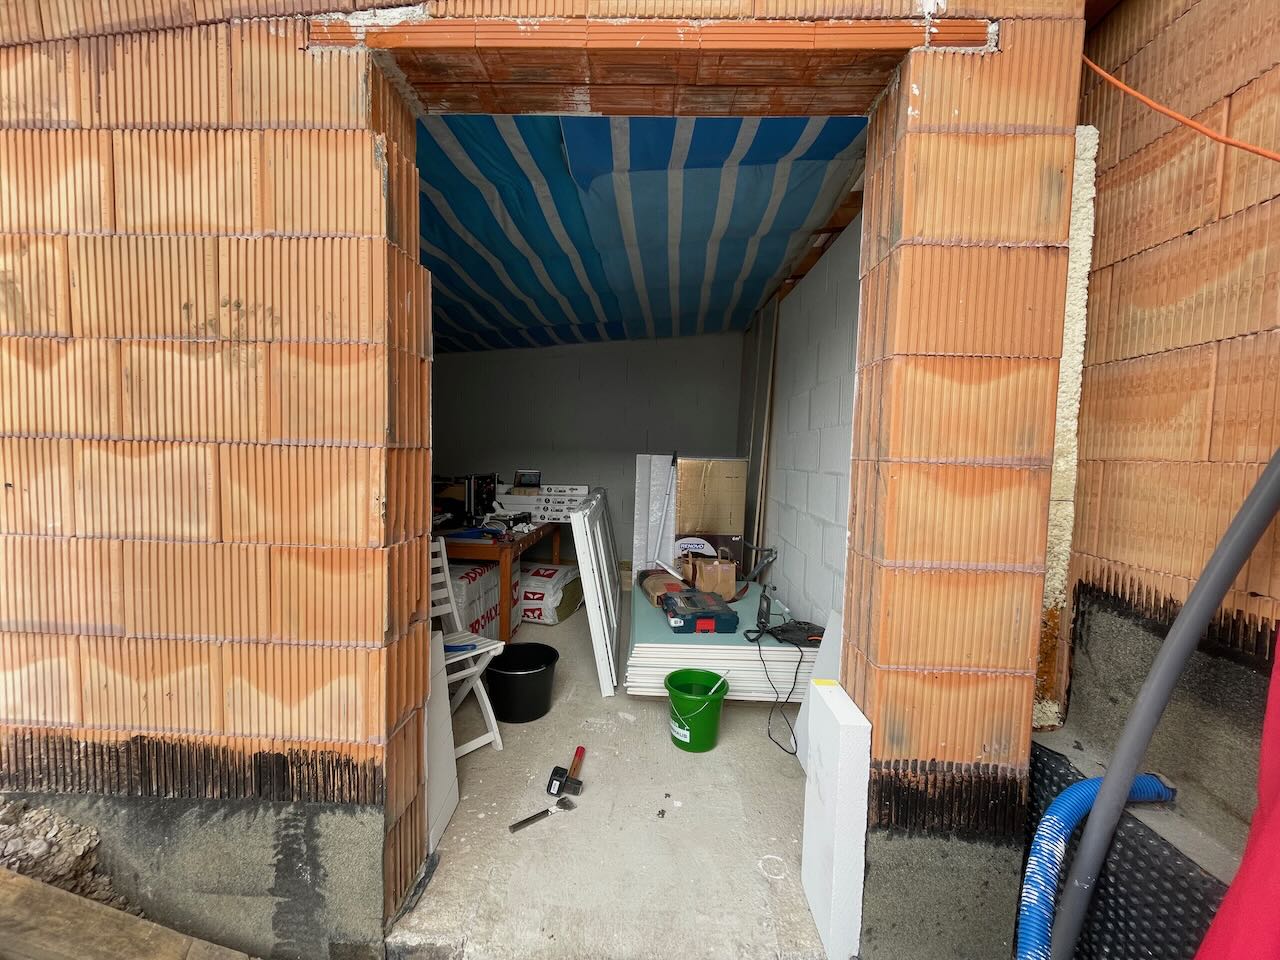
A 'before' snap. We used the space as a shed until I was ready to start construction.

Another 'before' snap.

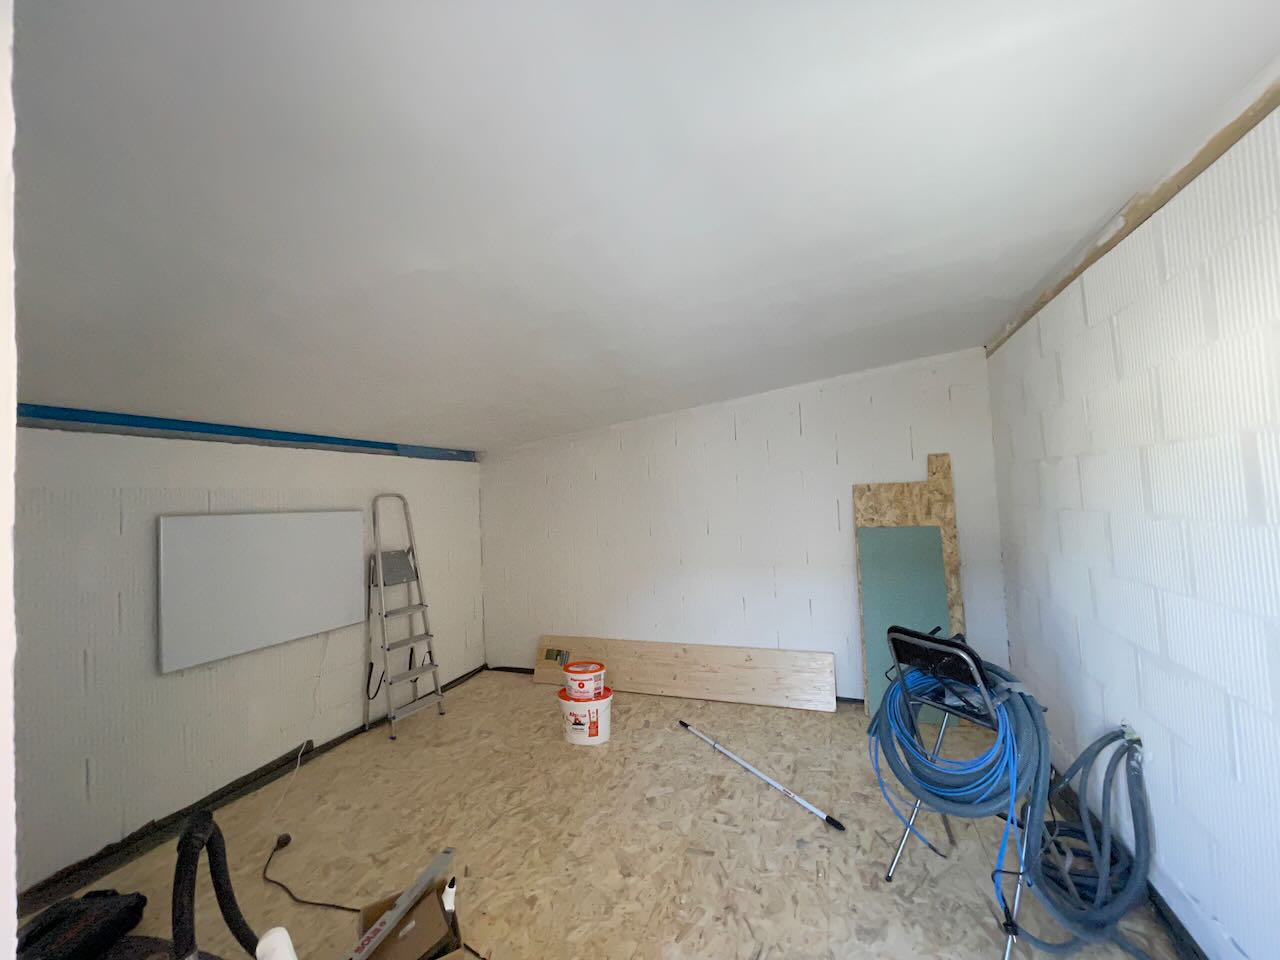
The first step was to paint the walls white.

I wanted to finish painting before the floors were down.

I filled this gap with rock wool and closed it off with a wooden plank, which I sealed with expanding foam. This was sufficient to get an air seal.
The doorway was too wide, I wanted some more room behind the door for corner traps...

...so I built it out with aerated blocks.

For now, I just fitted a cheap garden door, I don't have the budget for a 'proper' external door yet. I just needed to seal the room in the initial build.

The ceiling was already stuffed with rock wool and covered with a water repelling sheet. I only needed to seal it with plaster board...
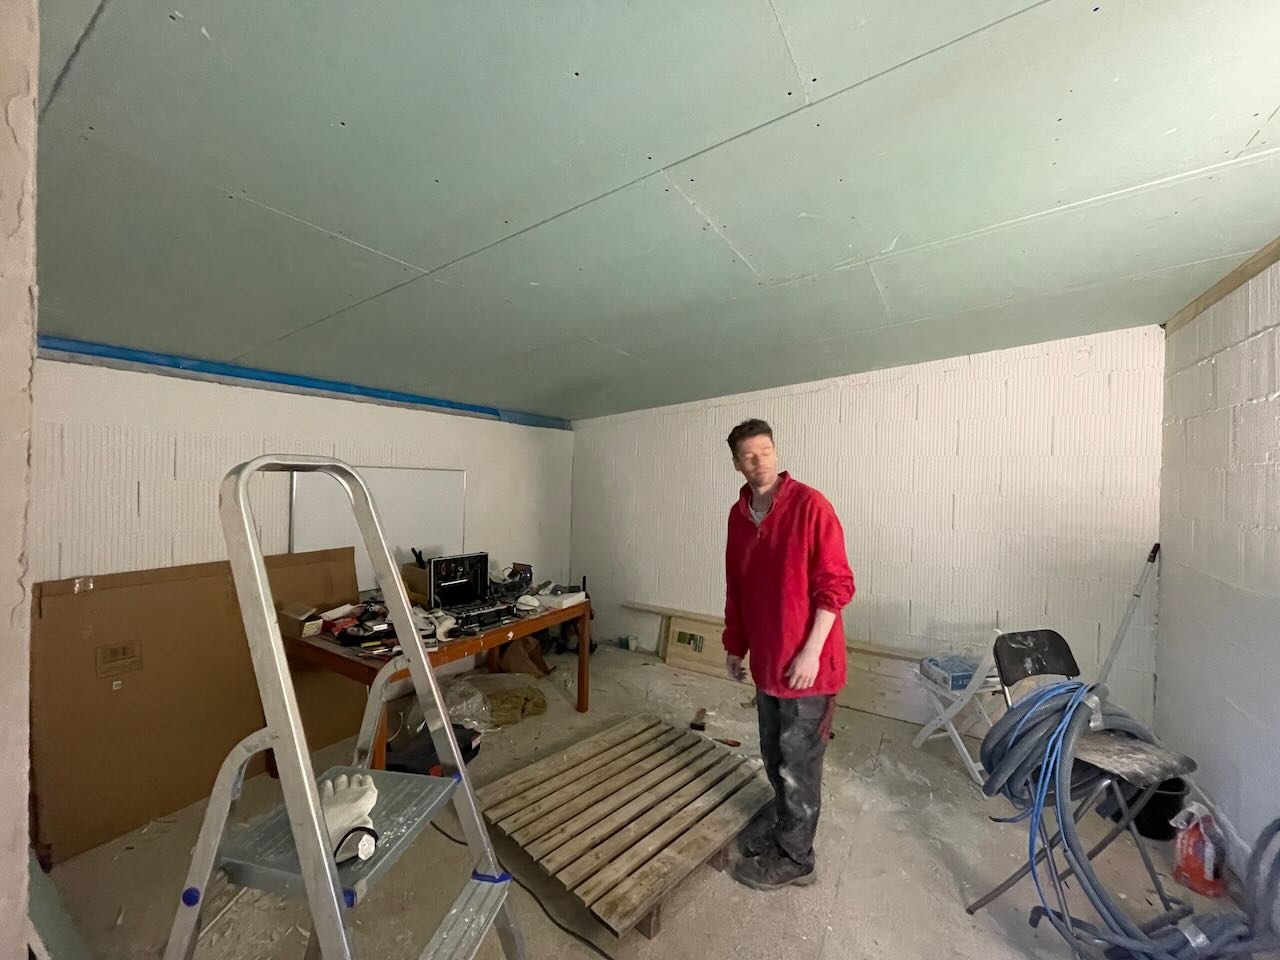
"Look surprised for the camera" - my mate, who helped with construction.
Luckily, external noise has not been an issue during use. I wanted to avoid building thicker isolating walls, to retain as much volume in the room as possible.

I started laying down the flooring.
A double water sealing layer, some OSB sheets followed by an insulation layer and finally, parquet flooring.

The ceiling paint job was a pain in the ass (and neck and back). This was the first time I'd done this kind of thing, so it's no surprise that it's not a totally smooth finish.
But it's fine for me.
Ready for the parquet flooring, but first...

I couldn't wait any longer to build my first absorber frame :)

Time for that floor now.
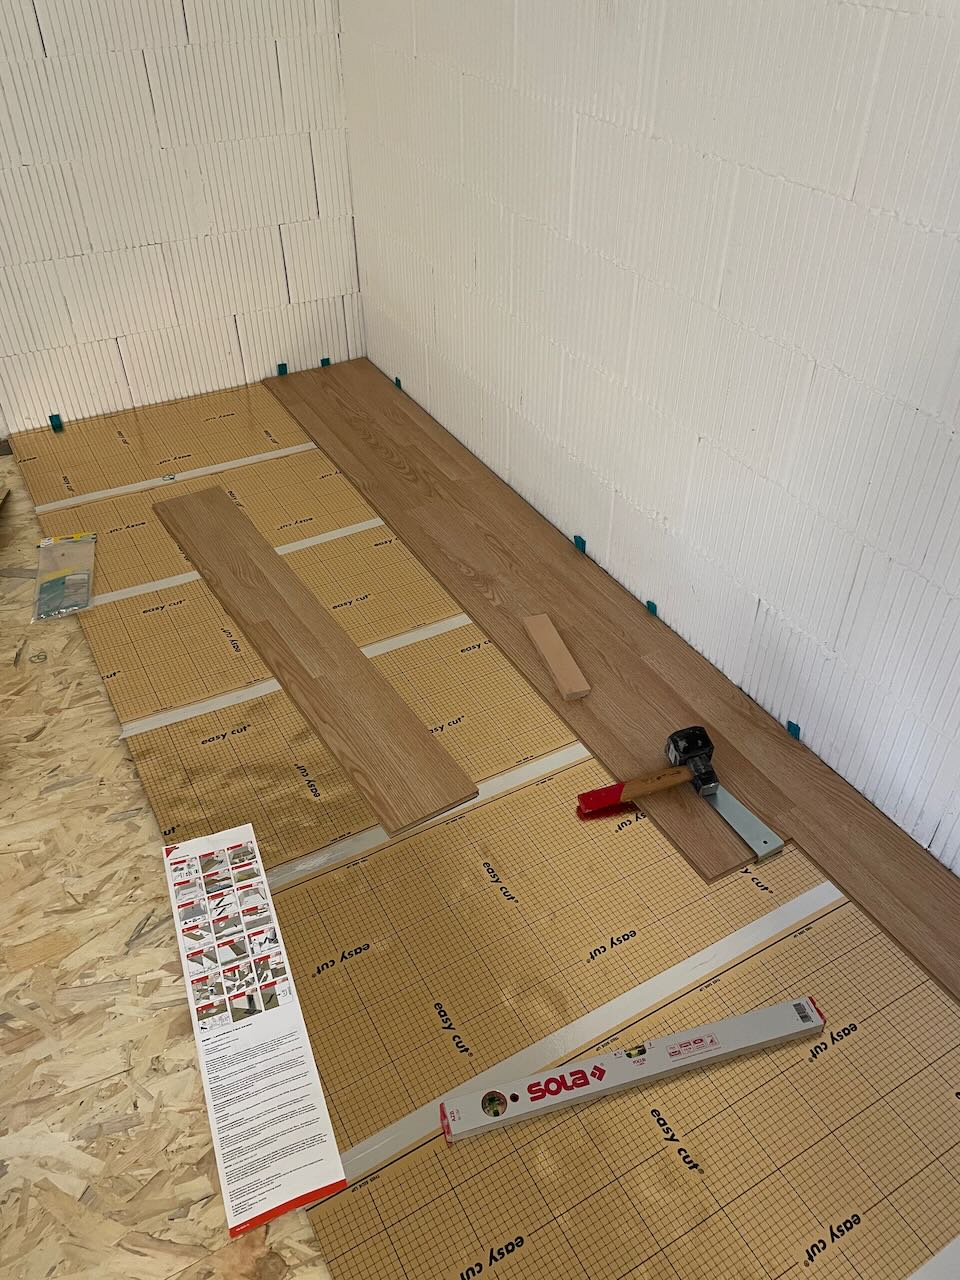
Had I had more time and patience (and money), I might have totally flattened the concrete slab first. Instead I chipped away as much of the uneven bits as I could.
There are no wild dips anywhere. I relied on the OSB and a thicker (10mm) insulation layer to even out the difference.

I'm very happy with the results.

My first floor installation. It's very satisfying to admire the completed work.

On to the rest of those absorber frames.

The one on the left has had a first coat of oil. I used rapeseed oil to seal the woodwork.

Woodworking is so satisfying.

Stacked for easy application of the oil.

Here they are, after their second coats of oil.
I initially planned to have 6 standing absorbers, but I decided to reuse my GIK Acoustics corner absorbers for the rear corners, and build 4; 2 for the front corners and 2 for the first reflection points. That gave me extra wood for a ceiling panel too.

Time to finalise those absorbers.
I bought a massive roll of 'acoustic cloth' - look, I know it's a marketing term, OK?

I certainly made sure I was protected before handling the rock wool - I have an infant and I didn't want to risk contaminating our home.

15 cm of rock wool, that's roughly 6 inches

At this point, I just folded the cloth up and used a stapler to fix it to the frame. After my first attempt, I got much better at tightening the fabric before stapling. I think it would have been easier with a second pair of hands, but I got the job done.

I didn't need to construct feet. When they are 18 cm wide (and contain that much rock wool), those things are very sturdy, and need more than a slight bump to topple over.

The absorbers looked so damn cool without the cloth, that I considered alternative ways to seal them - to expose the wood.
In the end, I decided not to level-up my upholstery skills and just get on with it...

So satisfying. When they're all in positioned in the final room, you don't get to appreciate how cool the absorbers look together!

So clean. It's almost a shame to fill it with music gear!

I had to hear the speakers in the completed room, with the absorbers.

At that point, it needed work, but it sounded great already.

A quick plan for the electrician. Until that point I had used an extension cord from the house.

I was playing around with the Ikea IVAR planner, I didn't end up with this arrangement, but that tool is so f**king cool!

This is a less recent shot of the initial configuration of the room.
Initial rear shot.

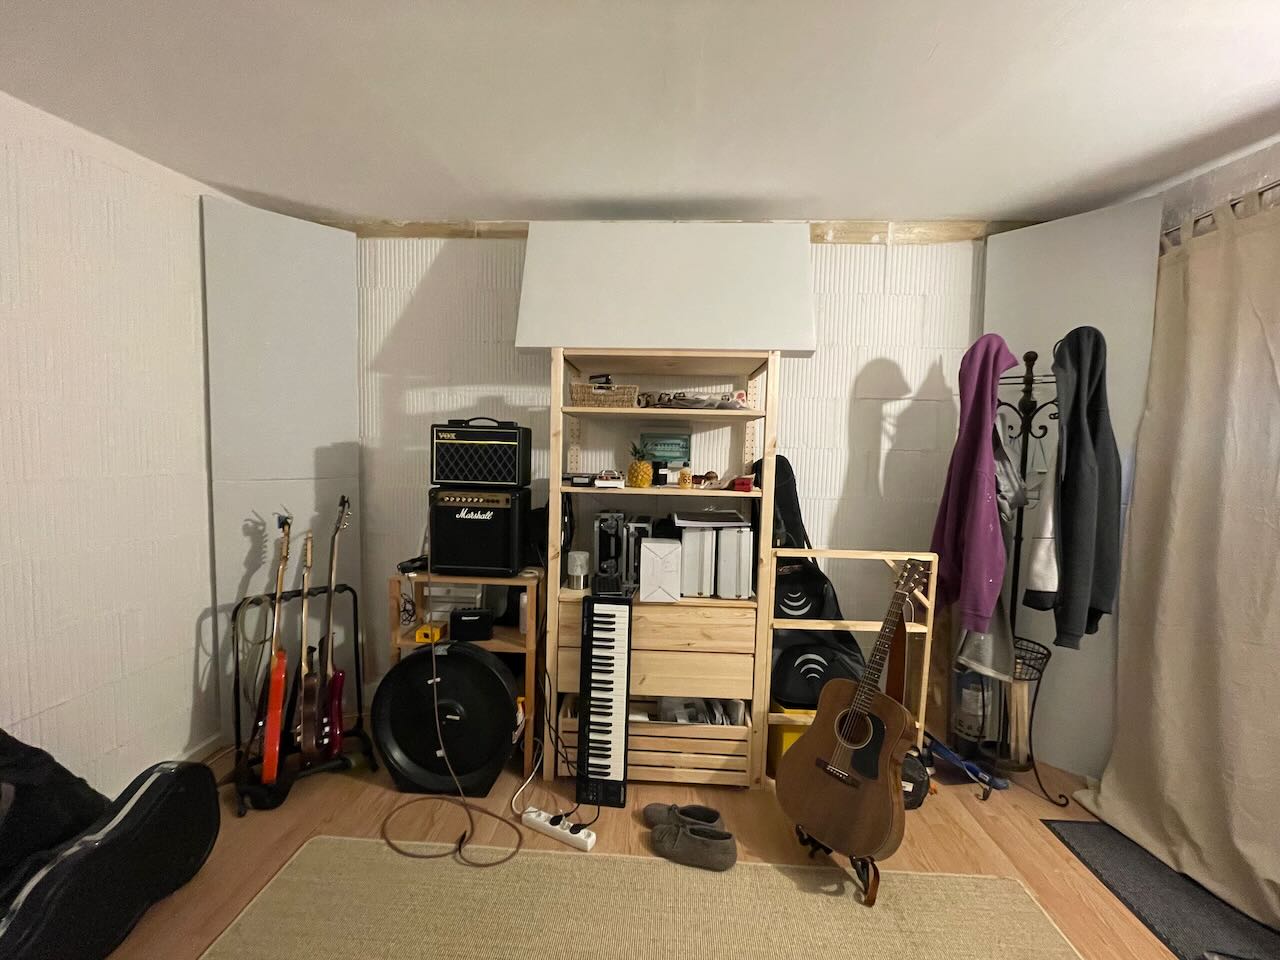
This is a recent shot, with way more gear. I think I did a good job of keeping it tidy and workable.
The monitor is deliberately angled so low. The priority here is making music, so I don't need the monitor to always be at the widely accepted ergonomic height.

Another recent shot. I still have a few guitars to add to the space. My pedal board is nearly always out.

I was playing with lighting for streaming. twitch.tv/rominronin if you're interested ;)

A little mood lighting.
That's a heavily modded Jag-Stang.
Thanks for browsing this far.
groovylovechild
That was fun to watch come together! What a sick place to dedicate yourself to music. Thank you for sharing that was fascinating