azethor
7231
33
1

I bought my home in 2018 with the understanding that the front porch would need a major overhaul one day. The uprights sat directly onto a piece of treated wood that had started to compress under the weight. This retained water, which led to a worsening cycle of the wood rotting and compressing further.
To make things worse, the deck boards had nothing between them and the concrete blocks underneath. The weight of the roof pushing down onto the columns had no direct load transfer to the concrete blocks. Bowing the deck boads into this space over time, with enough sag, the gutters up top stopped draining in the right direction.
This year I had enough, so let the project begin! First was cutting off the railings and ripping up some deckboads to see what was underneath.

With the exception of the concrete blocks none of the supporting piers were sunk into the soil. Best case they were nailed to another piece of wood and sat on top of the dirt. Second part of the plan was creating concrete pier bases with 4x4 post brackets out the top. Proper load transfer was finally being achieved.

Deck boards.after day one. They were covered in a green carpet on top, which retained moisture that wasn't kind to the top of the boards.
Here is one of the "supports". You see I was able to move it with no effort.
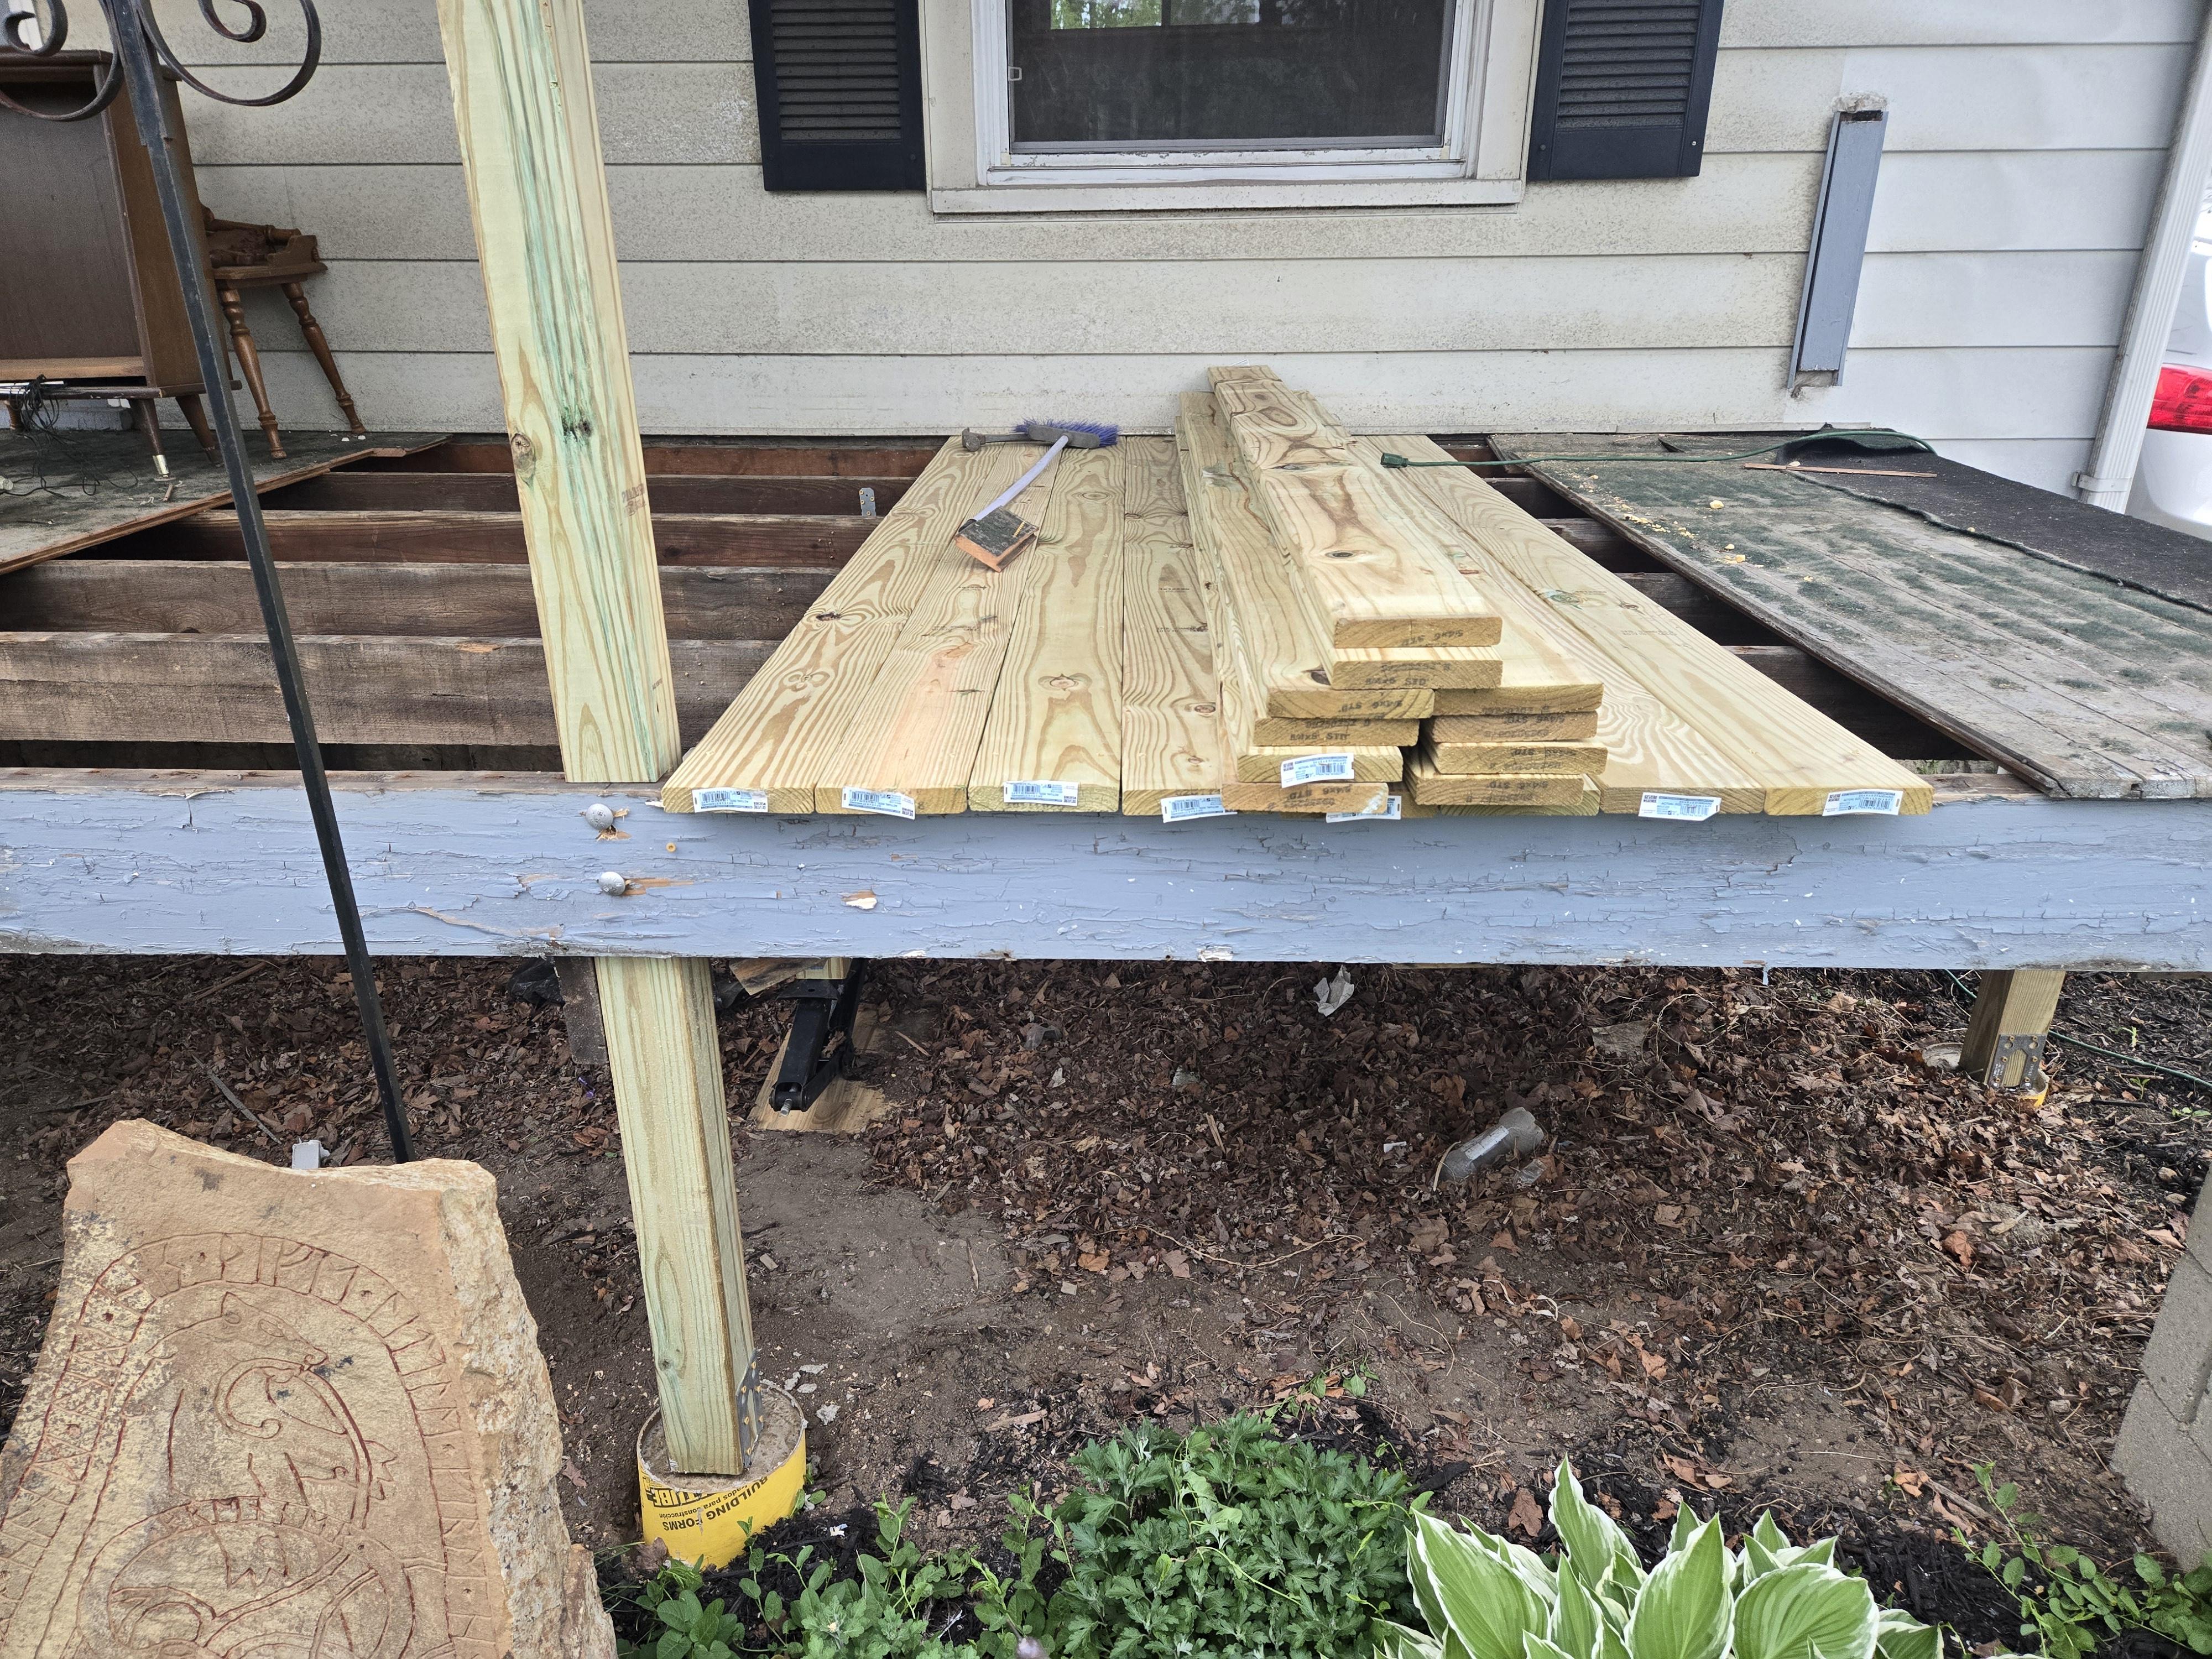
This middle section had quite a bit of sag between the outside header and the house. Sinking a pier in the middle with lag bolts I was able to level it out. Conveniently the width of the porch is just under 8' leaving me only inches of board cut off after installation.

This support was turned the wrong way when the previous owners installed it. So of course it bowed under its own weight and sagged. Rather than fix the sag, they shimmed between the board and the joist still leaving the sag.
Did I mention none of the connections had brackets or bolts? Not a one to be found. Only nails holding on with a wing and a prayer. The years of water along with the acidity of the wood had eaten most of them away. Won't happen now with galvanized bolts and specialty screws.

This was the scariest part, installing a temporary post to replace the deck boards where the new post would sit. Once it's all leveled it's a turn of the screw up top till the desired heights is met.

But don't forget to transfer the load down to the ground! These mega duty RV jacks did the trick. Without transferring the weight of the roof to the ground you risk breaking the new boards till the load is back overtop of the blocks.

And it's in! A new happy post with a moisture standoff at the bottom to prevent rot all covered up with some trim. One of three down.
Yes a spacer block was added between the deck boards and the concrete blocks. Never again will that weight be transferred improperly.

More deckboards at the end of day two. What you can't see is there was another joist requiring more proper pier supports. Again, boards on top of dirt. Serious who was their contractor? @AlphaStructural would have a thing or two to tell them.

More contnrsuctuon debris. Lucky me I won't have to have this hauled off site. Posting to FaceBook about free lumber solved that problem for me.

This area was the worst. To buy myself time I added shims between the rotting deckboards and the concrete blocks to stop any further sagging. It did the trick. This corner sees the most rain being in the direction the weather tends to come from.

Here it is! Mostly done. The exterior wood joist re-enforced the existing pieces, none were too far gone as to worry me enough for a complete replacement. The deck boards, uprights, and railing will be all new. I can feel a world of difference when walking on it.
I work Quality Control in a fiberglass/composites factory. Falls under the construction definition, a lot of the learned skills there applied to this project..

And the bottom portion is finished! The railings will needed added of course, but the worst of it is done. I was scared going into this project, one wrong move and the roof could come crashing down onto me. Making my insurance company go crazy, killing me, or worse injuring me but not enough to die leaving me to deal with the whole mess.
To anyone looking to do their own home improvements, do your research. Take it easy and work smart. Never skimp on safety and putting the money where it needs to go. Try to stay on budget but compromising in quality will get you later.
This portion of the job took 4 days of hard work to complete.
JiffyPopPhantom
Nice work! Are you going to seal it with anything?
TricksForDays
Some carpet probably