TheGoatMother
3353
24
1

The final product! I was inspired by Kartell furniture design and thought it would be cool to have a transparent case to see all the guts.

Designed and compiled a list of parts. It ain't cheap..

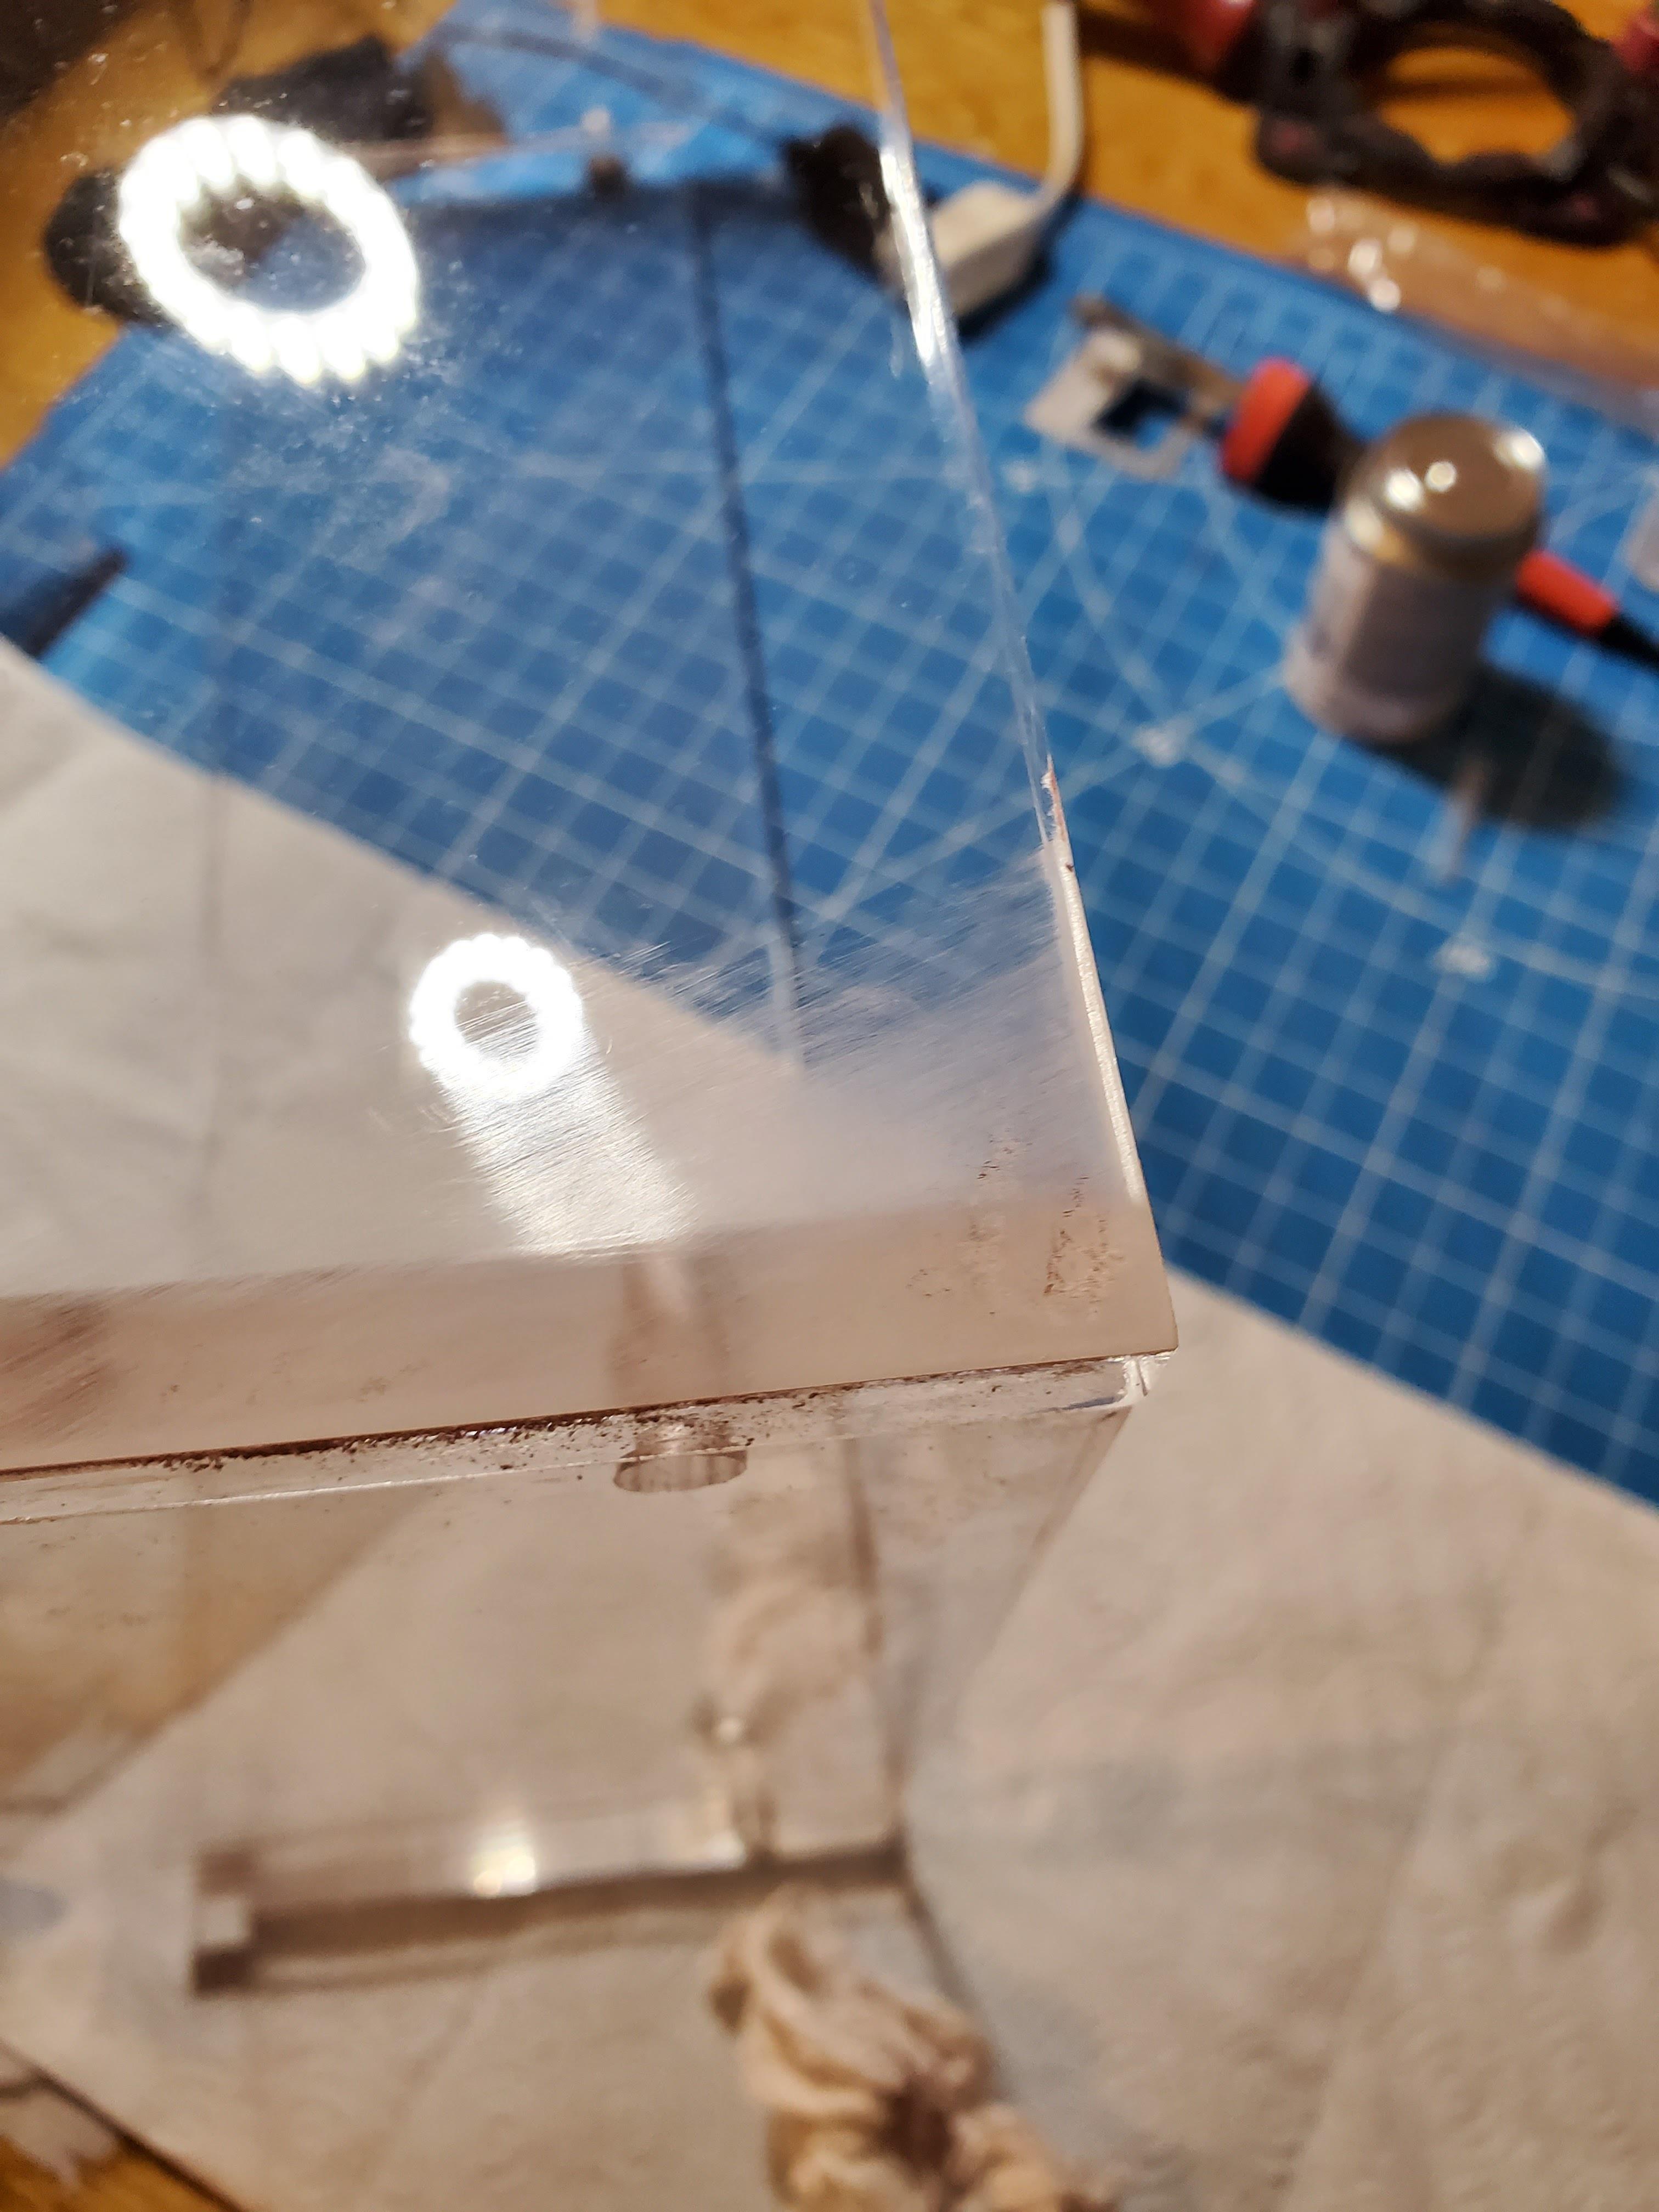
The rails were dull, which just won't do if the case is transparent.

So I shined them up to a mirror shine

I have never worked with acrylic sheeting before, so I got some scrap sheets upon which I could test all the various techniques I'd be employing.

My attempts at countersinking the screws were successful. It's important to get drill bits specifically for plastic. They are meant to shave without chipping away at it. Also, going slowly and lubricating with dish soap seemed to work to prevent melting or introducing too much cloudiness. I think I learned this on YouTube.

Ok, time to measure out where the real holes go.

My practice didn't exactly pay off... this screw is sunk too deeply. If I had a drill press with some way to stop at the correct depth I could have avoided this.

I had to take a peek...

Screwed in all the rails and they turned out straight.

Dry fitting with some blank panels and the power switch I wired up.

This screw is too deep. If I end up making another case, I'll be sure to figure out how to better control the depth that I'm drilling.

Got this contraption. It seems to work rather well! I don't have a workbench in my apartment, so I got a pretty big cutting board and am working on the floor. Not ideal but it'll do.

Now that all the holes are drilled, I'm buffing out the sides of all the acrylic panels.

I learned that using buffing compound indoors is a TERRIBLE idea. This stuff gets absolutely everywhere and it's greasy so you can't exactly just wipe it away. Do not do what I did.

The technique does seem to work well, however...

Now to begin heat setting the threaded inserts into which the feet will screw.

Just testing the depths. That drill press contraption was pretty good actually.

I got a soldering iron tip specifically meant for the exact threaded inserts I got.

If you apply just enough pressure and do things slowly, you can set these things without much cloudiness or introducing any bubbles.

I love how the base floats.

Time to glue the sides on. I'm using a solvent glue. I like the smell because it reminds me of my childhood and building model airplanes, but it's probably not great to be breathing in the fumes for extended periods of time.

Sides are glued on and now I'm testing that everything is square.

I accidentally glued a piece of paper towel to the top panel. What a disaster!
Trying to sand the mishap so I can buff it out.
Successfully buffed the mistake out and its time to screw the rails in.

Side panels all glued up, mistakes buffed out, and hardware screwed in. I love the LED colour of the power button I ended up settling on.

Now to start with the rear panel and measure out where the power supply will go.

I didn't take any pictures of the process to attach the power supply unfortunately, but it involved more countersinking little screws. The power supply is suspended on small standoffs, of which I only painted 2 because it took ages since the paint refused to stick to the ceramic unless I used 3 coats. Someday I'll paint the others. They are a pink colour I bought because the original power supply I had in mind was a different colour which would have worked well with pink. I'll probably paint them black or red to match the Befacto powersupply I settled on in the end.

My patience and planning has finally paid off!

I placed the same feet on the back panel as well as the bottom so that it can sit both ways.

Now the task of filling it up with modules :')
I have the bill of materials if anyone else wants to build one!
EverynightbeforebedIprayIdontwakeup
This thing is tits. Came here from your post in R/eurorack. Cant wait to see it full of modules.
TheGoatMother
Me too! Thanks for coming :)
VosperOfAntarctica
Sweet. also +1 for use of FreeCAD
TheGoatMother
Thanks! Was the first time I used any CAD software. Figured maybe others would want to build one, so I tried to document as much as I could
JVdBvl
Nice job!
TheGoatMother
Thank you!
MeerkatSchmeerkat
This is really cool, thank you! But… sorry I have to ask… What is it?
TheGoatMother
It is a rack/case for a modular synthesizer!
MeerkatSchmeerkat
Thank you! Keep up the good work!