vonslice
15958
53
0

(mostly) Finished product A

(mostly) Finished product B & my finger apparently

The old bench. This needed replacing after I got a new table saw. I spent some time thinking about what I wanted. I always thought I wanted a traditional woodworking bench but shop constraints and the type of work I usually do pointed me in another direction.

Disassembled the old bench to make room for the new. My goals were to have a heavy working surface with clamping space, outfeed for the table saw, a small face vise, and especially enough room to walk around the shop without squeezing between stuff.

My supplies. You can (kinda) fit 10 foot boards in an Impala

Rough cutting the boards in the garage with the circular saw. The 9ah battery made it through all the rough cuts without showing a single bar loss. Love it

The 2*6 boards were ripped in half on the table saw to make roughly 2-5/8 stock. I chose to do this over 2*4s so that I could plane the top a few times before needing to replace it.

Cutting to what I thought would be final dimensions. I put an 80 tooth blade in here to give me nice clean finish on the end grain. It was lovely and smooth but wouldn't last.

Ignore my mess. I ripped all the boards for square edges because I hate the rounded edges of construction lumber but I love it being cheap. The finish left by the 80 tooth blade was great.

Ready to drill some dog holes. Though I didn't go with a traditional bench design I wanted dog holes because bench accessories that fit in dog holes are very helpful when sanding, routing, or with the occasional hand work.

What a mess. I used a 3/4 forstner bit to give clean holes at the top. Because of the thickness of my bench top I ended up having to drill the rest of the depth later on but this got me started.

I screwed around with the biscuit joiner for this and though I still needed to plane the top some I think it was worth it. I attribute the misalignment to the user not the tool.

150 cuts with the biscuit joiner later. Maybe overkill, idk. Sure would've been nice to have a bench while I was cutting all those slots.

Ready for glue. So much glue. I figured since I was gluing up these rough faces I would just smother it and hope for the best.

This took a while and a ton of glue. I should have glued up a few sections at a time rather than all at once like this. There are still some gaps in the surface that probably would been have avoided if I had more sense.

Drilling pocket holes for the stretchers. At this point I thought I might need to disassemble the base at some point but the cabinet I installed made that useless. I drilled pocket holes on both faces of one of these boards because I'm a dumbass who drills first and checks later.

The legs are a sort of half lap mortise and tenon monster. Cut the shoulder on the table saw and removed the cheeks on the band saw

Base assembled and ready to install the top.

I used L brackets and cabinet screws to get the top on. This way the top is removable should I have to move the bench. The base is small enough to fit through doors. The top was positively covered in glue. I used a cheap hand plane and got most of it off. It also gives me something to practice my sharpening with now that I ran it through a bunch of glue.

Getting there. Notice the components from the old table up on the walls now. The surface bench itself sits just below the surface of the table saw. I made it sit low enough for the miter gauge to slide over as well but I ended up installing these blocks with non skid material attached that raised it up.

Laying out the drawer slides. This didn't work. I ended up moving a bunch of them. These drawer slides were in the basement when we bought the house. They were there with a lot of leftover stuff from the kitchen renovation. They aren't great at all and they don't move very well but $free.95 is the best price.

Building in the base cabinet. You can see the L brackets here. $20 face vise from Lowe's.

Drawer slides in (for now). I used two pieces of half inch plywood for the sides of the cabinet to add weight and allow the use of heavier screws to install the slides.

Beginning to glue up drawers. Had friends help with various parts of the project. Not pictured here was the use of the router and router table to rabbet all the drawer boards in addition to glue and screw joinery.

Clamped up. The C clamp was because the plywood started delaminating so I filled it with glue and clamped it up.

Drawer one in. About this time I realized the drawer portions of the slides mount on the bottom and so my whole layout was useless.

Layout stuff will go in here. Bench dogs and accessories, too.

Another glue up. At this point I grew inpatient with the time it was taking for glue to set but like a sensible adult I waited patiently and continued the build when they were set.

JK I bought twelve more clamps

New layout for the drawers
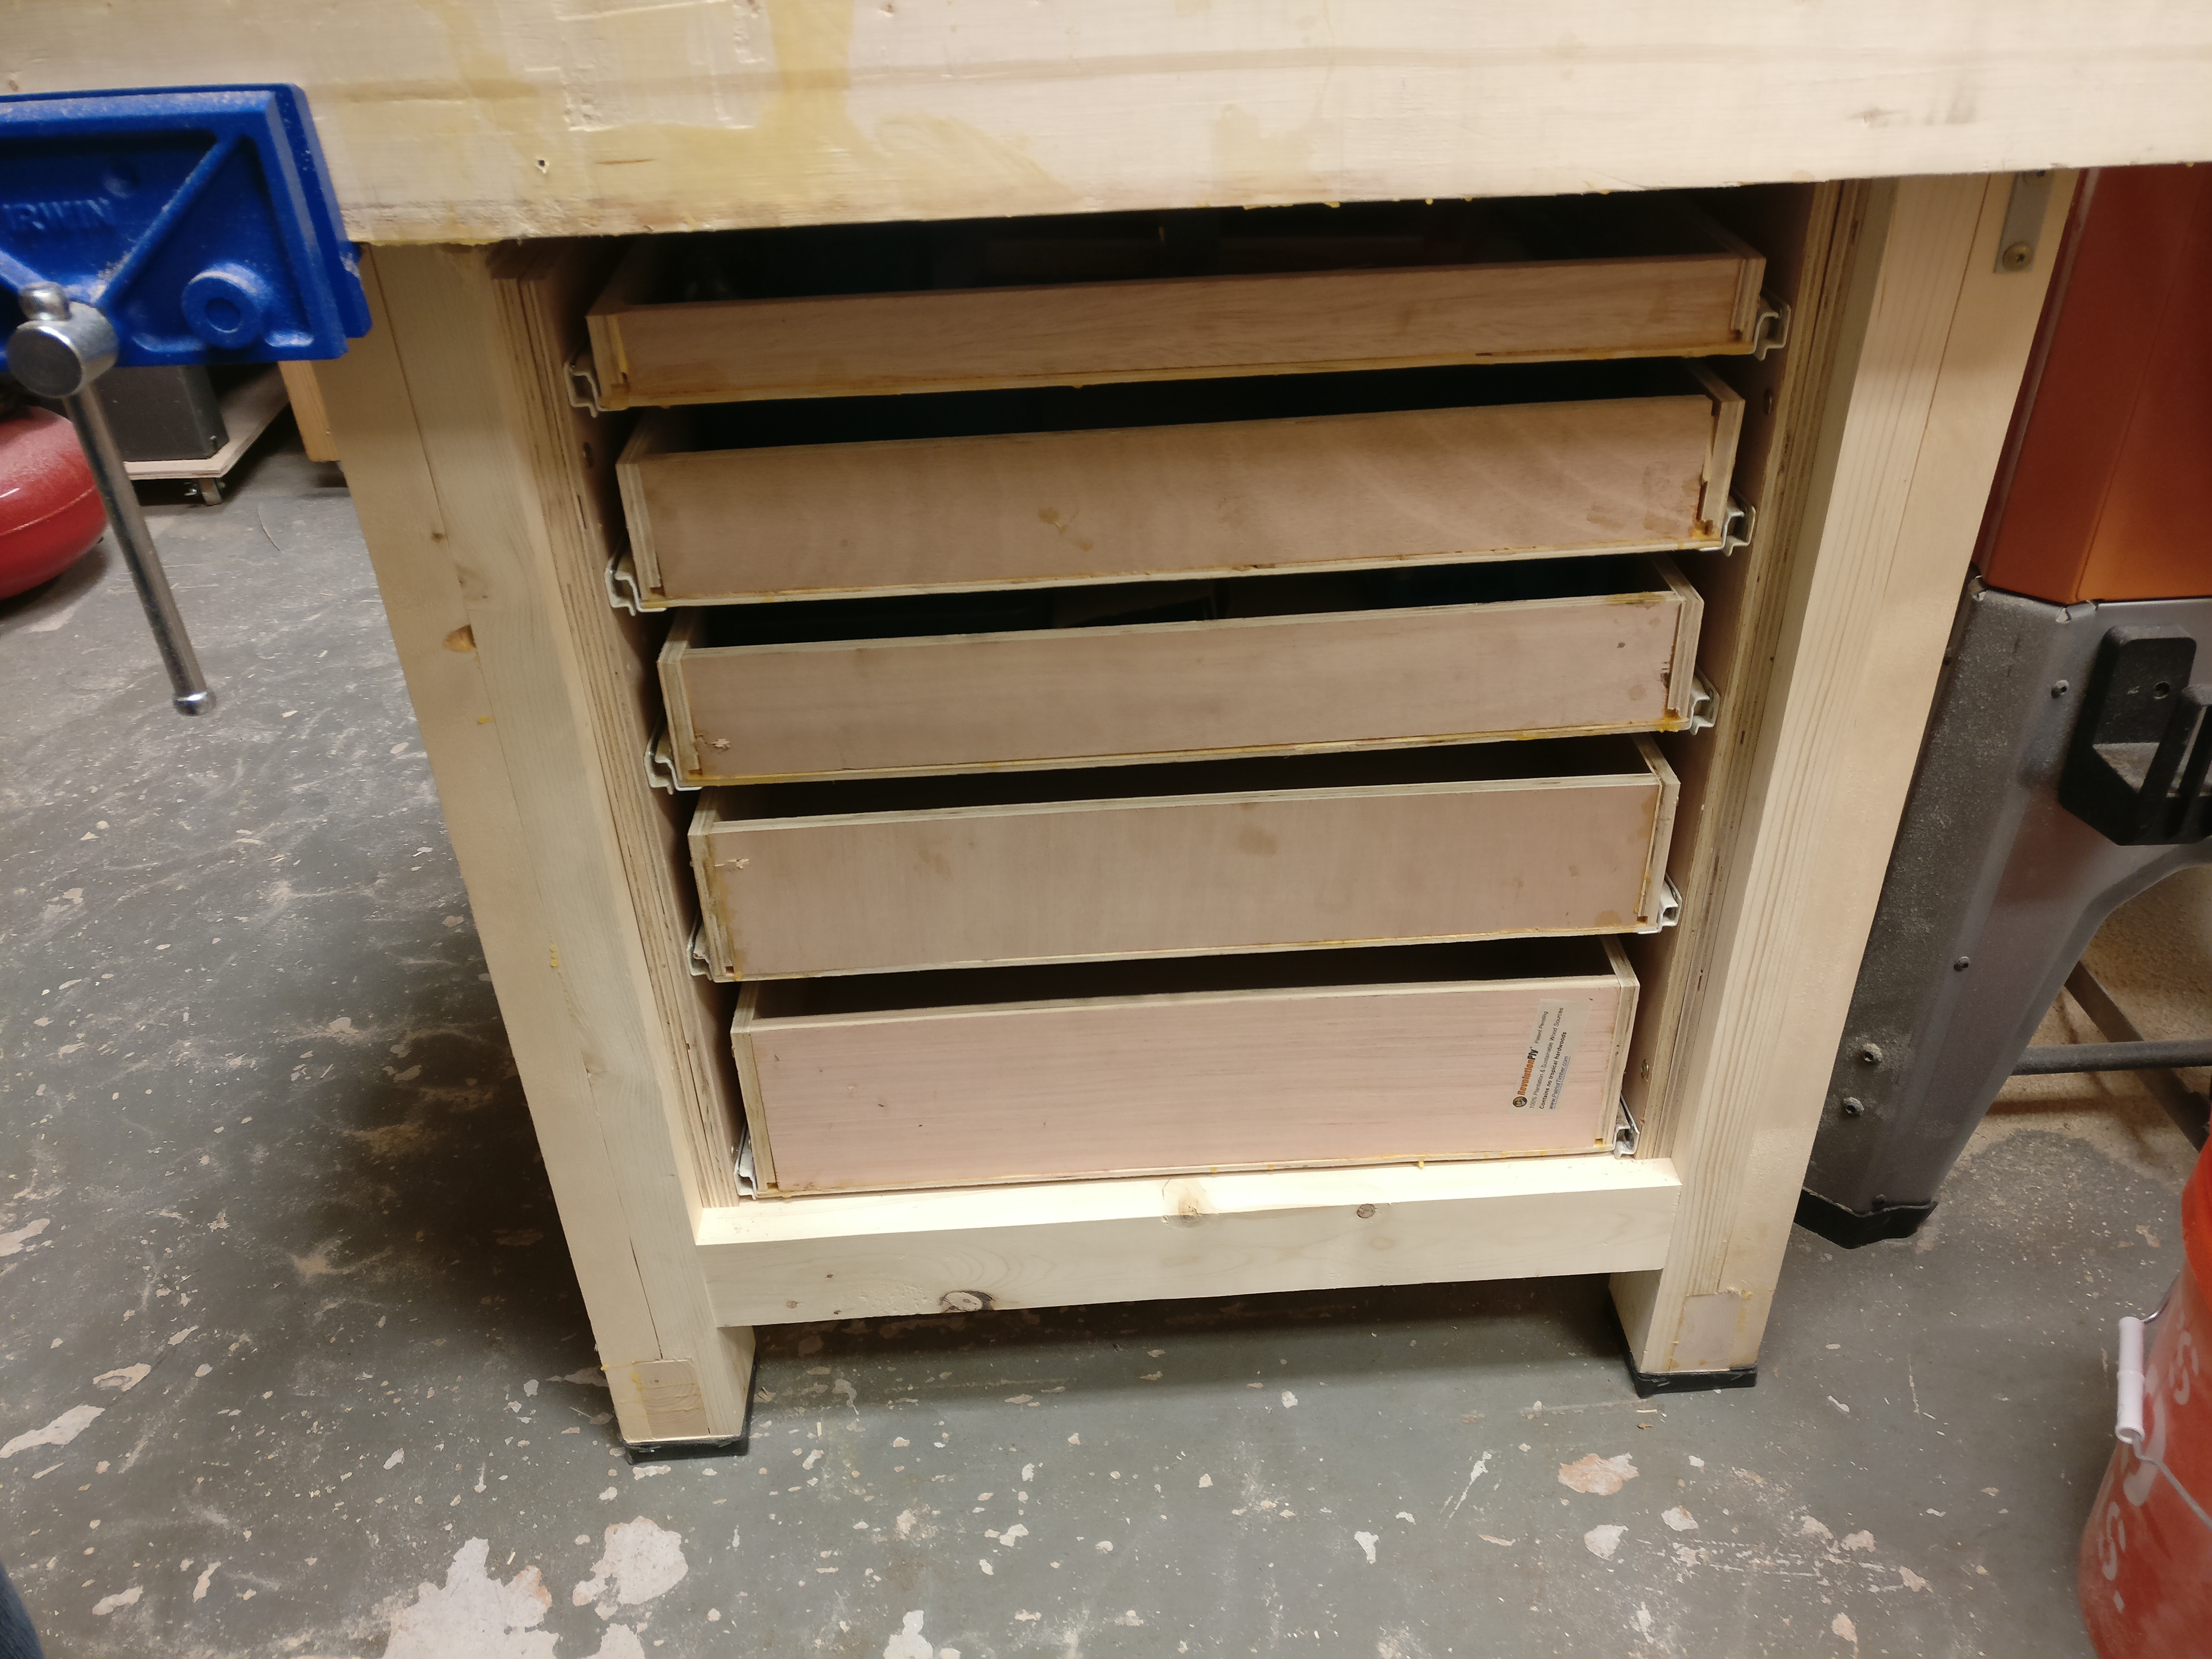
Drawers in. Another project will be to put false fronts on so it hides my lack of skill and looks better. Probably gonna use pine boards to keep with the "cheap ass" motif
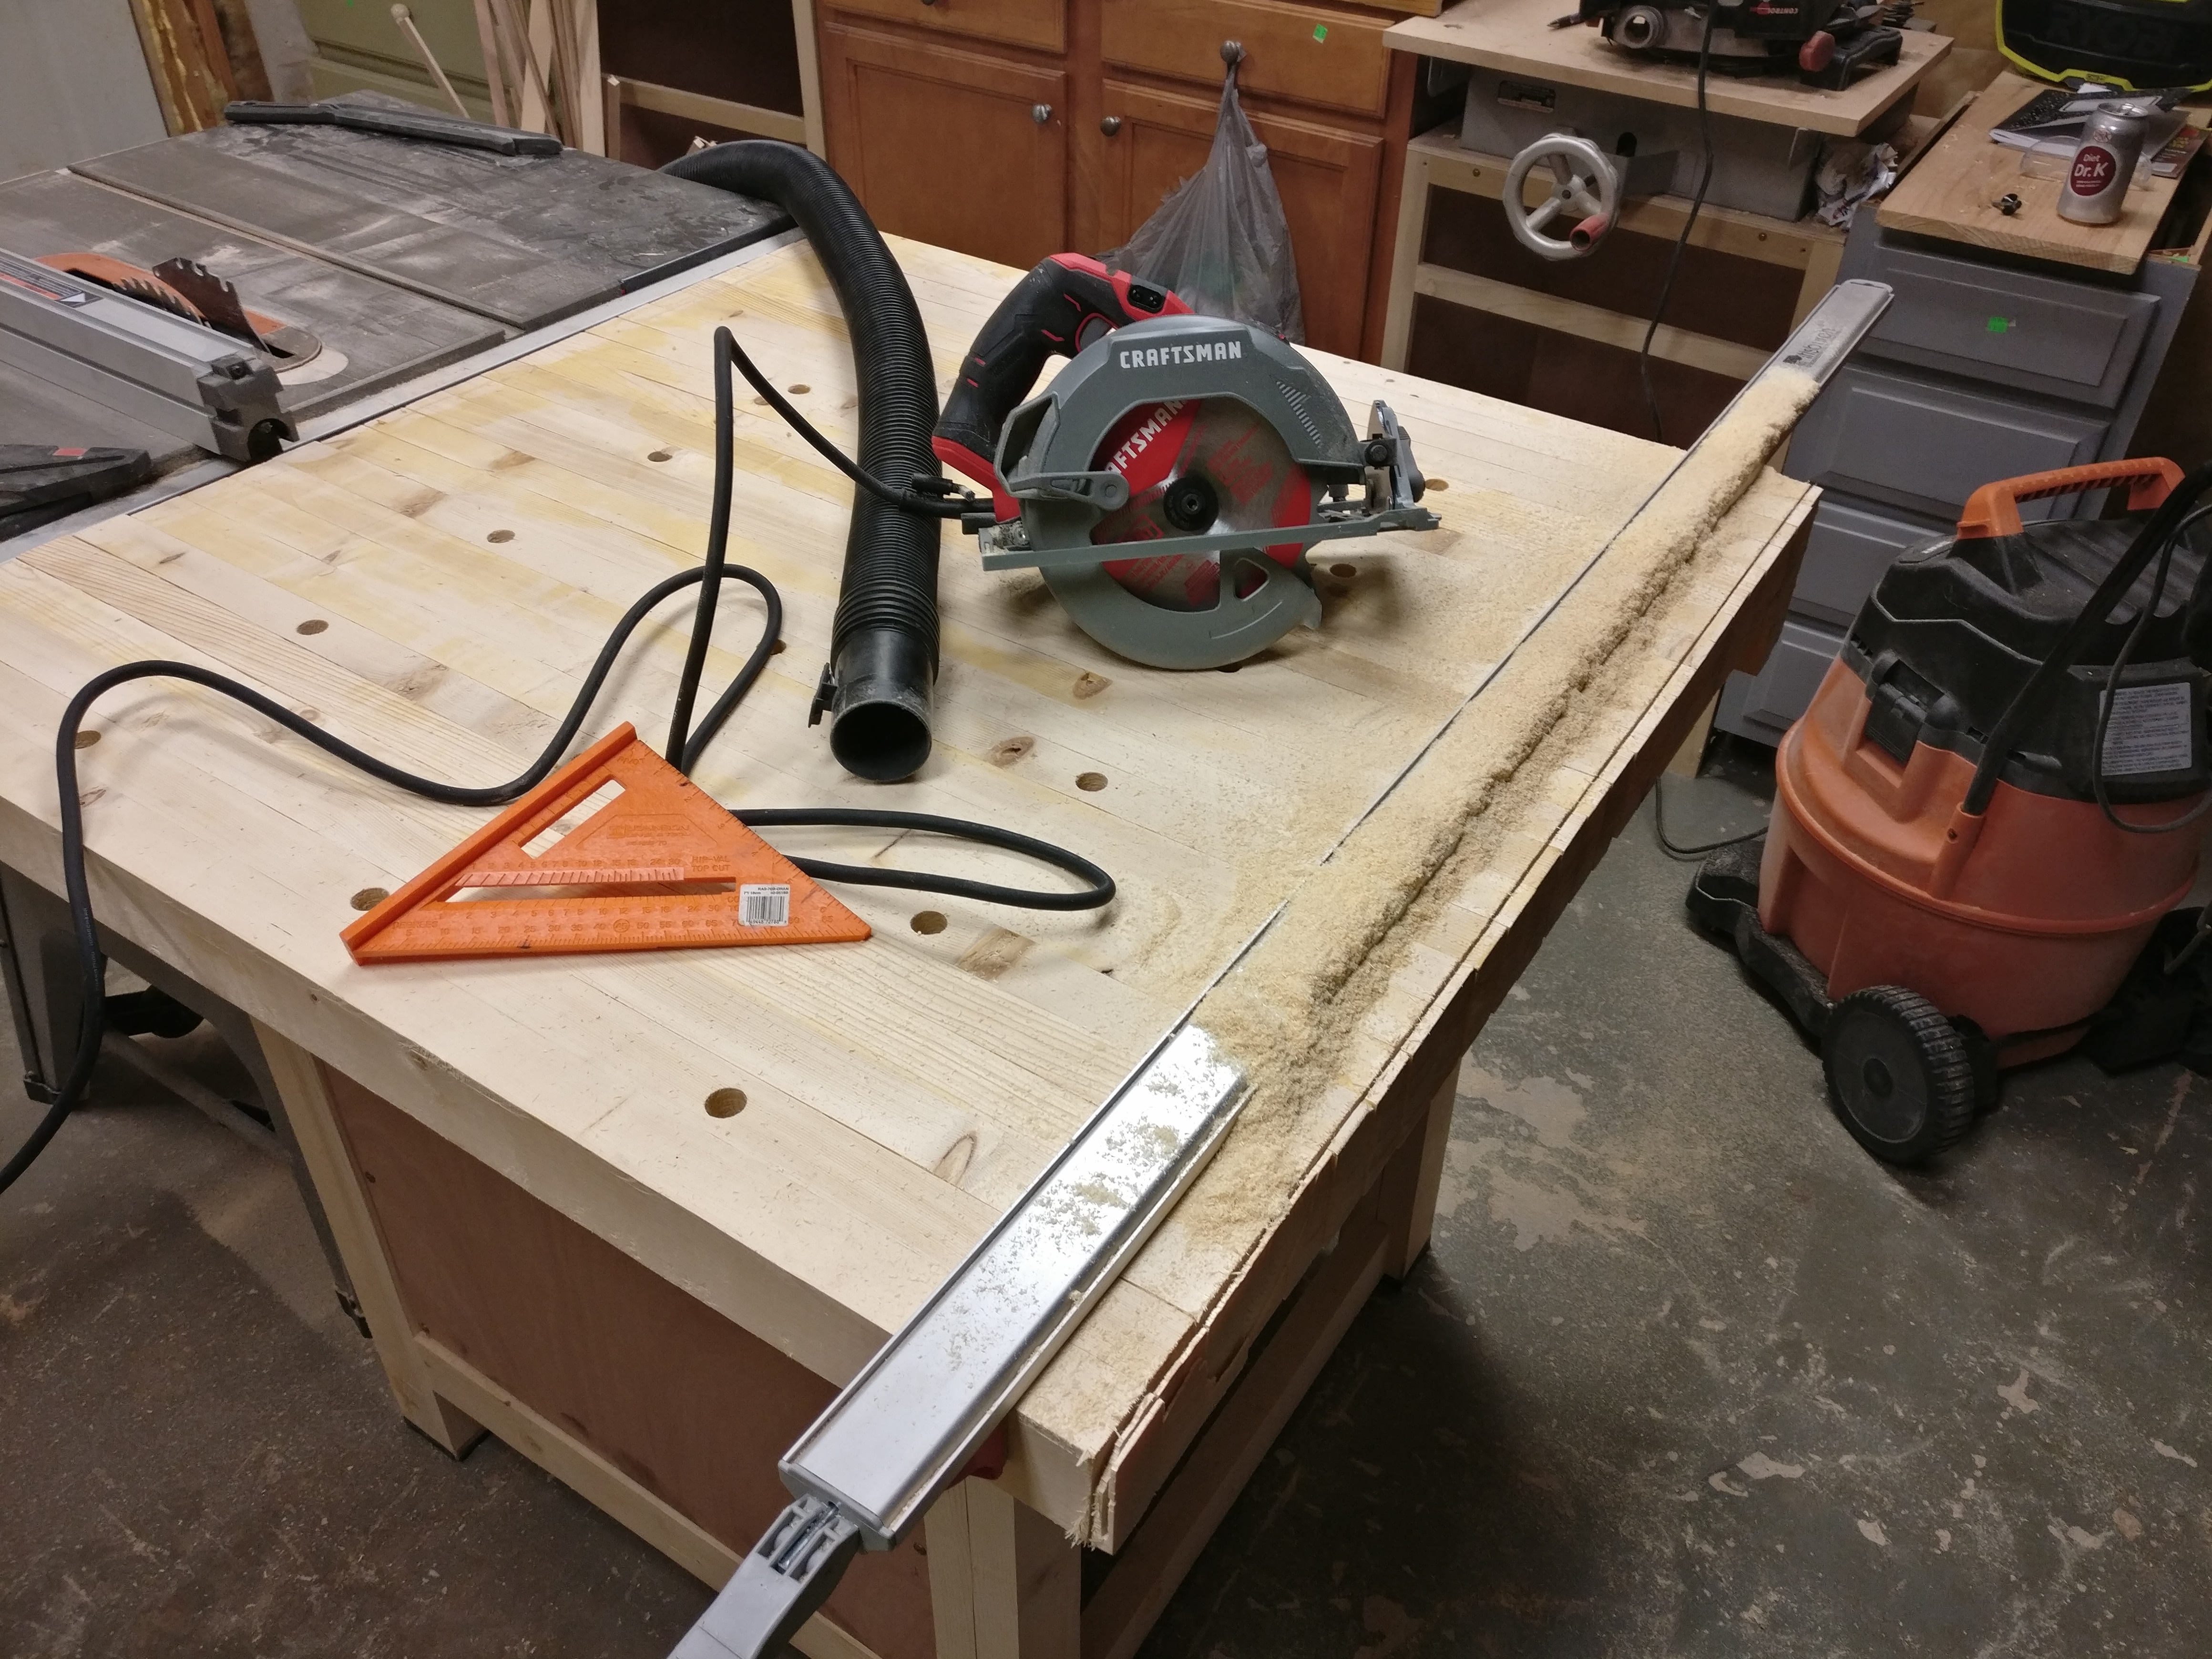
Squaring up the edges. I had dreams of the biscuit joiner lining everything up nice and square which was why I did final dimensioning at the miter saw. The table ended up a little out of alignment (not bad) so I did final final dimensioning with the other circular saw

Didn't get full depth of cut so I used a hand saw and finished what the circular saw started.

Cordless routers are fun for projects like this. The side you see here and the opposite side will probably get a piece of pegboard framed and installed for more storage.

Chamfered the top edges and dog holes. This router chews up batteries but is great for this type of project.

The bottoms were a little rough so I sanded them a bit to clean them up.

This bench dog goes on top but is a little big for the dog holes.
Nytr013
Did you soak it in wood?
vonslice
For at least 48 hours
TheWeldingDude
That's well done, I'm working on building a welding table right now, didn't even think about the dog holes.
vonslice
And thanks for the nice comment :)
vonslice
You might want some longer slots for welding clamps to fit through in addition to holes for clamping up fixtures. Check out bluco for ideas
dangerbuckley
Stupidly over built
vonslice
What part?