RaftinHippy
1068
22
3

Side shot of finished product.

Frontal shot, I really impressed myself with this build.

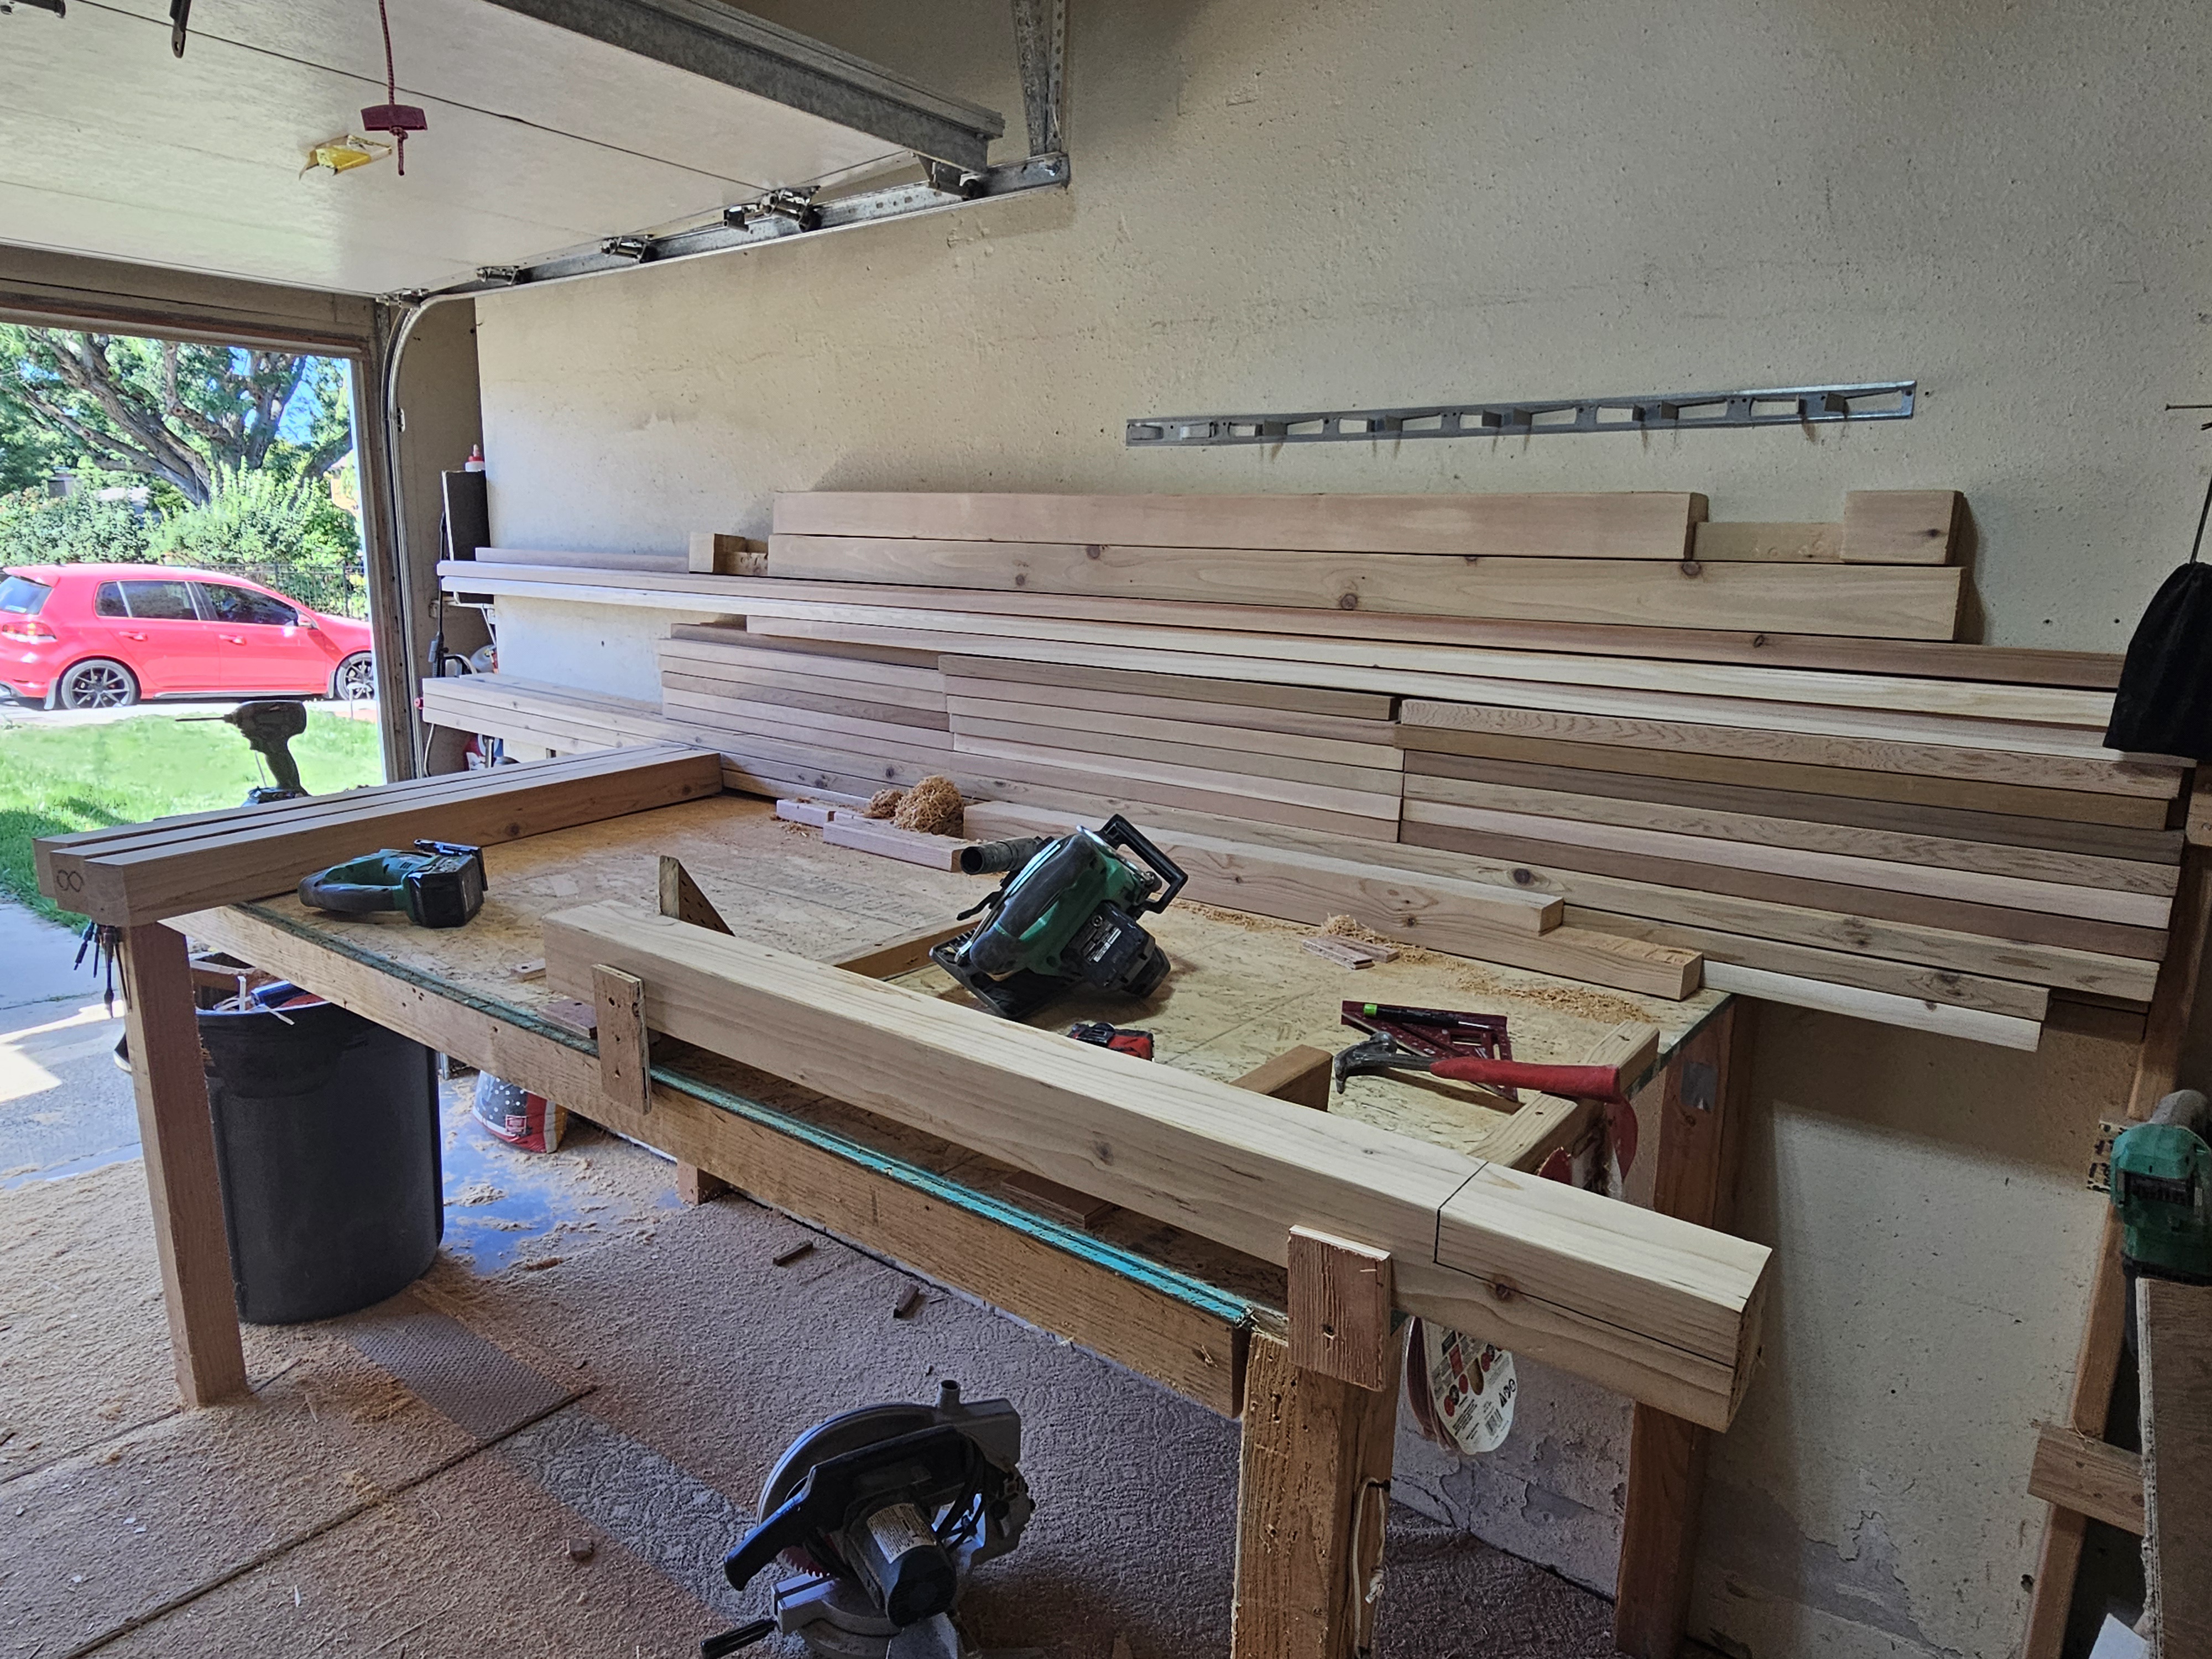
How it all started, excuse the mess I am still in the middle of renovating.

I think this was the end of the first day of sanding, it took 6 days to get everything to 220 grit.

I impressed with this little jig. I was having trouble sanding the pickets. So I came up with this track with a conduit that pivots to apply constant pressure. I tried using my hand to keep the pressure applied but it was tiring me out real quick. Came up with a old tool bag strap attached to the conduit and used my body weight. This final setup allowed me to knock out the 72 pickets fairly quickly.

Had to get fancy on my 2x6s

Another shot

Everything's been sanded and the prep work for routered edge and 4x4s

My only failed attempt with the router, fucked this one up pretty bad.

The aftermath of 6 days of sanding n routing.

So I didn't use any stain, just a flamethrower and polyurethane.

I did get a little too torch happy on the pickets and figured out how to tone it back on the rest of the build.

I think I did pretty good on figuring it out.


Got all the posts in place

And fuck... Thankfully it was Sunday and the lumberyard was closed. Since it was triple digits out and I was dieing, decided to call it and finish it up the next day.

Was a little nervous cutting this guy but it wasn't too bad with a skill saw.

Everything is trimmed and level, getting excited


Looking damn good

Came up with this idea how to my countersink holes all lined up n looking OCD

The jig I made for proper/consistent spacing.

This was a lot of work to do solo.


This guy right here had me super nervous. I only had 24 feet of the 2x6s and no room for error. I grabbed a spare piece and got everything measured out for a template. Then applied it to the piece I needed.

I cut a little over to be safe and it ended up working in my favor so I left it. The cut it's slightly off because I don't have a compound miter and had to flip the board n cut it twice.

All in and just waiting to be secured.

This is all I had left of 24 feet, couldn't afford a fuck up. Definitely a good reason to be nervous.

First coat of poly, I saved the top piece of last so I had something to hold onto.

Looking good but still not finished.

3 coats of poly and the decking is back in. Even though I was on call I deserved a celebratory beer and cigarette (I have 1 a year and decided this was worthy occasion)

Had to redo the stairs beside the garage, only pick I had of the process.
But that's all for this build! If you made it to the end, thank you very much!

Dr Gonzo tax
Here's why I needed a new front yard and porch.
https://imgur.com/gallery/55cLedW
Here's my front yard build process
https://imgur.com/gallery/I4XaVDx
Here's my laundry room renovation, this one still amazes me on how good it looks.
https://imgur.com/gallery/TWAulcL
Thanks again of you've made it this far!
Edit: shit I forgot a witty title!
jenw
#7 these cracks will only get worse with time and weather. This really needed bowties to fix.
Garf34
OP sending deck pics to everybody and mods doing nothing....
RaftinHippy